The Page Studio builder is our newest page-building tool, designed to give you greater flexibility, faster workflows, and cleaner, more consistent design control. Page Studio offers a more modern interface with powerful sets of tools that make creating high-converting pages easier than ever.
The fine print
- The Page Studio builder is currently in beta.
- This builder currently supports Core integrations only.
- Page Studio is not currently integrated with the Leadpages-WordPress plugin. To pull landing pages into your WordPress account, you can create pages using the Classic builder.
- Global Scripts are currently only supported on Classic landing pages.
- Split-testing your Page Studio landing pages is in development!
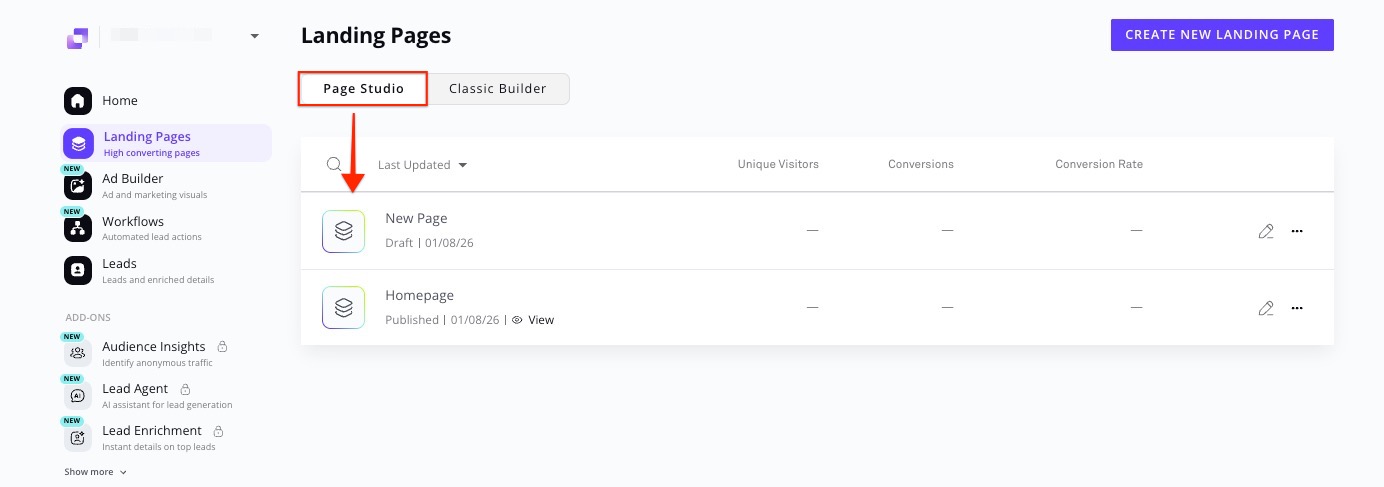
Accessing the Page Studio builder
From the Leadpages Dashboard, navigate to Landing Pages. Pages will be organized into two tabs: Page Studio and Classic Builder, with all pages created in the older builder available under the Classic Builder tab.
To create a new page using Page Studio, select the Page Studio tab and click Create New Landing Page.
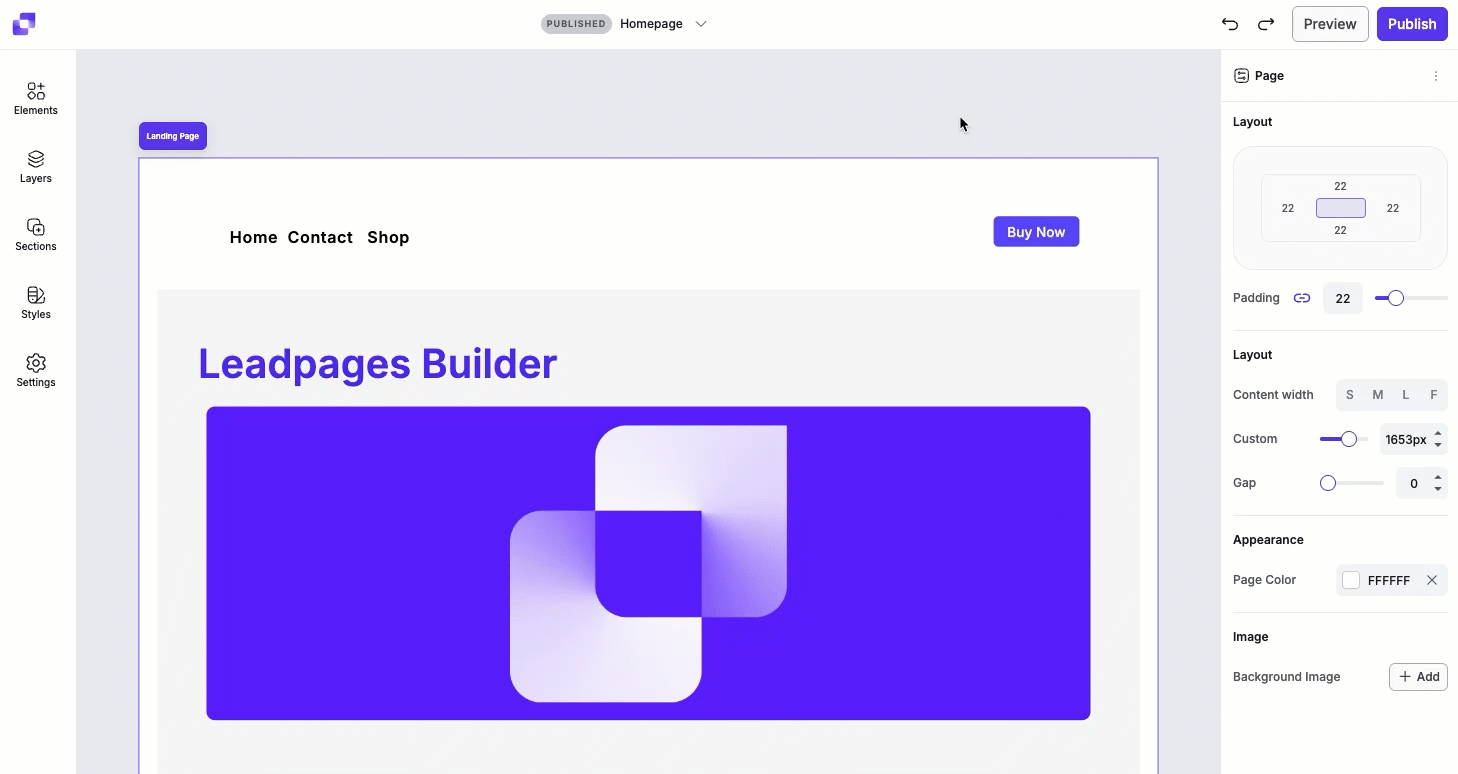
Page Studio overview
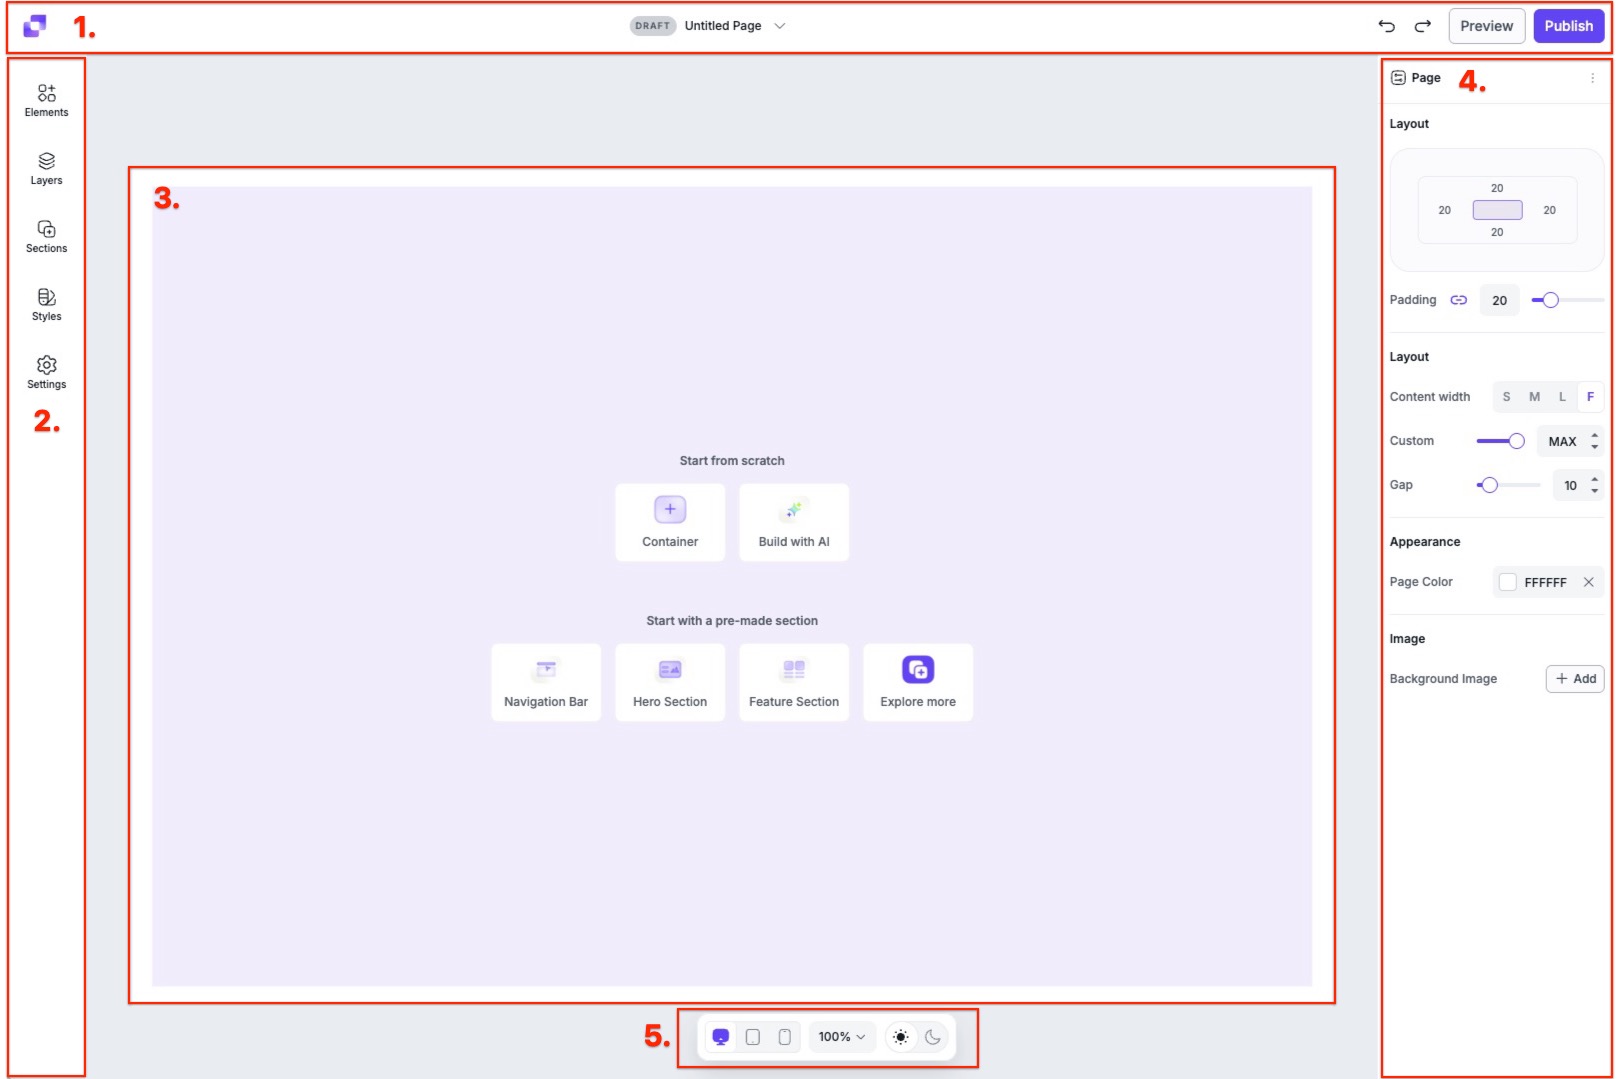
1. Top Bar: Where you can adjust the page name, undo or redo edits, preview or publish your page.
2. Left Panel: Lets you add elements to your canvas, view that layer hierarchy, and adjust the styles and settings of the page and URL.
3. Canvas: The editable preview of your page.
4. Edit Panel: Settings and styling options for the page, containers and elements can be found in this panel.
5. Canvas View Settings: Lets you switch between desktop and mobile views to test responsiveness, as well as zoom in/out the canvas and enable dark mode.
Top bar overview
The Top Bar sits at the top of the editor and gives you quick access to page-level actions. You can return to your dashboard by clicking on the Leadpages icon, view or rename your page name, undo or redo recent edits made on canvas, preview your page, and publish when you're ready to go live.
Change the page name
To edit the name of your page, all you have to do is click the page name in the top bar. From there, enter in a new name into the field and click Save to confirm the changes.
Undo or redo changes
You can use the Undo and Redo buttons to step backwards or forward through your recent edits. This lets you quickly revert a change or reapply one you've undone.
Preview your page
If you want to see what your page would look like to visitors, you can click Preview to see what your page would look like across different devices. This way, you can review your layout and content before publishing.
Publish your page
Once you're ready to go live, click Publish. Once you select the domain the page will be published on, and have clicked Publish again, your page will be available at its assigned URL.
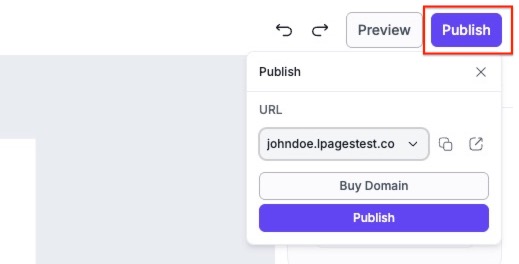
Once published, the status of your page will go from Draft to Published.

To learn more about how to edit the slug of the page, visit the article here.
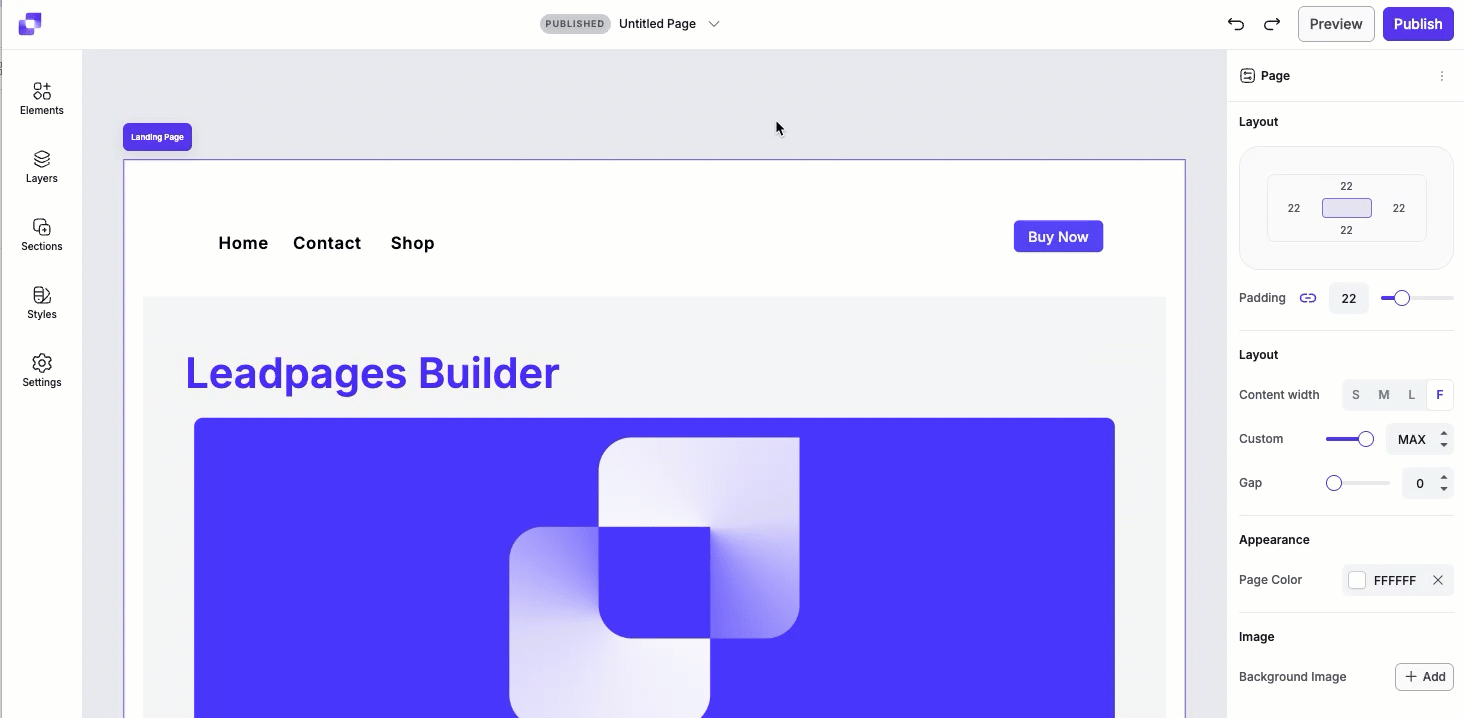
Left panel overview
The Left Panel is your main control hub in the editor. You can add sections and elements, see how your page content is layered, configure styles, and manage page-level settings.
Adding elements
Elements are the individual components you add to your page, such as text, images, buttons, forms, and more.
- You can add elements by dragging them from the elements list onto the canvas, or by clicking on an empty container.
- Once an element is selected on canvas, its settings will appear in the edit panel on the right-hand side
-
Each element includes its own unique settings, along with shared layout and visibility options
To learn more about each element type, visit the links below:
- [Page Studio] The form element
- [Page Studio] The button element
- [Page Studio] The text element
- [Page Studio] The image element
- [Page Studio] The container element
- [Page Studio] The countdown element
- [Page Studio] The video element
- [Page Studio] The line element coming soon!
- [Page Studio] The icon element coming soon!
- [Page Studio] The HTML element coming soon!
Working with layers
The Layers panel displays a complete, structured view of everything on your page. It allows you to:
- See the hierarchy of sections and elements.
- Click any item to jump directly to it on the canvas
- Drag and reorder elements
- Toggle visibility options from the panel

For more guidance on how to navigate the Layers panel, see the [Page Studio] Using the Layers Panel article.
Working with sections
Sections are the main building block of your page. They help organize your layout and create clear visual structure. In Page Studio, you can:
- Add blank sections for complete creative freedom
- Insert prebuilt section templates (Hero sections, FAQs, footers, etc.)
- Reuse your own saved section templates to maintain consistency across your pages
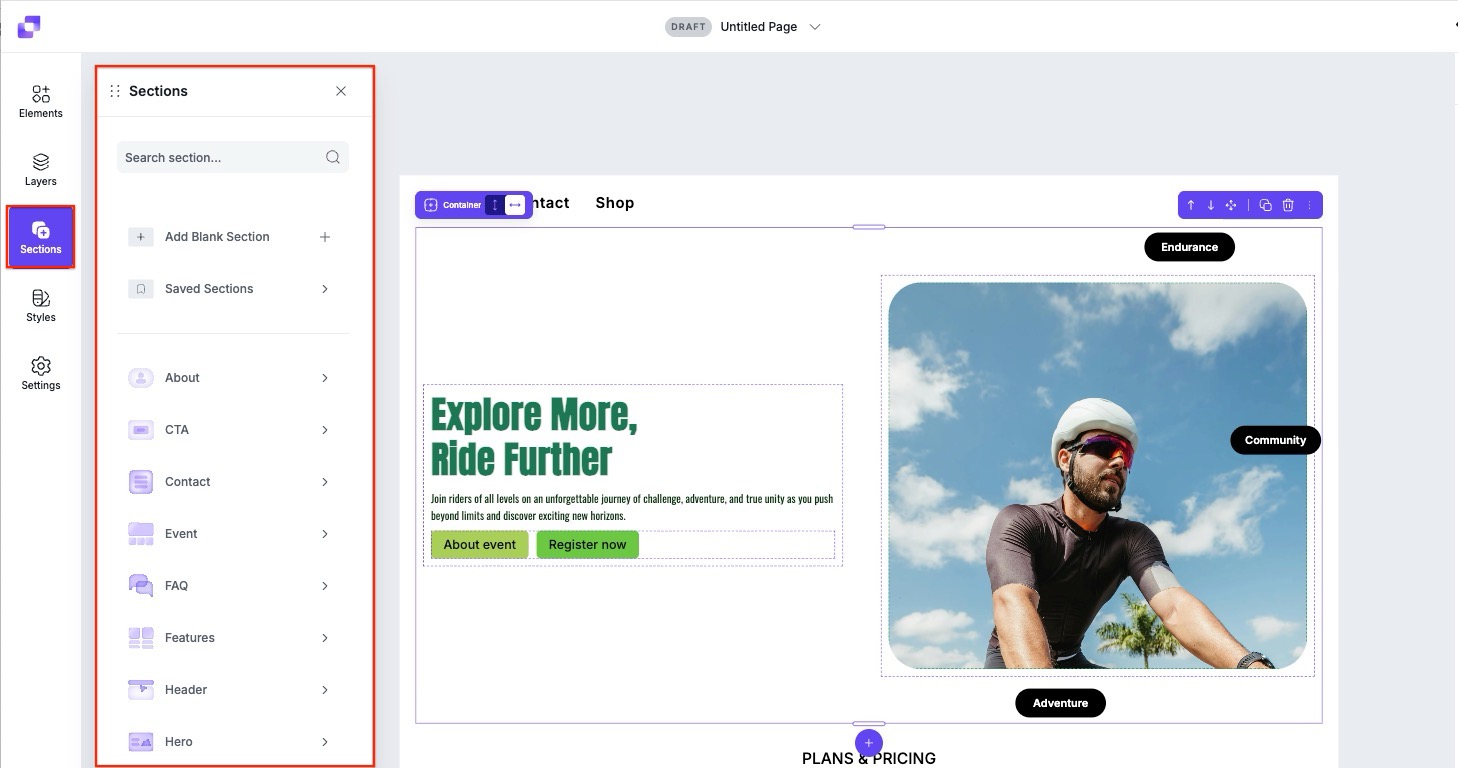
For step-by-steps instructions on how to add section templates to your page, visit the [Page Studio] Working with Sections article.
Working with styles
Global styles help you keep your design consistent across your entire page. Under Styles, you can create style kits to apply to your pages that will adjust:
- Text styles (heading, body, and link styles)
- Button styles
- Color styles (brand colour)
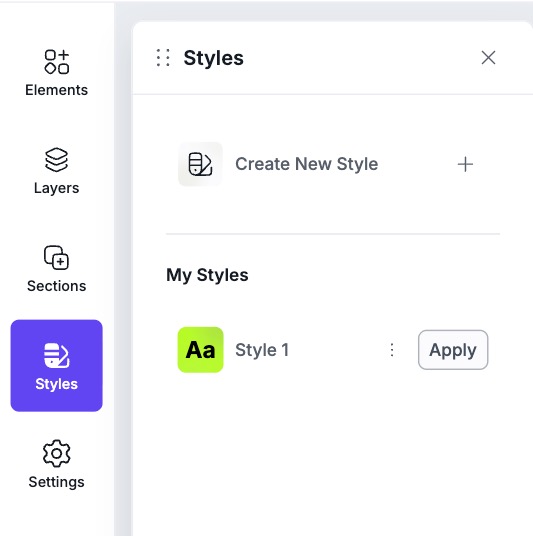
When a style kit is updated, it will apply to all elements attached to Styles, reducing repetitive work and helping you maintain a unified look across your pages. Learn more about how to get your style kit set up in the [Page Studio] Page Styles and Style Kits article.
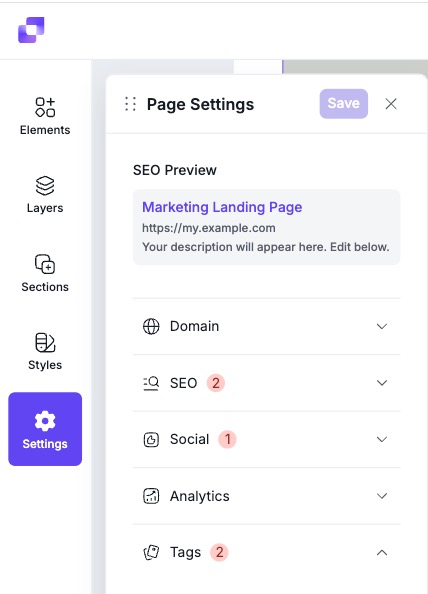
Working with settings
The Settings menu gives you access to options that affect your page outside of the canvas editor. Here, you can manage settings such as your domain, SEO details, social preview, tags, and third-party tracking codes. To learn how to configure each of these areas in detail check out the articles below:
- Connect a domain
- [Page Studio] SEO and Social Preview Settings
- [Page Studio] Third-party tracking and analytics
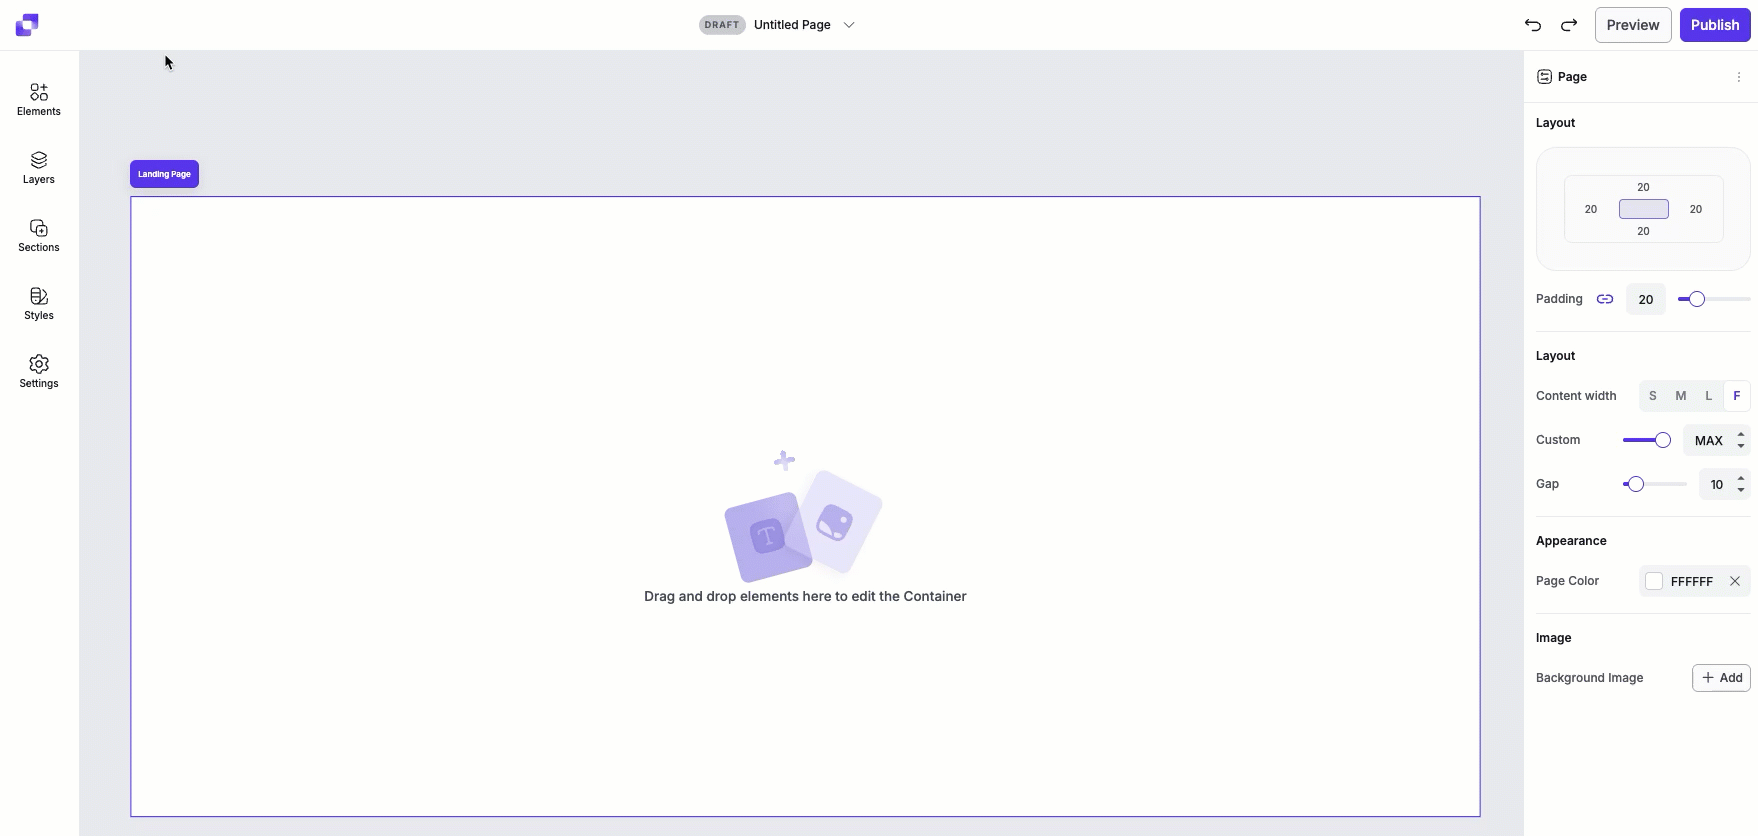
Canvas
The canvas is the main workspace in the editor where you design your page. You can click, edit, and move elements directly, seeing exactly how your page will look to visitors. It provides a real-time preview so you can design confidently before publishing.
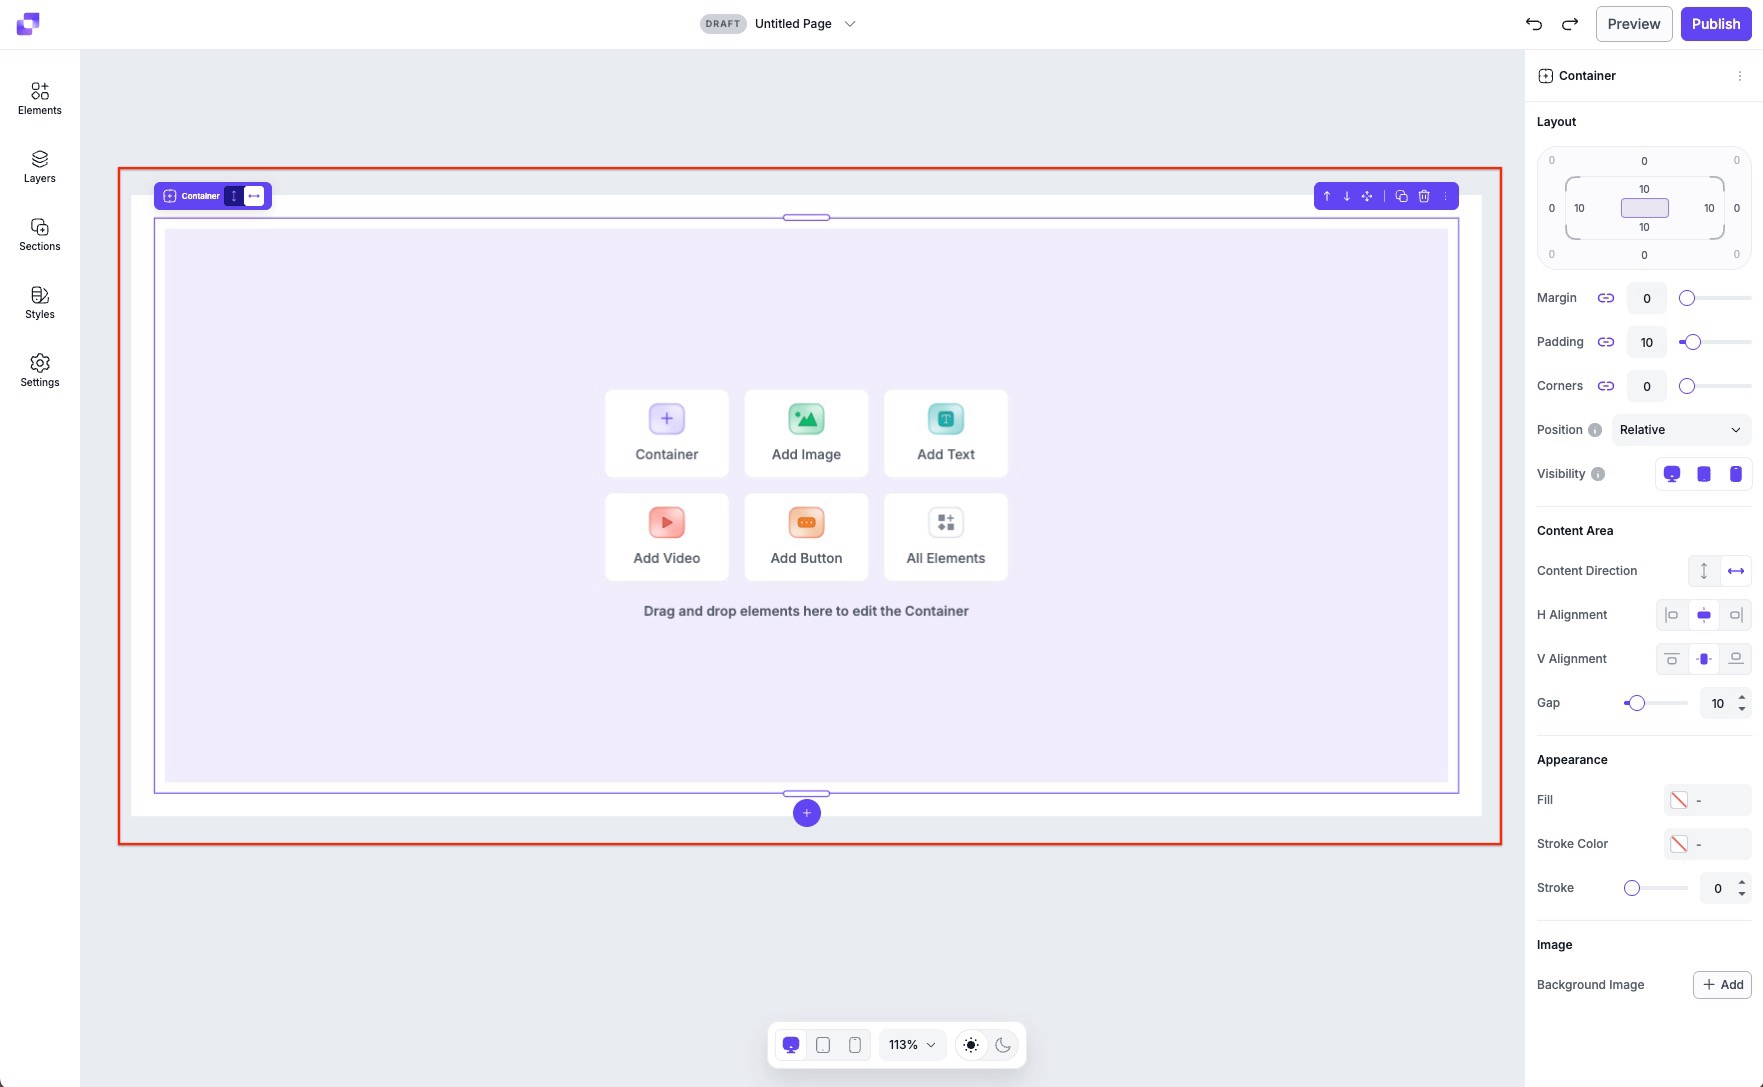
Canvas structure and logic
The canvas follows a clear hierarchy: your landing page is made up of containers, and each container holds the elements you add.
Landing Page→ Container → Element
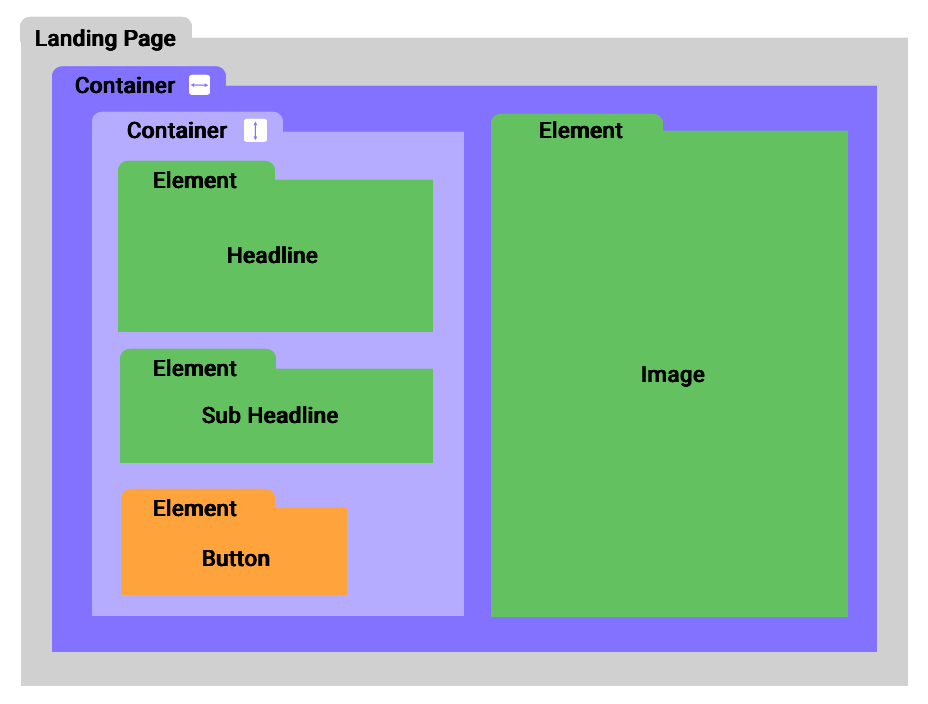
1. Landing Page (the full canvas)
This is the overall page you’re building. Everything you add to the canvas lives inside this main page.
2. Containers
Containers are the building blocks of your page. They act like sections, rows, and columns, giving your page structure and layout.
- A container must be added first before you place any other content. This acts as a section within your page.
- Containers can hold other containers (for layout structure) or other elements (like text or images).
- Each container can be set to either horizontal or vertical direction. This controls how the content inside the container is arranged. For example, if you select a horizontal direction for a container, all elements placed inside will be placed side-by side, from left to right. This is great for creating columns or layouts where items sit next to each other.
Think of containers as the ‘frame’ that keeps your content organized and responsive.
3. Elements
Elements are the actual content you add inside containers, such as text, buttons, forms, and more.
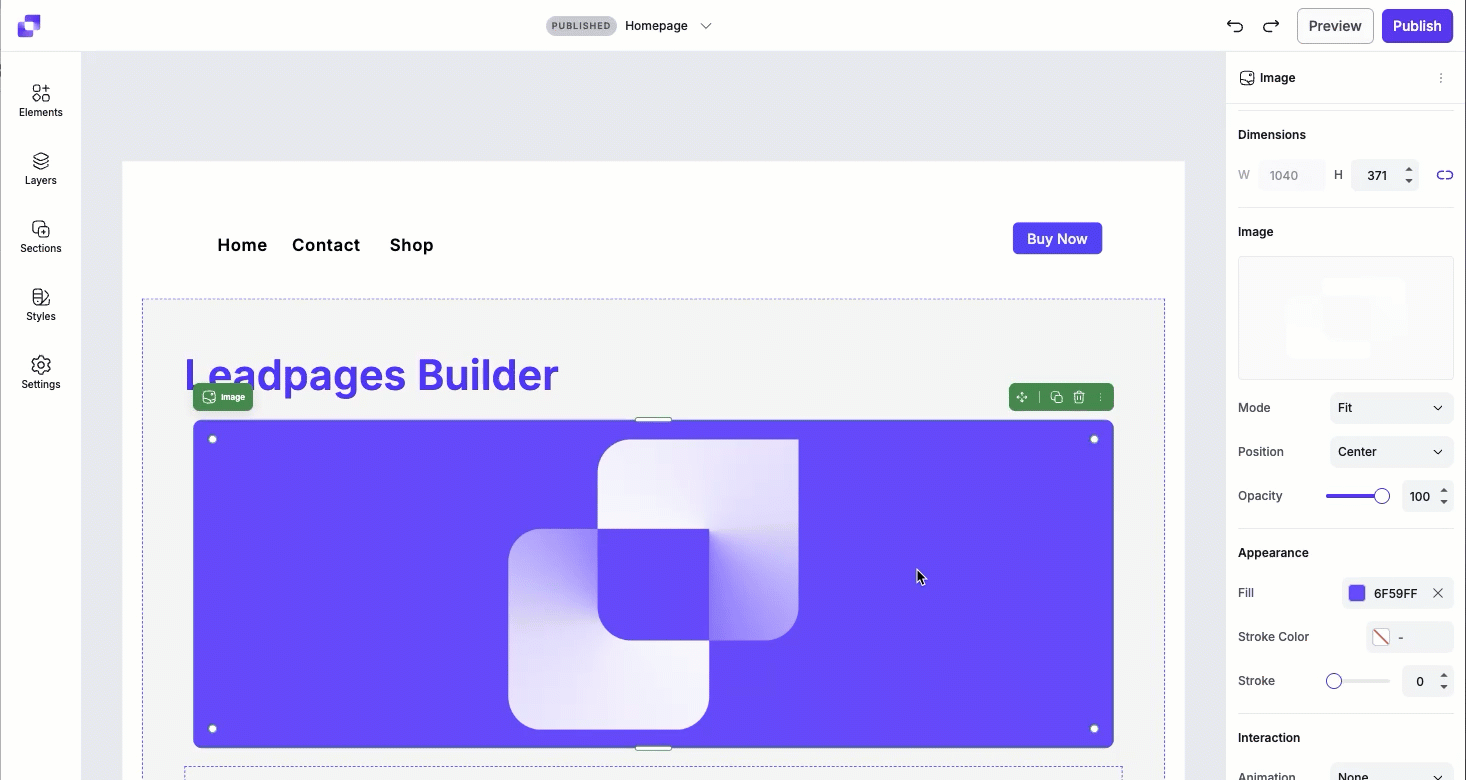
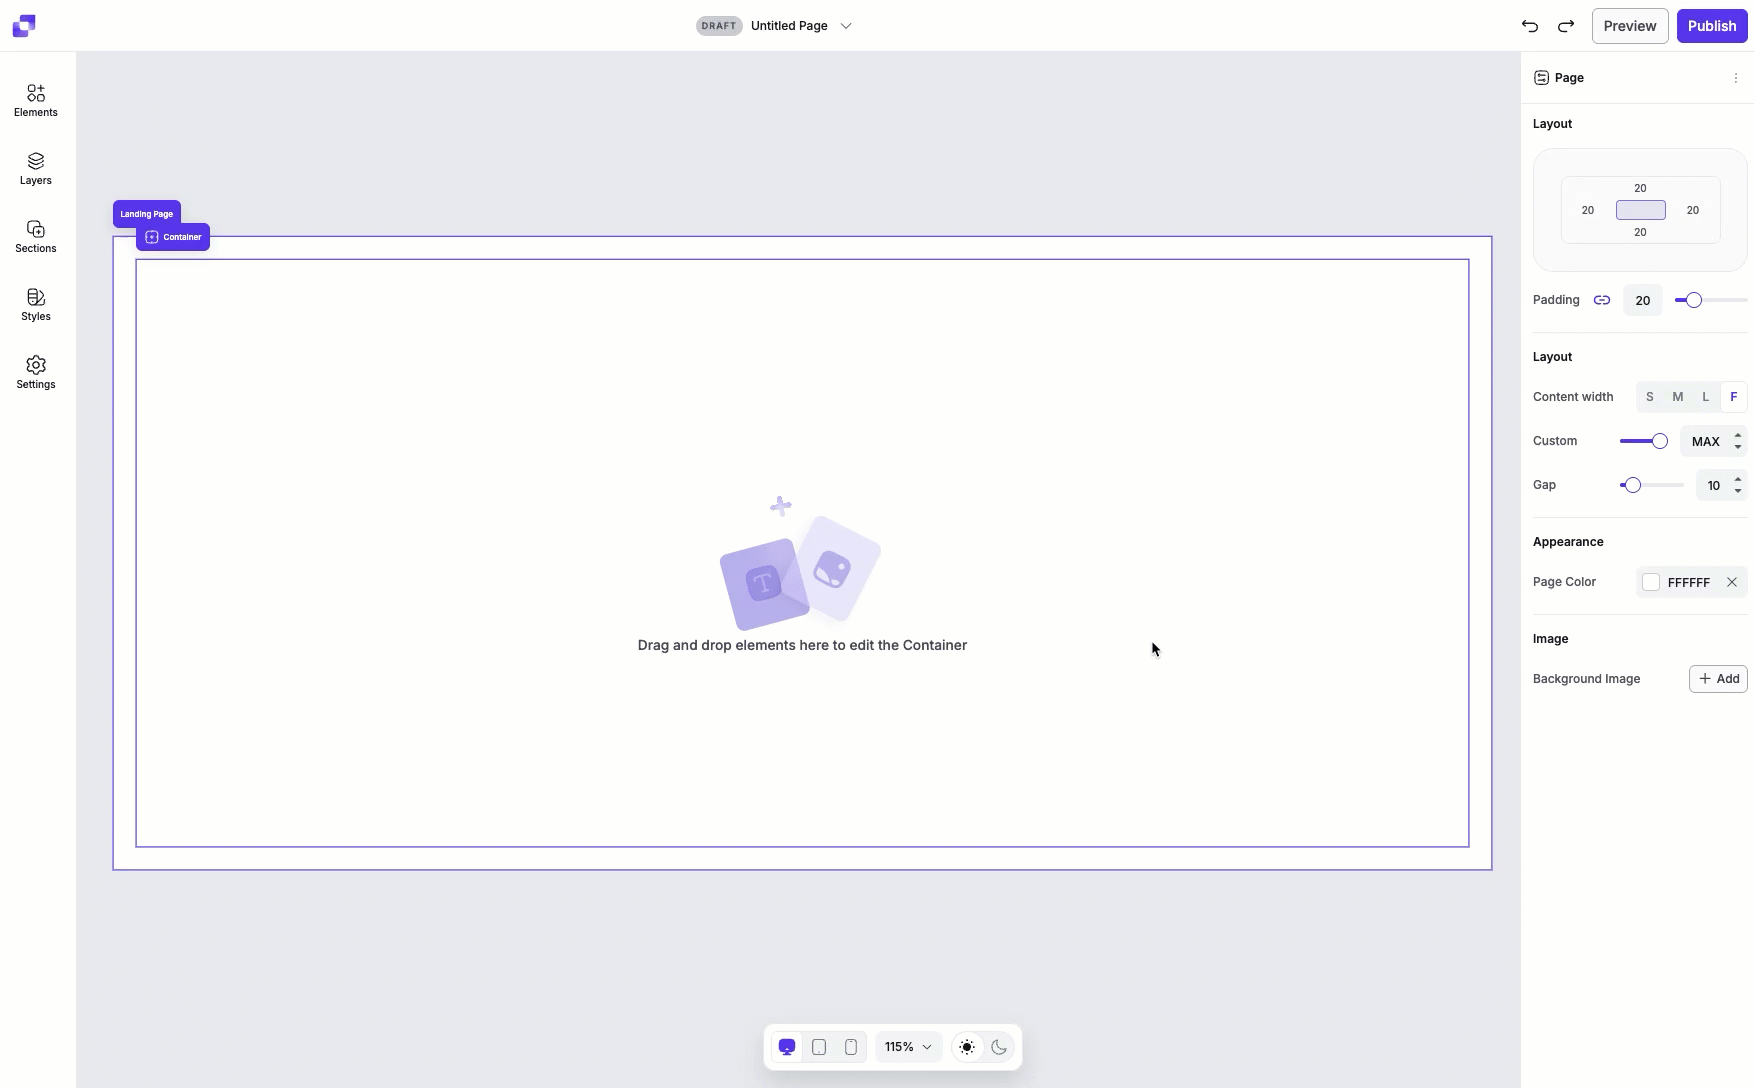
Edit panel overview
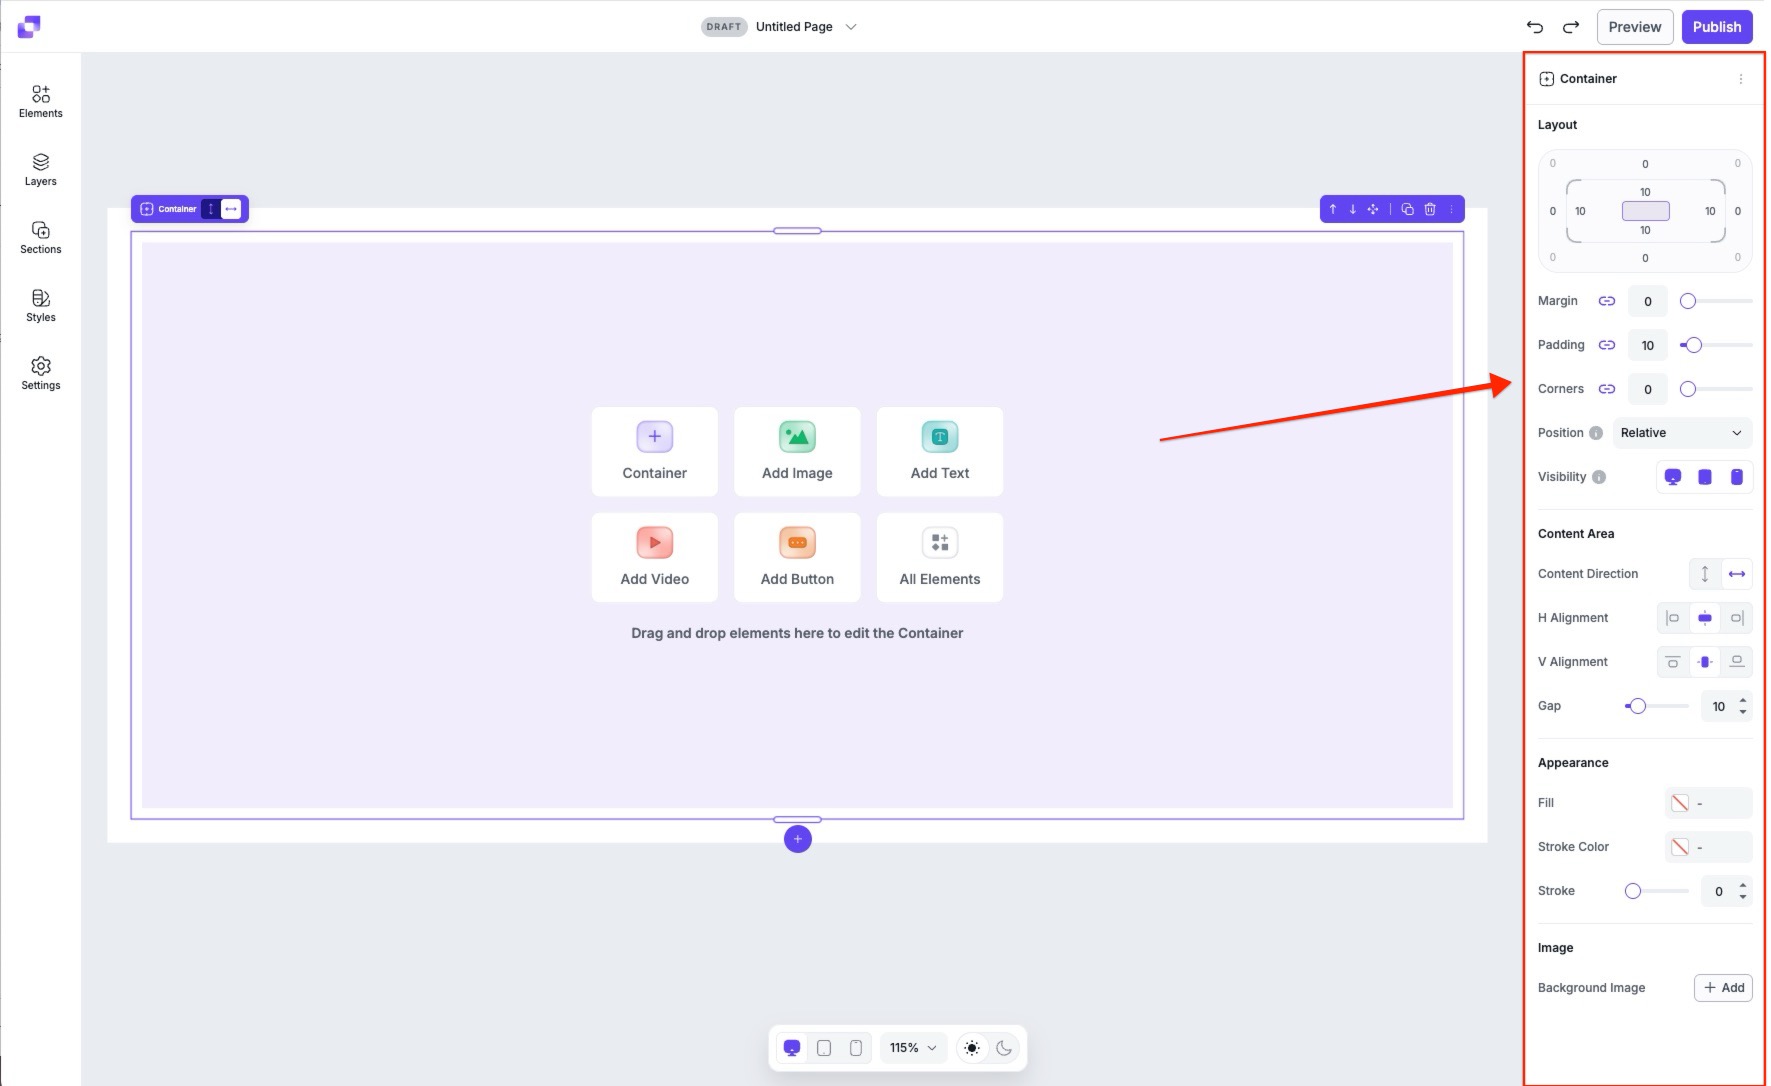
When working in the Page Studio builder, all settings for the page or for selected elements will appear in the right-hand edit panel. Whenever you click something on canvas, be it an element or the page itself, the edit panel updates to show you the relevant editing options.
- Page settings allow you to customize layout, backgrounds, and global structure.
- Element settings include layout controls plus element-specific options (such as text formatting for text elements, or button styles for button elements).
To learn more about individual element editing options, you can visit their respective articles. To read more in-depth information about the layout settings of the edit panel, click here.
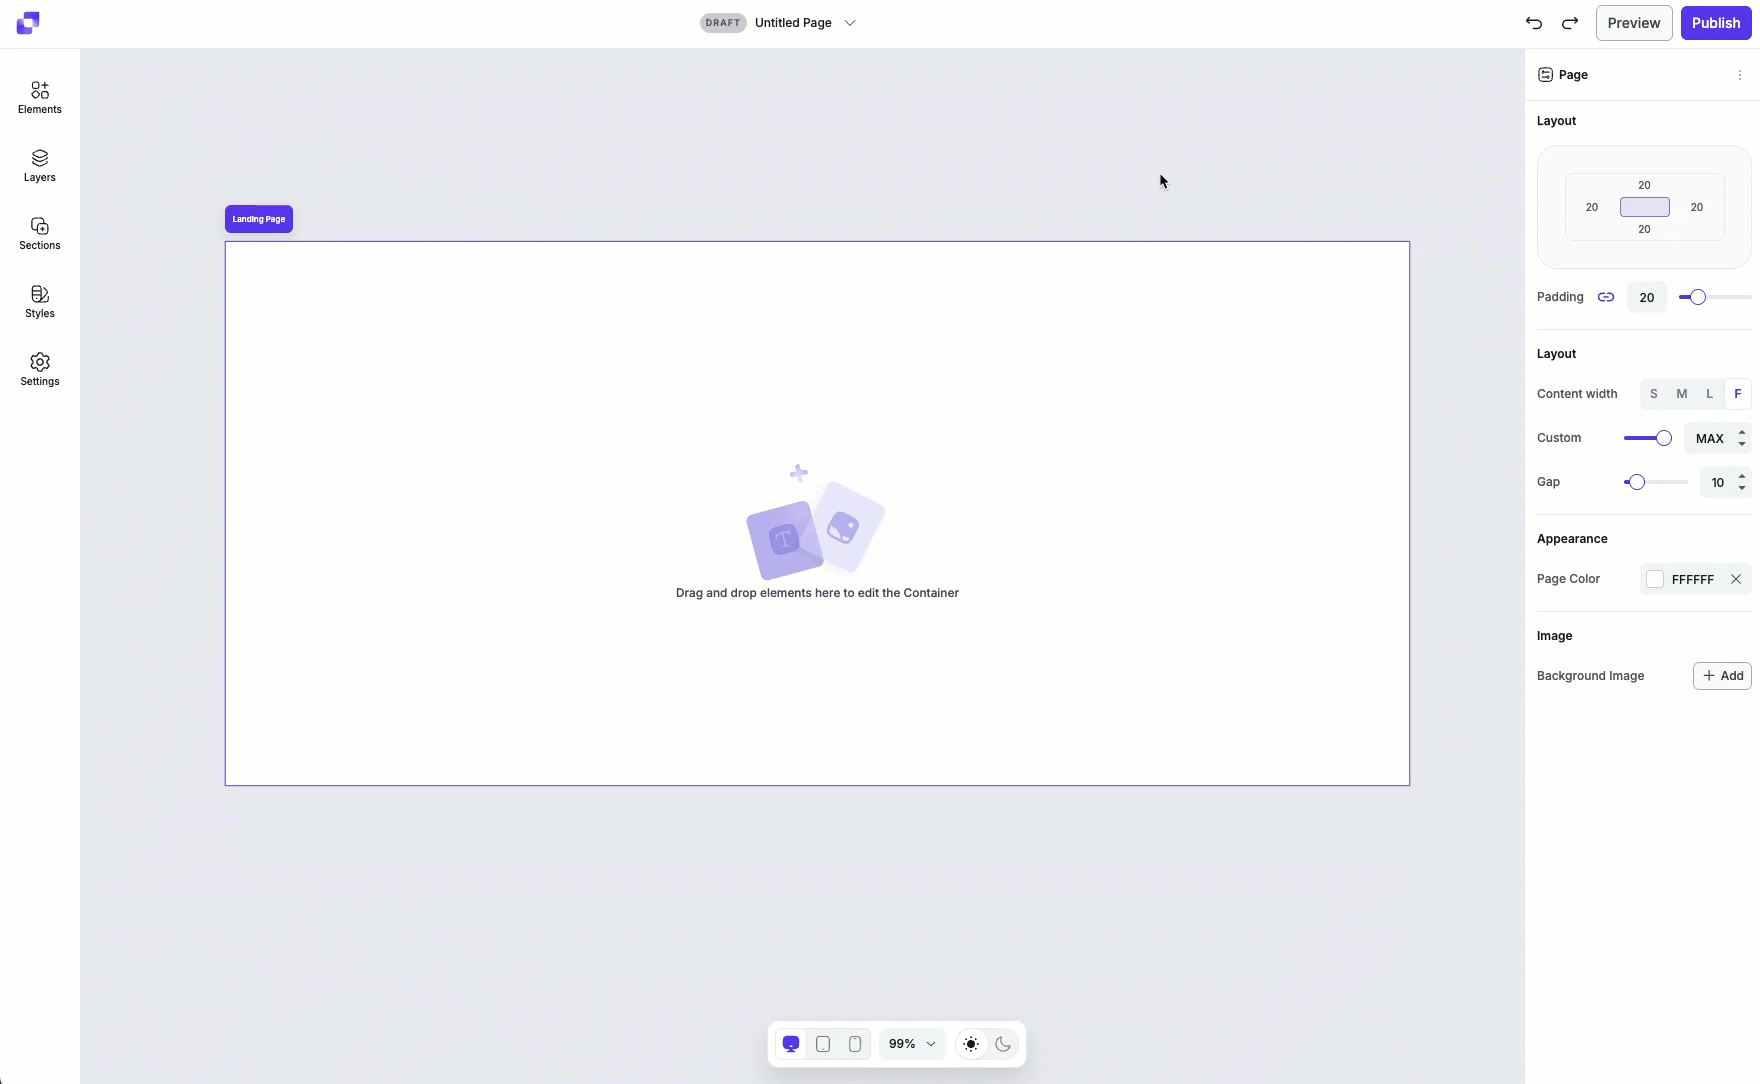
Canvas view settings
The Canvas View toolbar lets you control how your page is displayed while editing. You can switch between desktop, tablet, or mobile views, adjust the canvas zoom level, and toggle between light and dark mode. This helps you preview and design your page across different devices and viewing preferences.
Frequently Asked Questions
How is Page Studio different from the Classic Builder?
Page Studio provides a more visual, streamlined editing experience with improved layout control and customization options. It offers more robust editing tools and a modern editing experience for both beginner and advanced users. Page Studio is also being built with AI in mind and will be fully integrated with AI features over time to make page design faster and easier.
Can I import Classic Builder pages into Page Studio?
No, not at this time. Our team is currently working on helping you migrate your Classic Builder pages over!
Can I still use the Classic Builder?
Yes! You can continue using the Classic Builder to create new pages or edit existing ones at any time. Both builders are available, so you can choose the one that best fits your workflow.
Need more help?
You can always get in touch with our support team—just click Support in your Leadpages navigation menu, or submit a ticket ↗