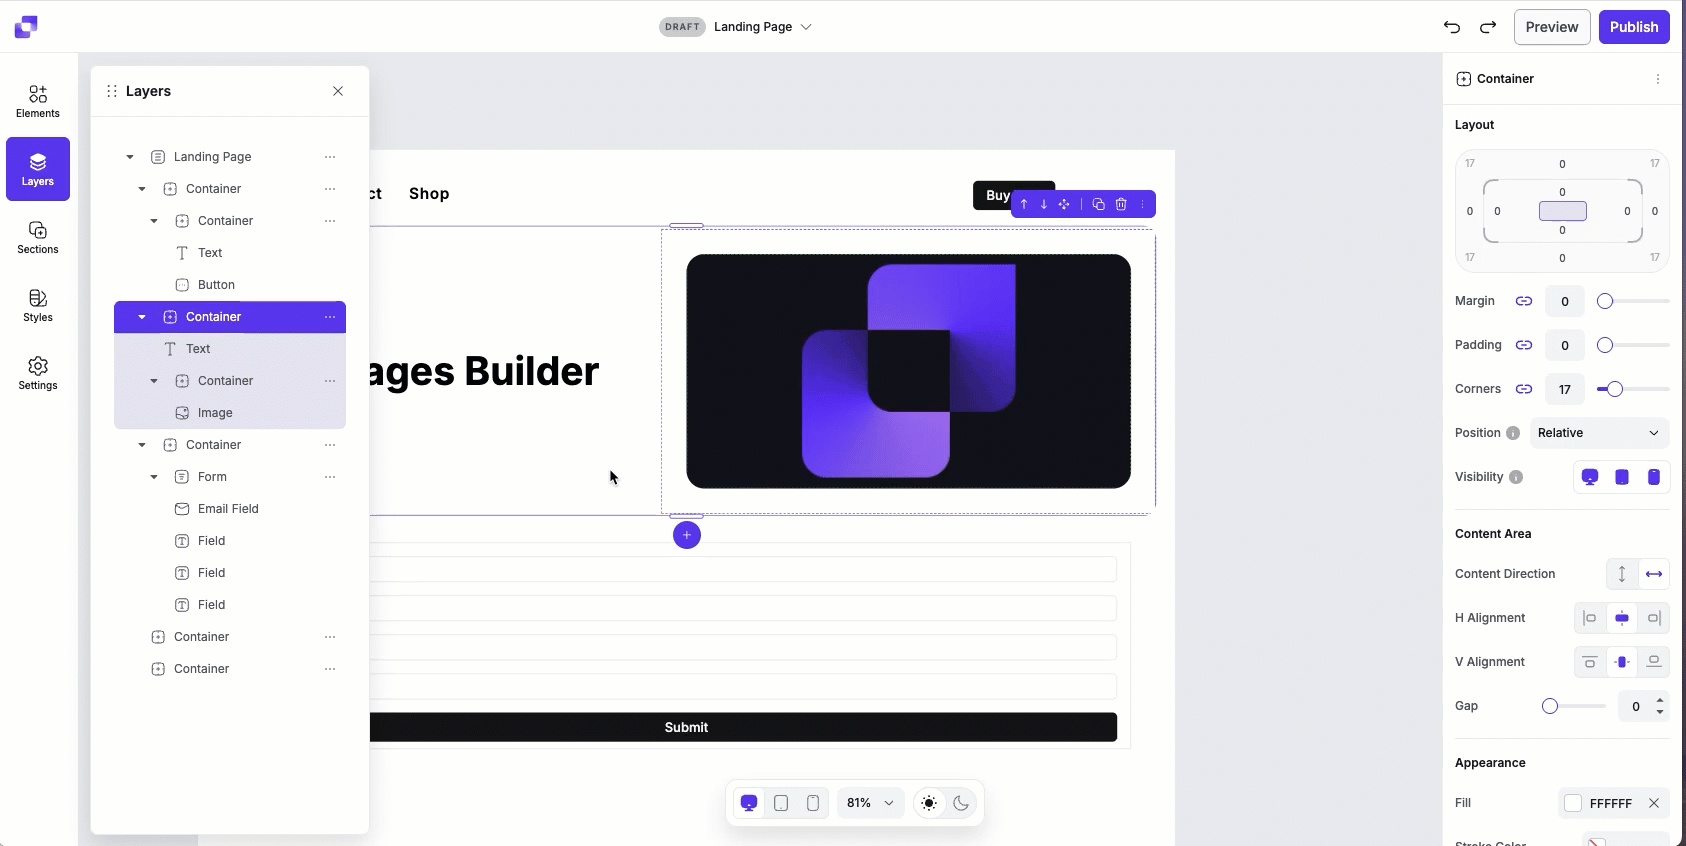
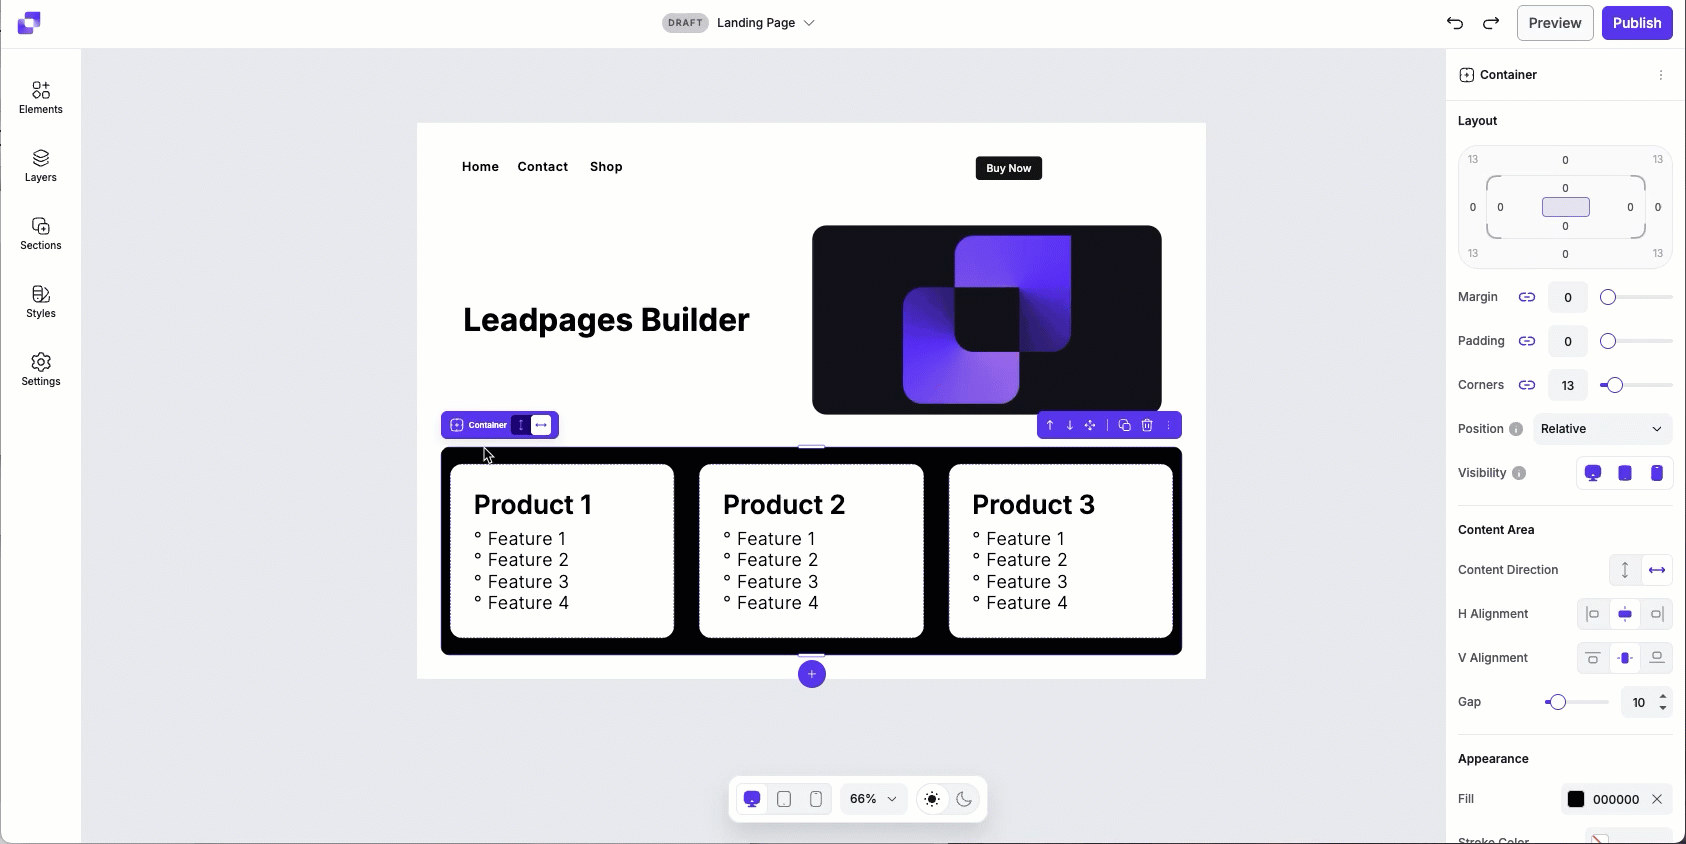
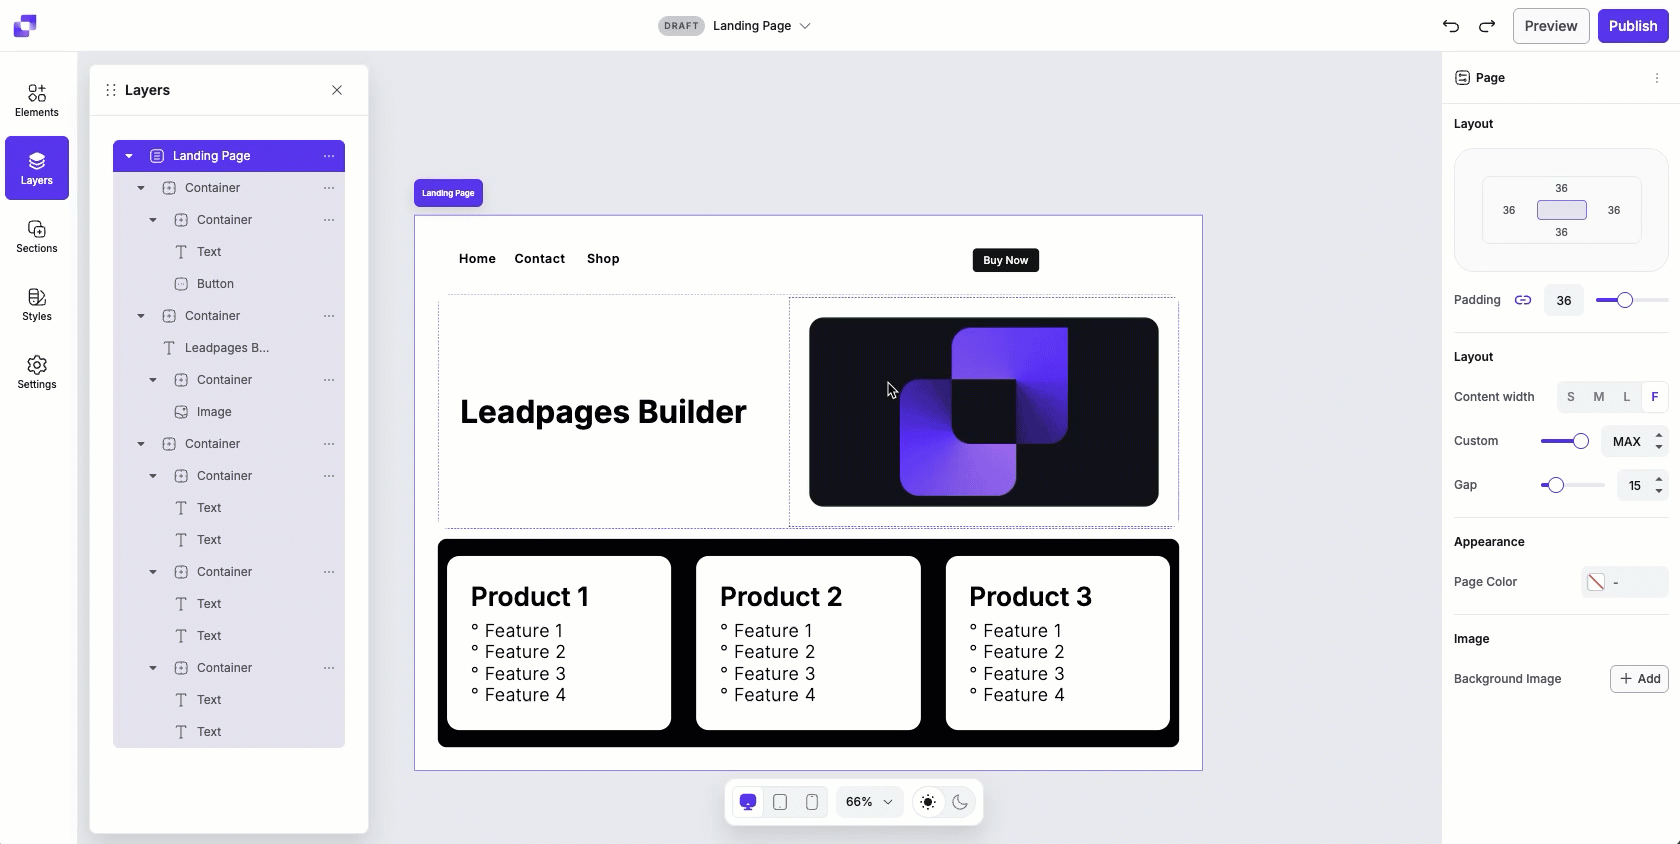
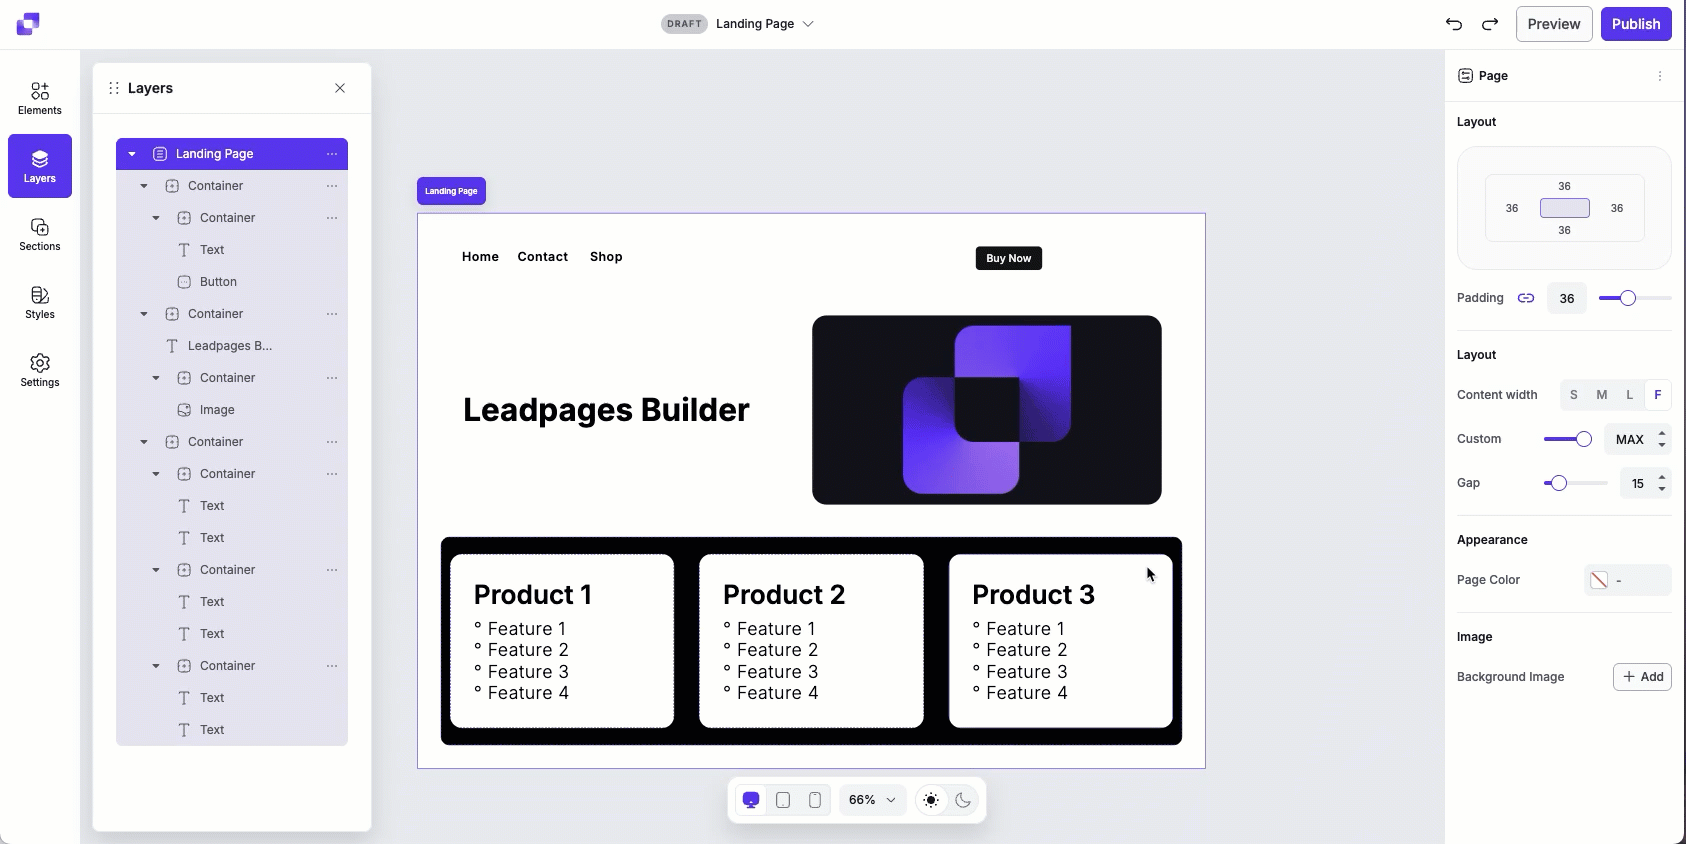
The Layers panel shows a clear list of everything on your page, making it easy to see how your content is organized. You can quickly select, reorder, rename, and manage elements without clicking on the canvas. It's especially helpful for keeping complex pages clean and easy to work with.
The fine print
- This article goes over how to navigate the Layers panel in Page Studio, and does not apply to the Classic builder.
Layers overview
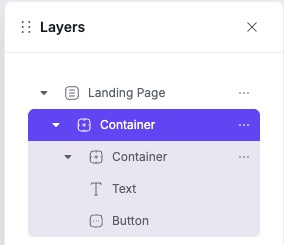
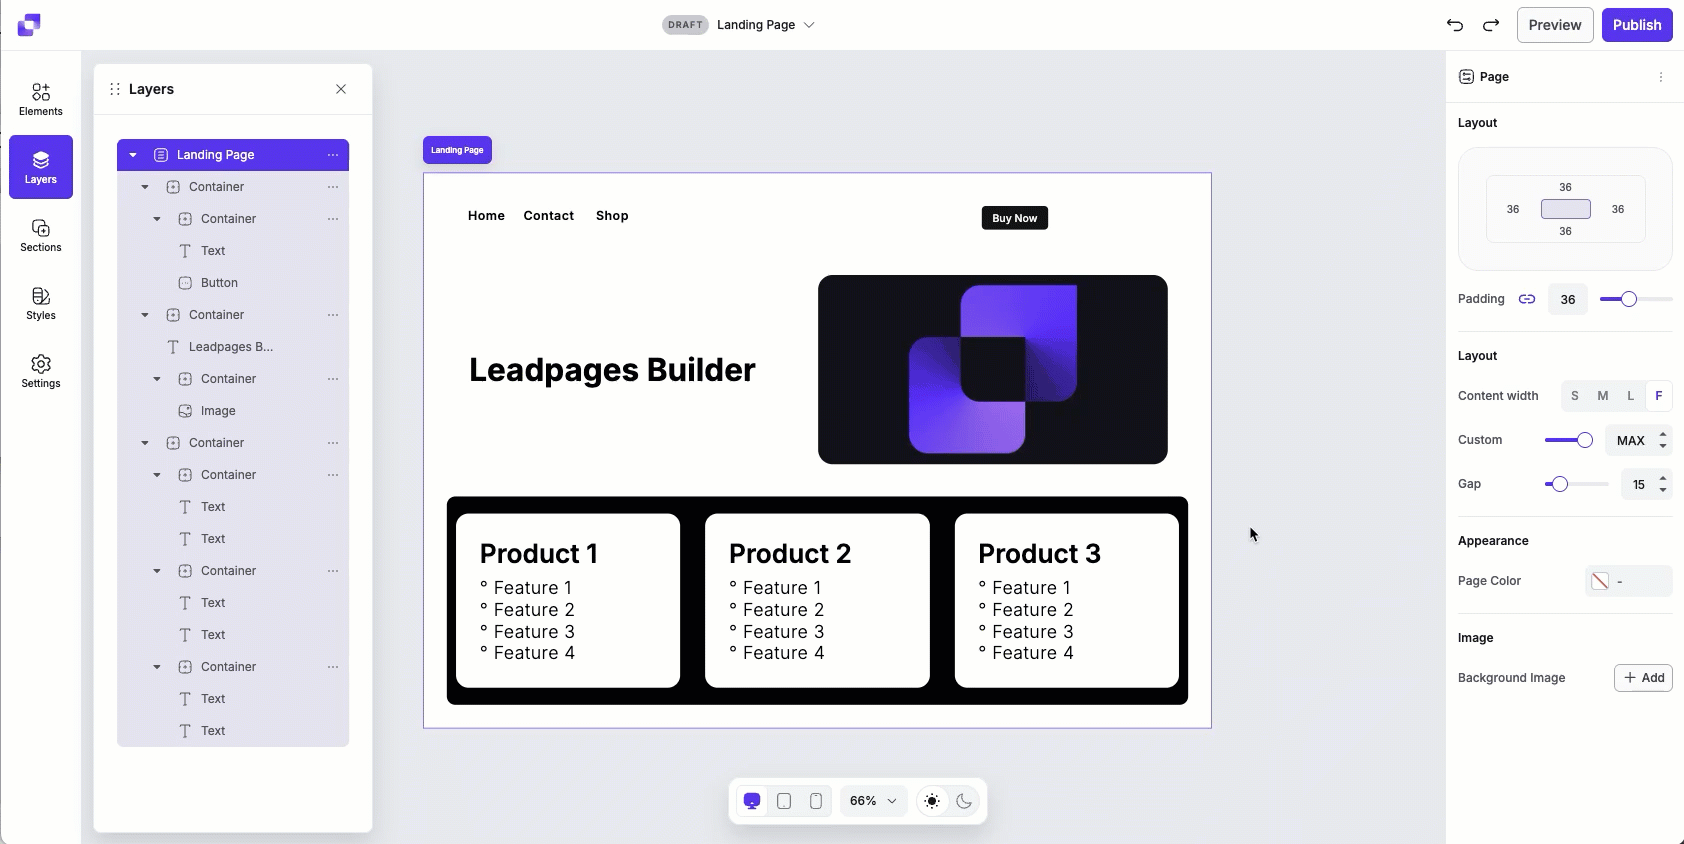
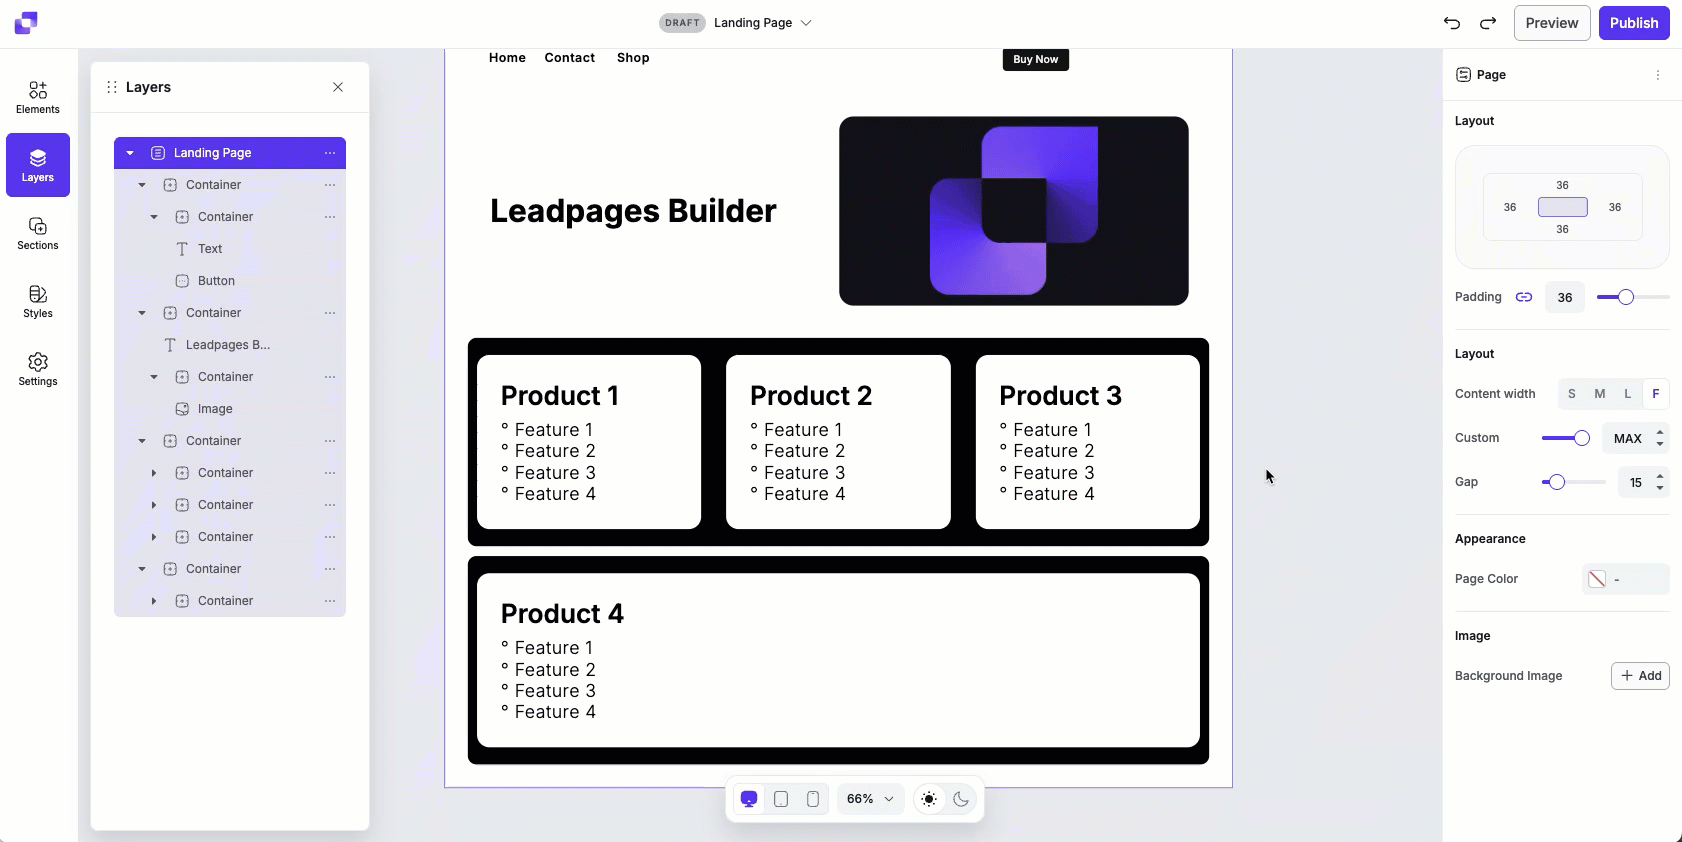
The Layouts panel display the structure of your page in a ‘tree’ view. This helps you see how everything is organized—your page, each container, and all elements inside those containers. Take the image above as an example: this shows that the landing page contains one main parent container, and inside that container are three items: a text element, an image element, and another container. Everything within the parent container (its child elements) will be displayed in a lighter purple color. This highlighting makes it easy to see what content belongs to what container and quickly navigate complex layouts.
Layers actions
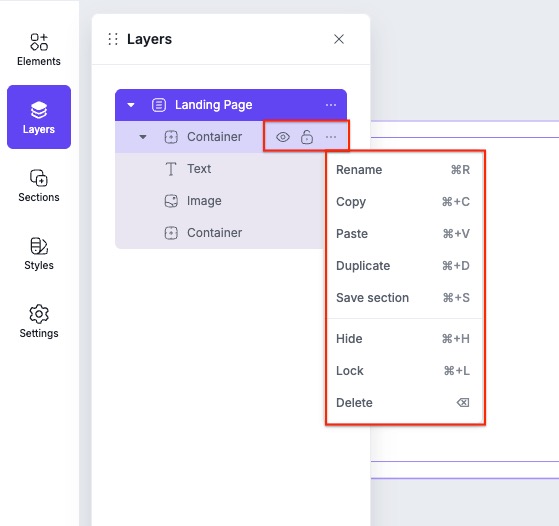
Layers actions let you manage and modify elements directly from the Layers panel. These actions are available through the quick actions menu for each layer/element.
Renaming elements
Renaming layers helps you stay organized as your page grows, especially when working with multiple sections or similar elements. Instead of guessing which text or image layer you're selecting, clear names make it obvious what each element is used for.
To rename a layer you can either:
- Double-click on the layer name
- Go into the quick actions menu and select Rename.
- Select the layer, then press ⌘R.
Duplicate an element
Duplicate instantly creates a copy of the element beneath the original in the layer hierarchy. This tool is ideal if you want a copy of an element in the same container, while the copy + paste option is better for moving elements across different sections.
To duplicate an element:
- Go into the quick actions menu and select Duplicate.
- Select the layer, then press ⌘+D.
Copy + paste
The Copy + Paste option lets you create a duplicate of an element that you can paste elsewhere on the page. Use this if you want to reuse the same element without rebuilding it.
To copy and paste an element:
- Go into the quick actions menu and select Copy (or ⌘+C).
- Click on a different container in the Layers hierarchy, then select Paste (or ⌘+V).

Save a section
The Save Section feature lets you save and store an entire section of your page (including all nested elements and styles) so you can reuse it across multiple pages. It's especially useful when you want to maintain consistency for headers, footers, CTAs, or any other repeated design blocks, across your pages.
What's important to note:
- You will only be able to save parent containers, not nested child containers.
- Parent containers: sit directly under the landing page in the hierarchy. Think of parent containers to be the sections on your page.
- Child containers (nested inside a parent) cannot be saved individually, but they will be included if you save the parent container.
To save a section:
- Go into the quick actions menu and select Save Section (or ⌘+S).
- After the section is saved, you can find this section under Sections>Saved Sections.
To learn more about Saved Sections, you can visit this article.
Hide an element
The Hide tool lets you temporarily remove an element from view without deleting it. This is useful when you want to test different layouts, simplify the canvas while editing, or keep content ready for later without cluttering the page.
To hide an element
- Go into the quick actions menu and select Hide (or ⌘+H).
- Or, click the eye icon when hovering your mouse over the element in the Layers panel.
Should you want to make a hidden element visible again, all you need to do is:
- Locate the hidden element in the Layers hierarchy.
- Go into the quick actions menu and select Show (or use ⌘+H).
Lock or unlock elements
The Lock feature lets you protect elements on your page so they can't be accidentally moved or edited. This is especially if you're collaborating with a team, ensuring that everyone can edit freely without affecting locked elements or sections.
To lock an element
- Go into the quick actions menu and select Lock (or ⌘+L).
- Or, click the lock icon when hovering your mouse over the element in the Layers panel.
To unlock an element
- Go into the quick actions menu and select Unlock (or ⌘+L).
- Or, click the lock icon when hovering your mouse over the element in the Layers panel.
Delete an element
The Delete action removed an element from your page entirely. Use it to clean up unused or unwanted elements and keep your layout organized, while making sure only the content you need stays on your canvas.
To delete an element
- Go into the quick actions menu and select Delete.
- Or, select the element in the Layers panel, then press Delete on your keyboard.
Reordering layers
Reordering layers lets you control how elements are stacked and displayed on your page. By dragging elements up or down in the Layers panel, you can adjust their visual hierarchy and fine-tune your page layout.
To reorder elements
- Click and drag the element you want to move within the layer hierarchy.
-
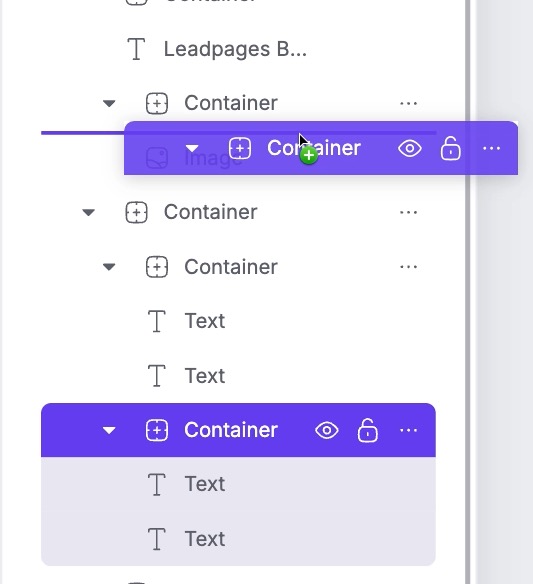
Watch for visual cues as you drag:
• Purple line — indicates you'll drop the element above or below another element, depending on where the line appears.
• Purple box — indicates you'll drop the element inside another element, making it a child of that container or element. - Release your mouse button to drop the element in the desired position.

Tips and frequently asked questions
[TIP] I'm having trouble moving an element from the bottom of the list to the top. What should I do?
If you're having trouble moving content far up or down in the Layers panel, try the following:
- Collapse container nests to reduce the height of the Layers panel. This gives you more room to drag and reposition elements.
- Move elements in steps. If dragging an element from the bottom to the top is tricky, move it in smaller increments instead of all at once.
Need more help?
You can always get in touch with our support team—just click Support in your Leadpages navigation menu, or submit a ticket ↗