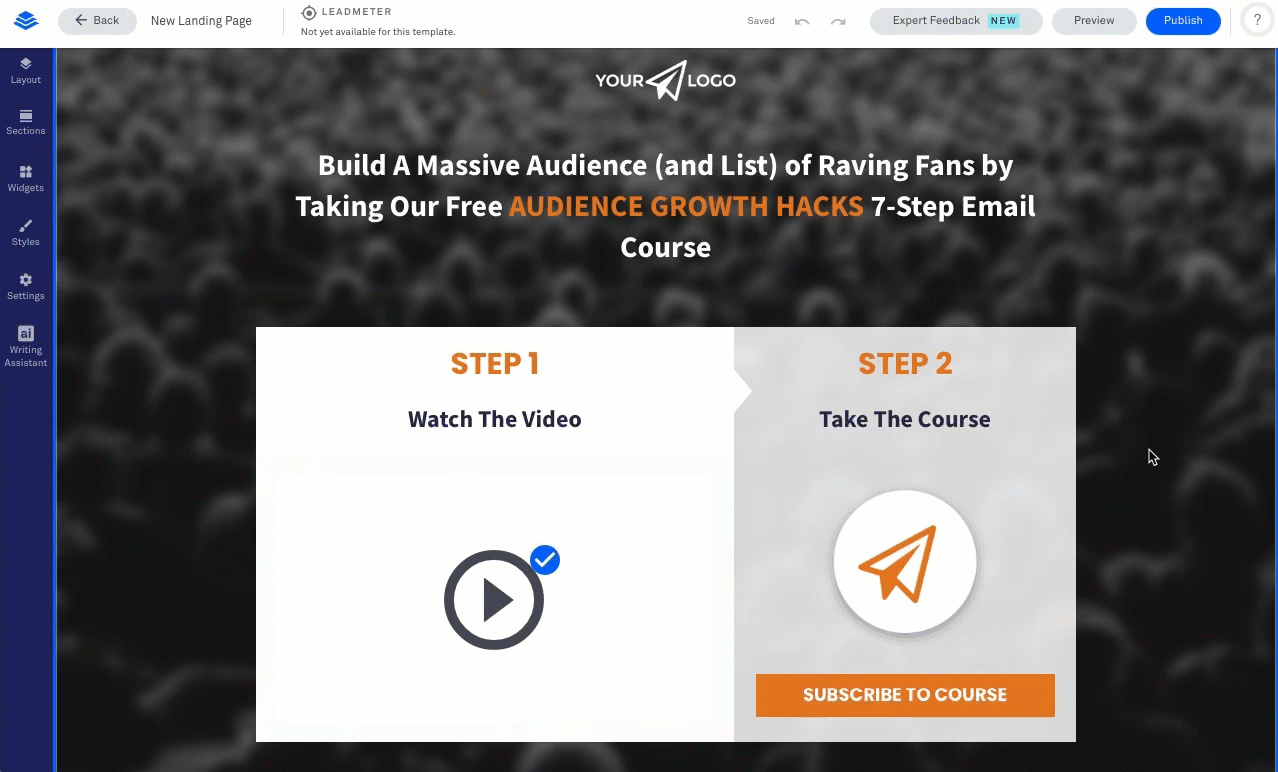
Choose a template
To get started, you’ll need to begin with a template. Follow these steps to select a template and begin building:
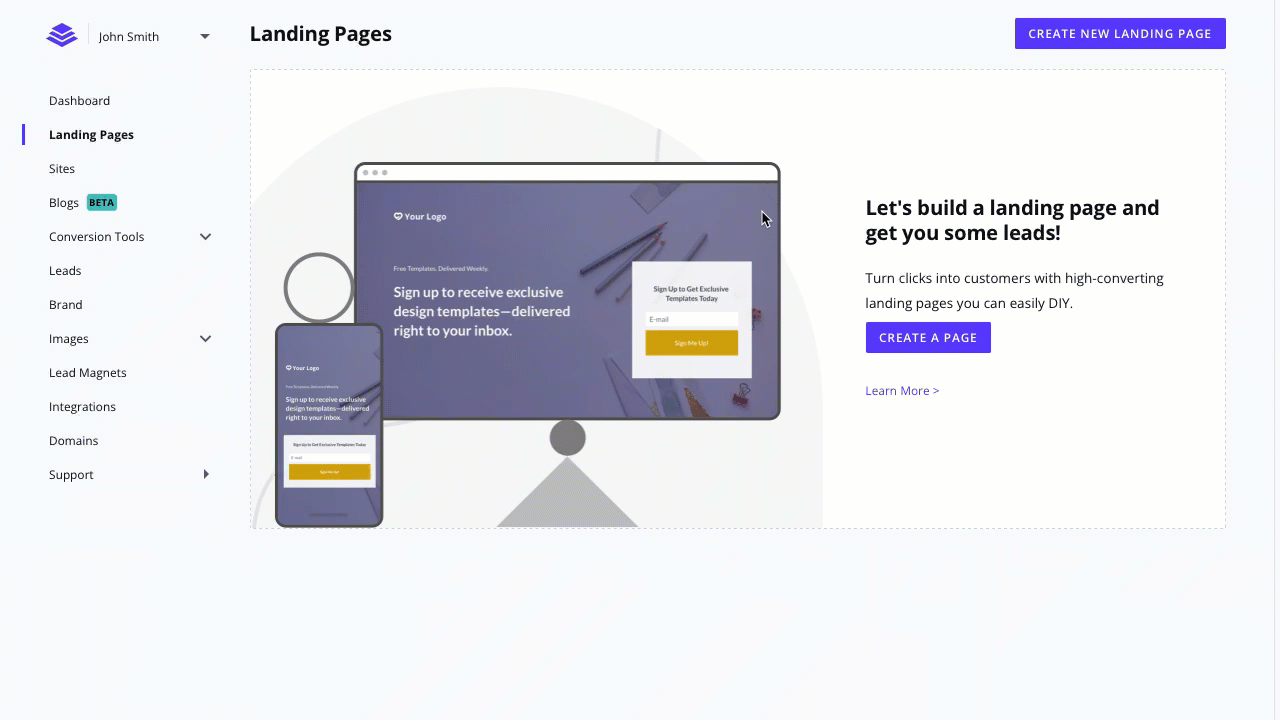
- Navigate to Landing Pages in your navigation menu and click the Create New Landing Page button at the top-right corner of the page.
- Filter by page type, industry, style, color, or simply browse through our entire collection.
- Hover over any template’s thumbnail, click Start Building to jump right in, or Preview to take a closer look.
- Once you have chosen a template, name your page, then click Continue.
Edit your page content
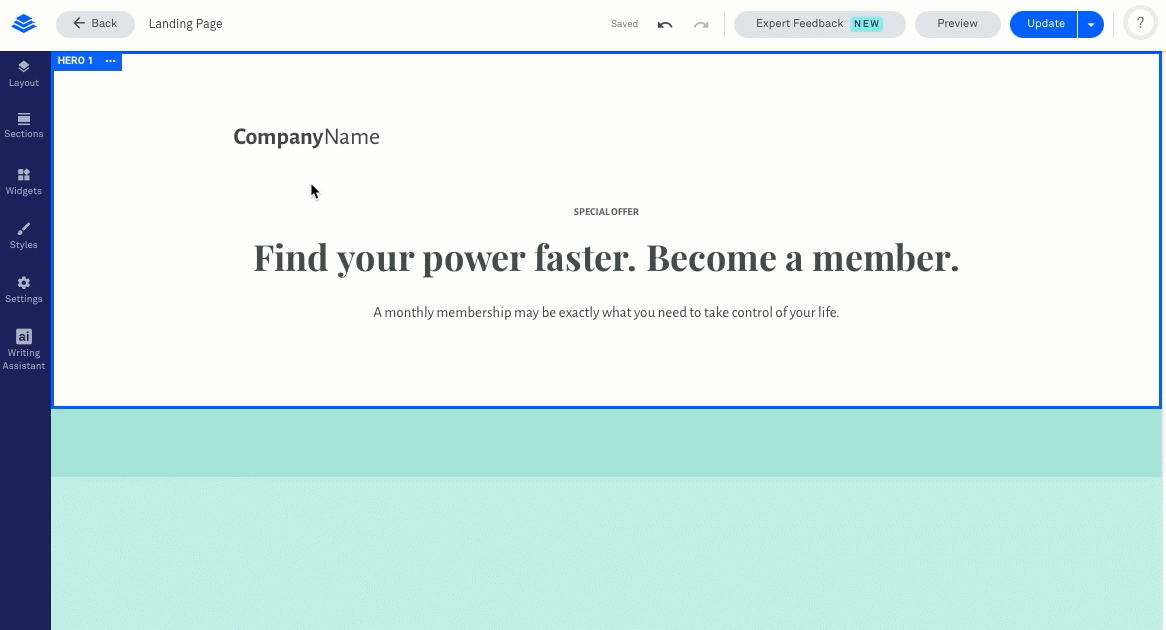
Every template includes pre-built sections with placeholder widgets. You can edit, rearrange, delete, and add new content to customize your page.
Our builder automatically saves changes as you go, so you don’t need to worry about losing any work. If you make a mistake, there are plenty of options to undo your edits.
Also, if you already have a Leadpages site, landing page, or pop-up built, you have the option to copy + paste a section onto your new landing page. Learn more ↗
You can also use section templates to help you add a new section to a page without designing it from scratch.
Edit widgets
Widgets hold all the content on your page—from text to images to buttons. Click on any widget to access its settings and edit its content.
Each widget also provides various customization and styling options. You can learn more about each widget’s options here: Using widgets
Other customization options
Each template is organized into distinct sections, columns, and rows—each of which you can customize to further edit your page.
We have in-depth resources you can check out to learn more here:
Builder best practices
While our builder automatically saves your edits, there are a few tips to keep in mind to get the most of logging your changes:
- Ensure that you’re working on a stable Internet connection.
- Keep your editing sessions in the builder to a single tab, and to a single browser.
- Close out the builder when you’re not actively working on editing. It’s better to close the page and come back to it later than leave the builder open for extended periods of inactivity.
- Keep in mind that browser extensions, like Adblocker or VPNs, can sometimes interfere with Internet connection. If you are experiencing any issues with preserving edits, consider turning off those extensions when accessing the builder.
In all cases, the best way to save your changes is to update your page.
Set up a form
You’ll need at least one form widget in order to collect opt-ins on your page. Most templates include an opt-in form by default, normally within an on-page pop-up. Here’s how to find and adjust your page’s form:
Form settings
- Look for a call to action (usually a button). Keep in mind that many templates include several calls to action.
- Hover over your call to action and click Edit Pop-Up (or click your call to action, then the link icon).
- Once you open the pop-up, hover over the form and click Edit Integrations (or click anywhere on the form to open its settings).
- Navigate through the three tabs, INTEGRATIONS, FIELDS, and ACTIONS, to adjust your form’s settings. When you’re finished, click Save & Close.
For more details, check out:
Attaching a lead magnet
You can incentivize visitors to opt into your page by offering a lead magnet. We recommend using an email service provider or CRM to send lead magnets, as they are better equipped for managing follow-ups and nurturing relationships. You can learn more about how to connect an integration to our form widget here.
If you have access to this legacy feature within Leadpages, you can learn more about how to set up a lead magnet here.
Thank you page settings
By default, visitors who submit a form on your landing page will get directed to a generic Leadpages thank you page. Since the Leadpages thank you page is not editable, if you wish to customize your thank you page, we suggest creating a custom one to connect to your opt-in page. Here are details on setting up a custom thank you page.
Publish your page
Before publishing your page, click the Preview button to see it in action—you can even make sure your page looks good on mobile devices.

When you’re satisfied, click Publish to go live! Each page you publish will get its own URL at your Leadpages Domain (hosted on our servers). Using that URL is the quickest way to share your page—but you can also publish your page to your own server or WordPress site.
To learn more about publishing, check out: Publishing your landing page
Test your page
We always recommend submitting a test before sending your page out into the world. We've got a video here demonstrating how best to test your page.
Create a Campaign or Funnel
Need more help?
You can always get in touch with our support team—just click Support in your Leadpages navigation menu, or submit a ticket ↗