Every page you publish within Leadpages is automatically hosted on our servers at the Leadpages domain you created when setting up your account, for example:
https://yoursubdomain.lpages.co/your-page-name
Are you brand new to the world of domains? Get familiar with these terms in our blog post here before digging into domain connection.
If you already own a domain, this guide will show you how you can easily
connect your domain to your Leadpages account and publish to that domain
(i.e. https://yourwebsite.com/your-page-name) instead of
your Leadpages domain.
Already have a site published at your domain?
If you already have a website on the domain you want to connect to Leadpages, we would recommend connecting a subdomain using that same root domain. You can still connect your domain to Leadpages, you'll just want to use a subdomain other than www.
Without a subdomain, connecting your domain to Leadpages with an existing site there will result in that site being overridden by Leadpages. Your site would not be deleted, but essentially hidden and inaccessible behind your Leadpages content.
For example, if you have a site published to www.yoursite.com, when connecting your domain to Leadpages, use a custom subdomain like so:
subdomain.yoursite.com
Learn more about subdomains below.
The fine print
There are a couple things you should know before connecting your domain.
- Pages are still hosted on our servers—we do not publish pages to your server directly.
- We’ll automatically secure all connected domains with an SSL certificate and HTTPS server. Get security details →
- A Pro or Advanced subscription is required to connect multiple domains to your Leadpages account. Learn more here.
- All AAAA records must be removed from your DNS settings before connecting your domain to Leadpages.
- If you have hosting with a provider separate from where you purchased the domain, simply follow the manual setup instructions when connecting, but perform them at your hosting service's cPanel, rather than domain provider.
- For landing pages, there are alternative publishing options in addition to connecting your domain.
- You will not be able to set Page Studio pages as homepages yet.
Connection guide
Leadpages has automatic domain connection with over 40 domain providers. Once you enter the domain you want to connect to, select the Automatic connection path and sign in to your domain provider to be immediately connected.
Here’s how to connect your domain to Leadpages:
Step-by-step
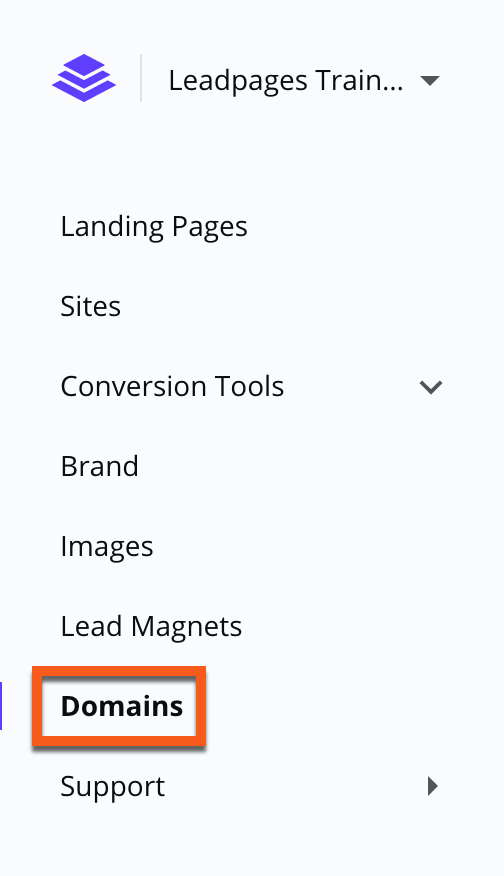
- Click Domains in your navigation menu.
- Click Connect A Domain.
- Enter the domain URL you'd like to connect to Leadpages
- Make sure to read the note about setting up a subdomain.
- Click Next and follow the in-app prompts. Depending on the domain provider you use, Leadpages will allow you to connect automatically to your domain provider for easy setup. If your domain provider is not supported or Leadpages is having a hard time reaching them, manual steps will be provided.
After you have successfully connected, learn more about publishing to your domain below.
Manual DNS records
If you are setting up your domain manually, enter the domain you wish to connect to in the Domains area and follow the Manual instructions given. You’ll need to add a CNAME and/or A Record to your domain provider settings, depending on the domain URL you are trying to connect.
To publish to a root domain (i.e. yourwebsite.com), you'll create an A Record in your domain provider settings.
- A Record to create
- Host (also called: Name, Hostname, @): @
- Value (also called: Points to, IP Address): 35.202.21.90
To publish to a subdomain (i.e. www.yourwebsite.com or sales.yourwebsite.com), you'll create a CNAME Record in your domain provider settings.
- CNAME Record to create
- Host (also called: Name, Hostname): www (or the subdomain you chose)
- CNAME (also called: Target, Points to, Address, Alias): custom-proxy.leadpages.net
Redirect root domain to subdomain or vice versa
If you'd like to redirect a root domain you've connected in Leadpages to a www subdomain or vice versa, you'll want to create both a CNAME and A Record in your domain provider settings (redirects will be set up automatically if you have chosen Automatic setup).
While connecting your domain to Leadpages, step-by-step directions will appear for redirecting.

After connection
Once connected and redirected, your root domain and subdomain will be displayed like so (Click the down_angle button to view the redirect.):

www subdomain.If you still see a “Pending Connection” message after 24 hours, follow the publishing steps below, which can sometimes resolve the issue. Otherwise, don’t hesitate to contact our amazing support team.
Helpful domain provider links
To get you started, we've linked below to some helpful tools from popular domain providers on how to edit DNS settings within their platform.
Root domain or subdomain
If you own a domain, you can connect it to Leadpages simply using your root domain or with a subdomain of your choice.
Root domain
A root domain is a domain without a subdomain like www before it. Publishing to a root domain is a great option if you own your domain but do not have a site built at that domain and would like to use it for publishing pages.
Once connected, publishing your pages to a root domain would look something like this:
https://yourwebsite.com/your-page-name
Subdomain
A subdomain comes before your root domain and allows you to publish content to the same domain while also categorizing or putting your content in a subfolder of sorts.
This is a good option if you have a live website you built outside of Leadpages published to your root domain.
Once connected, you’ll be able to publish pages to a subdomain like so:
https://subdomain.yourwebsite.com/your-page-name
For example, your URLs could look like this:
https://www.leadpages.com/blog
https://sales.leadpages.com
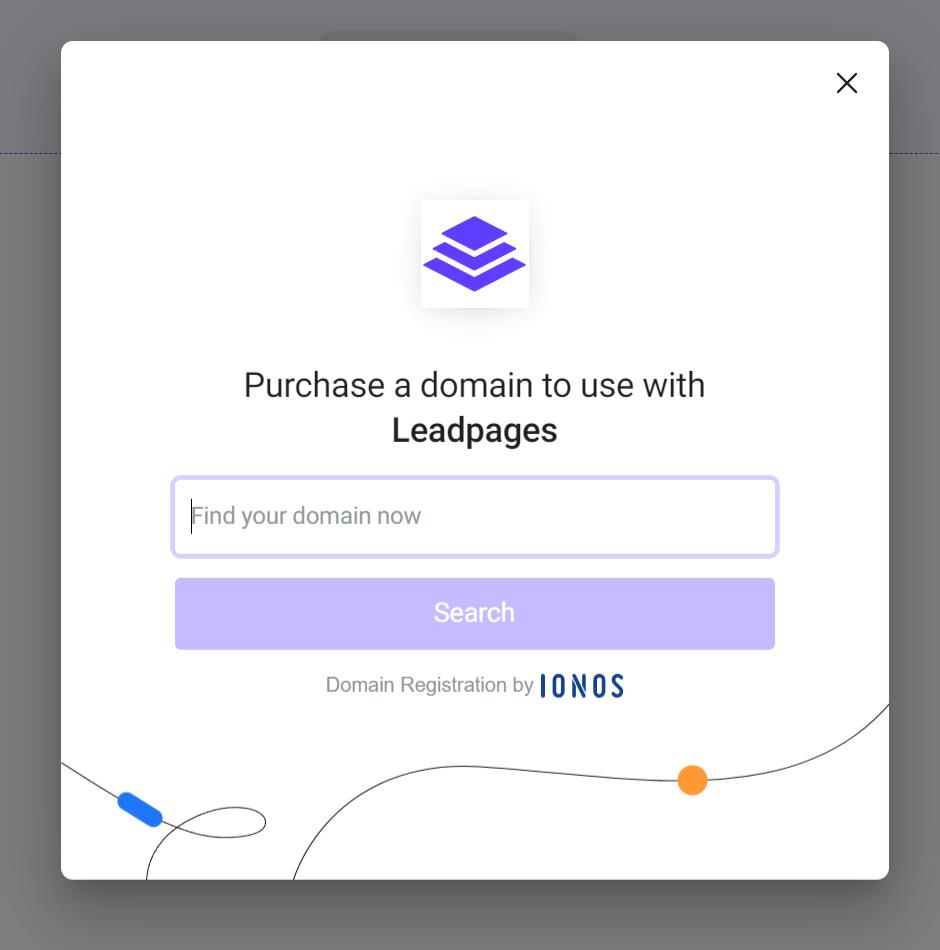
Purchase a domain
You can purchase a domain through IONOS and connect it automatically to your Leadpages account by clicking Domains and select "Purchase a Domain."
Connect additional domains
A Pro or Advanced subscription is required in order to connect multiple domains to your Leadpages account.
- Standard: connect 1 domain
- Pro: connect up to 3 domains
-
Advanced: connect up to 50 domains
- Sub-accounts: connect up to 50 domains
To connect an additional domain you own, simply start with step 1 above.
If you currently have a Standard subscription and would like to upgrade, learn how here.
Publish to your domain
Leadpages Site
Once you've got your domain connected to your Leadpages account, follow the steps in this article to publish your site there.
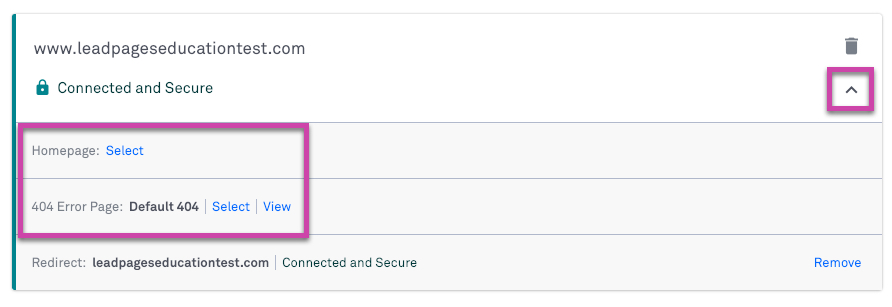
Landing page homepage and 404 error page
Once you've connected your domain in Leadpages, you can select specific landing pages you have created as your domain's homepage as well as a 404 error page for when visitors try to access an old page on your site or have mis-typed the page slug.
Under Domains in your account settings, click the down_angle button, then Select next to "Homepage" and/or "404 Error Page" to set your landing page.
Standalone pages
Follow these steps to publish any page to your domain:
- Click Landing Pages in your navigation menu, open the actions menu more for your page, then select Publishing Options.
- Under "Domain," click the drop-down.
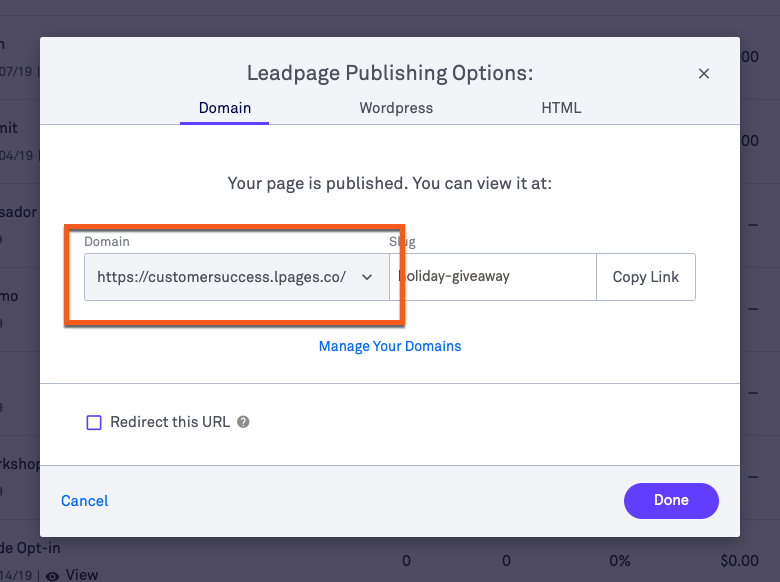
- Select your domain and enter a URL “slug”, which will appear at the end of your URL:
www.yourdomain.com/your-awesome-page. - Click Done.
Disconnect your domain
If you'd like to disconnect your domain from Leadpages, first remove the domain from Domains in your account navigation menu. Simply click on the trash icon next to the domain name you would like to disconnect.
A Leadpages 404 page will show at that domain until you have edited your DNS records to point elsewhere. Any assets published to that domain in Leadpages will be unpublished and placed in draft mode.
Frequently asked questions
How is domain security handled?
We support https:// and SSL protocols by default for all pages hosted on our servers. In fact, you don’t need to purchase your own SSL certificate. Learn more about security ↗
We’re not able to automatically secure pages hosted on your own server (such as through your WordPress site or our HTML download option).
My domain is on Cloudflare and when setting up my CNAME, I'm getting an error. Now what?
To connect a Cloudflare domain to your Leadpages account, make sure the SSL options on your domain are set to Full SSL or Full SSL (Strict). Here's a resource from Cloudflare on their SSL settings.
Need more help?
You can always get in touch with our support team—just click Support in your Leadpages navigation menu, or submit a ticket ↗