The text element is the primary tool for adding text to Page Studio pages. It allow you to add headings, paragraphs, or any custom text, and gives you control over both the content itself and how it looks.
The fine print
- This article goes over how to use the text element in Page Studio. If you're using the Classic Builder, you can read more about how to use the text widget here.
- Text elements, by default, will be linked up to the page's style kit.
- You can customize text elements independent from the style kit by detaching it from Styles.
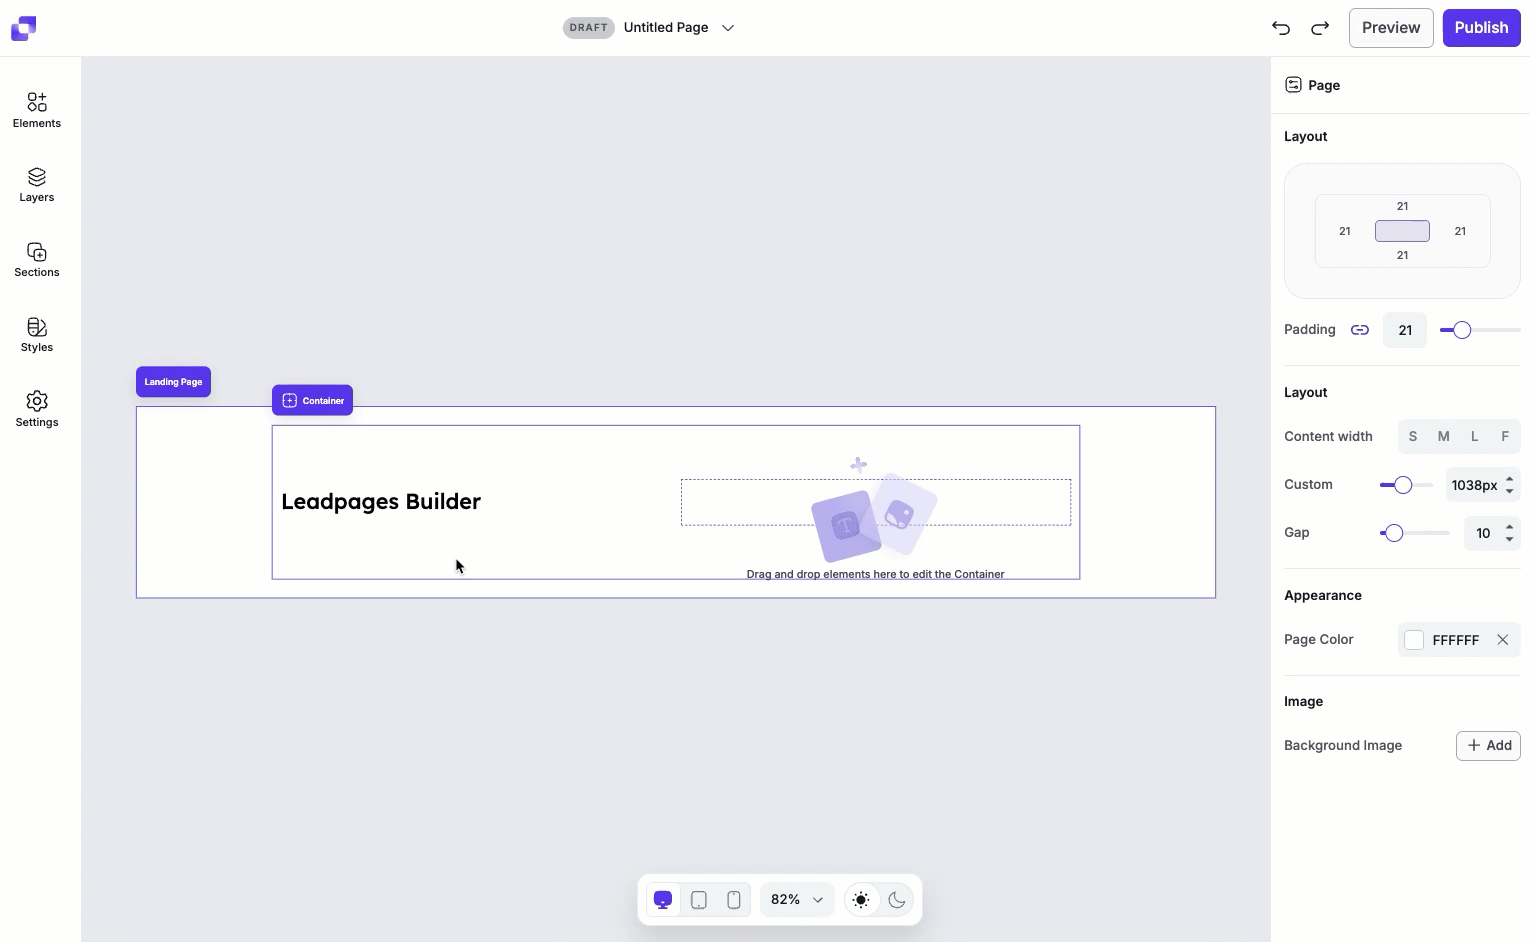
Adding a text element to your page
To get started, simply click and drag the text element to the location you wish to add text, or use an existing text element from one of our templates.
- Open the Elements panel.
- Drag and drop the text element onto your page.
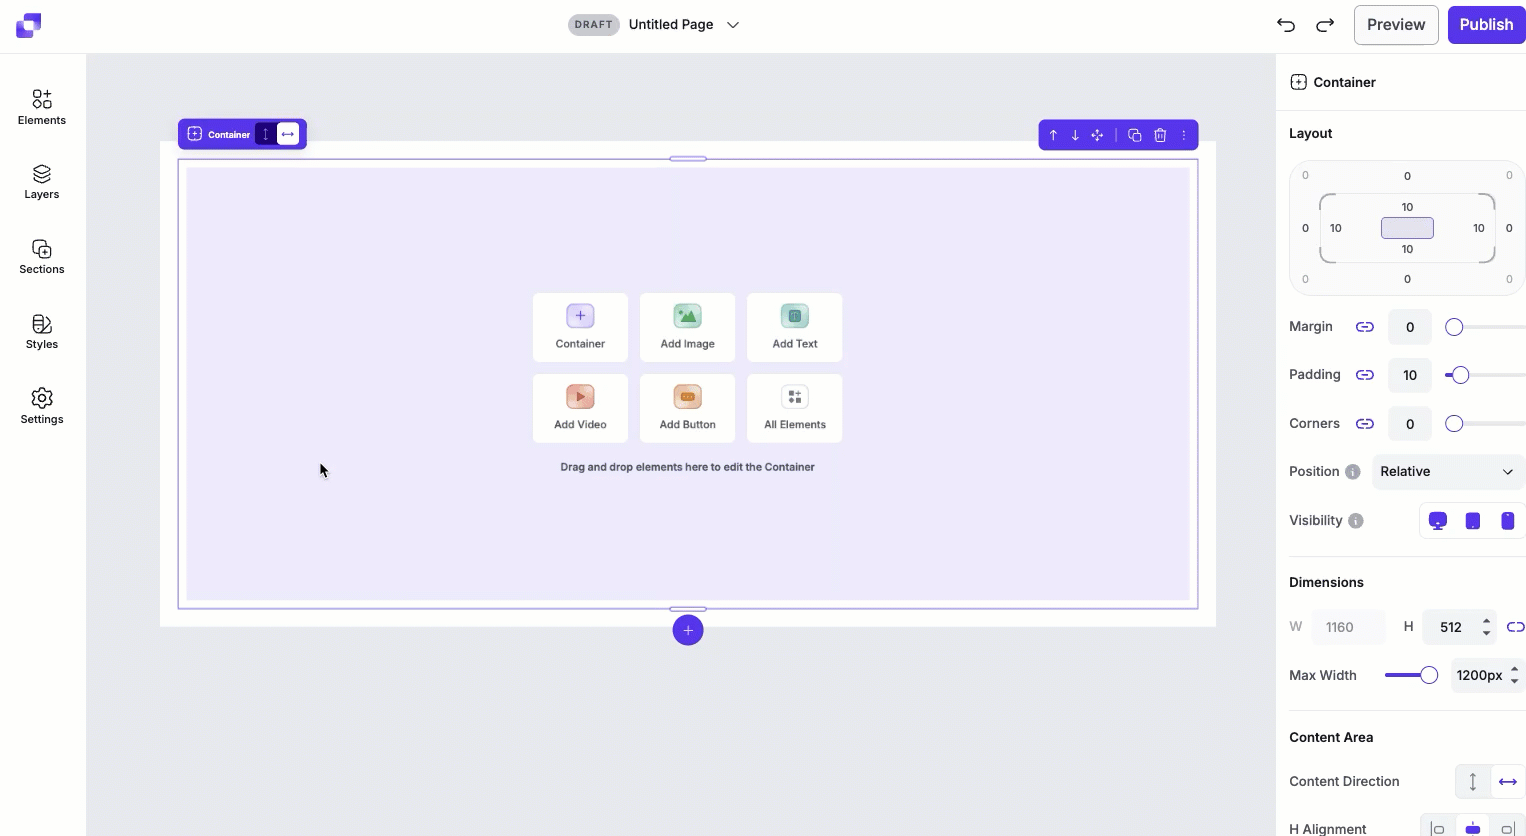
- Alternatively, if you have an empty container, you can select Add Text to quickly add one.
- Once added, you can click on the text on the canvas to access its settings in the Edit panel.
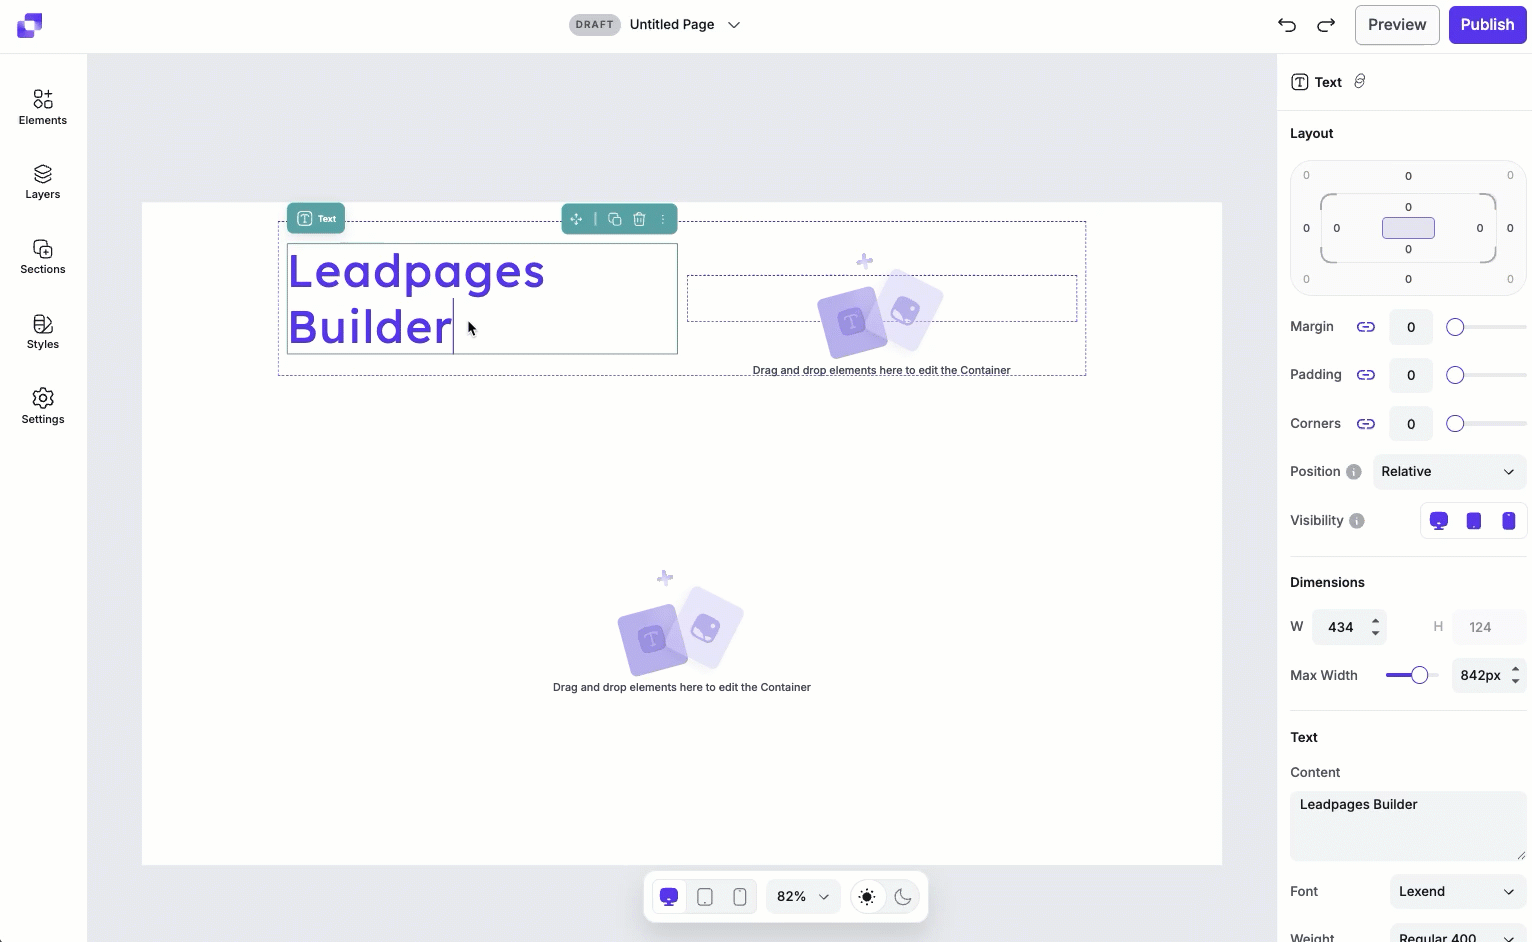
Edit text in an element
To edit text, simply click on the text element directly on the canvas. After clicking on the element, you can type or delete existing text. You can also edit the text in the element's Edit panel, under Text>Content.
Tips
- We support multiple paragraphs, so you can hit the return/enter key to add even more content. Use shift + return/enter to create a new single-spaced line.
- If you make a mistake, you can use standard undo and redo keyboard shortcuts (Cmd/Ctrl + Z to undo, and Cmd/Ctrl + Y to redo).
For the best results, type your text directly into Leadpages, or paste it from a plain-text editor to avoid carrying unwanted formatting.
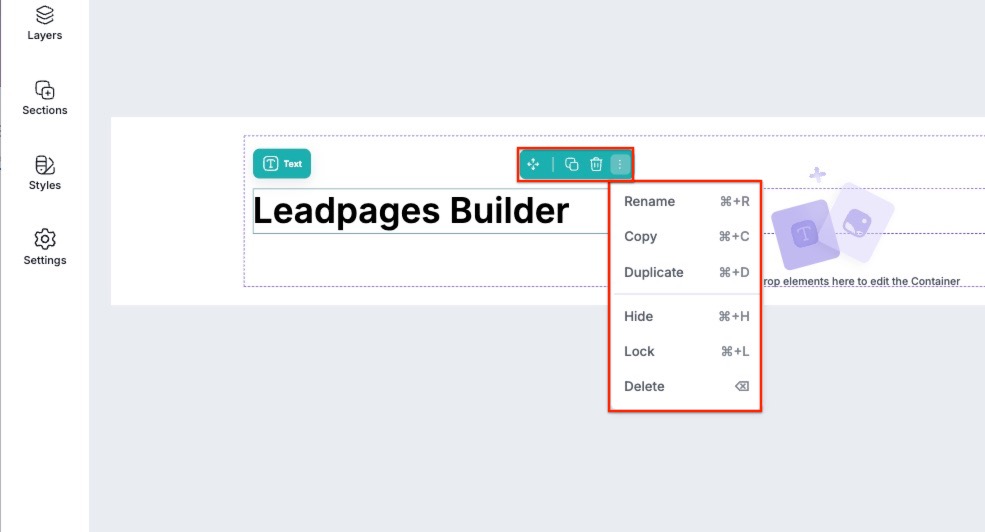
Canvas quick actions
Each text includes a quick actions menu that lets you make fast changes. From this menu you can:
- Rename the text element.
- Copy the text to paste elsewhere on the page.
- Duplicate the text, which will appear under or to the right of the text (depending on the direction of the container the text sits it).
- Hide/Show the text.
- Lock/Unlock the text. Locking an element can help prevent accidental edits or movement.
- Delete the text from the page.
Tips:
- Rename text elements to help organize your page. When looking at the Layers panel, you'll be able to quickly tell which text element is which.
- After hiding an element, you can make it visible again by locating the element in the Layers panel, then clicking the crossed-out eye icon.
Text layout settings
Under Layout, you can adjust the padding, margin, and corners to control how the text element fits within its parent container. You’ll also be able to adjust its position and visibility. To learn more about the Layout settings, in general, you can visit this article.
Global text styles
Global text styles define the default styling for each text type (such as headlines, body text, and linked text) and are applied to any text element attached to Styles. In the Page Builder, global text styles live in the Style Kit, which you can find in the Styles panel.
By default, any text element you add to your page is automatically attached to your page's style kit, even if you haven't explicitly created or applied one yet.
If you haven't set up a style kit yet, you can visit this article to learn how to create and customize one.
Change global text type
- Click the text element on the canvas.
- In the Edit panel, navigate to the Text section.
- Next to Type, select a text type from the drop-down menu.
- The selected text type is applied immediately, and will be reflected on the canvas.
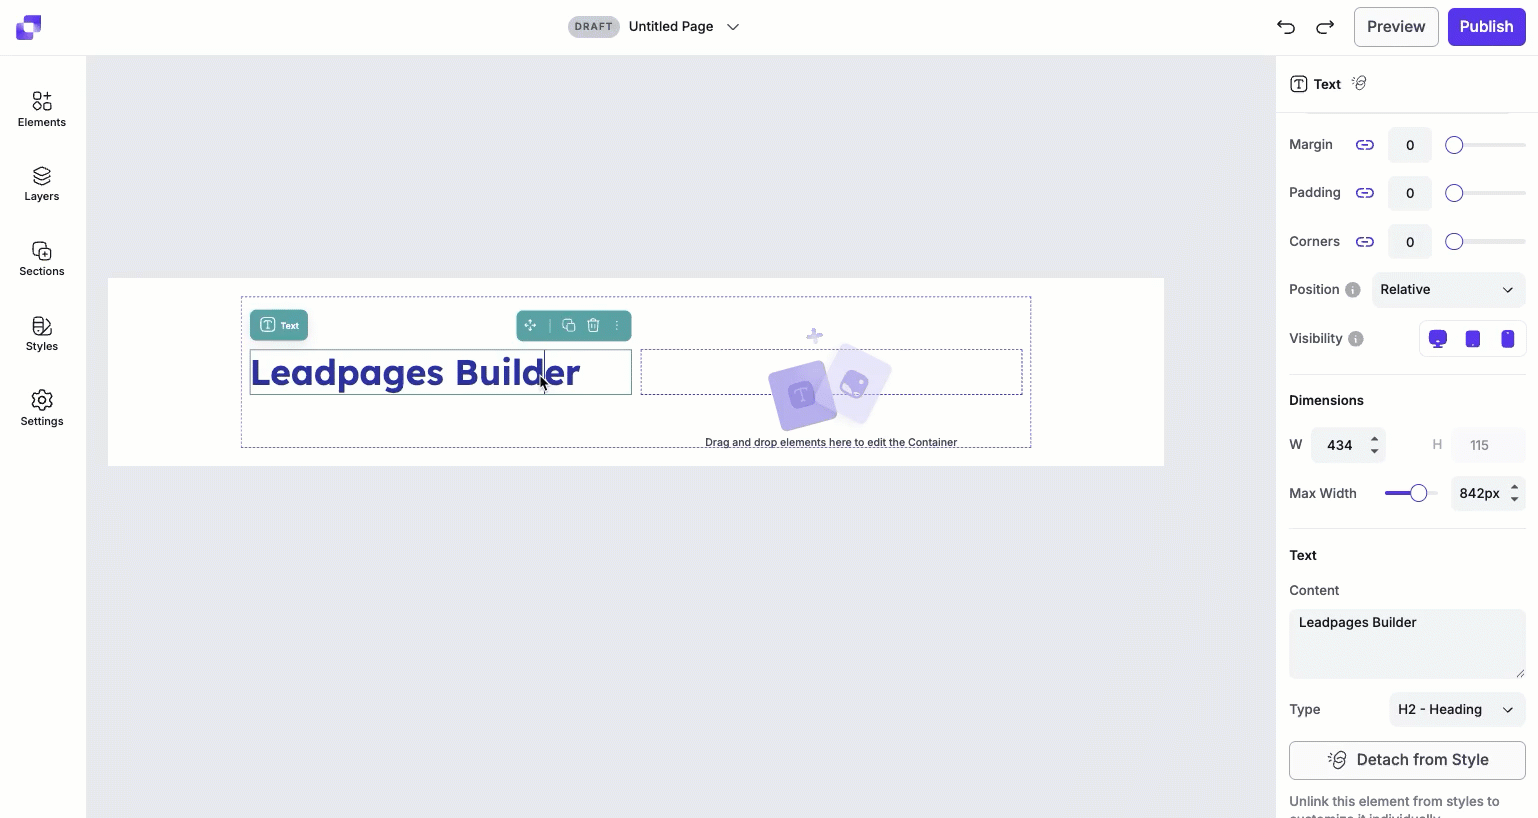
Detached text element styles
Should you want to customize a text element independently from your page's style kit, you can detach it from Styles.
- Click the text element on the canvas.
- In the Edit panel, navigate to the Text section.
- Click the Detach from Style button.
Once detached, the text element is no longer linked to the global style kit and can be customized.
Available style controls
When a text element is detached, you can customize the following settings:
- Font type
- Font weight
- Text color
- Fill color
- Text size
- Line height
- Alignment settings
- Formatting options (bold, italic, underline, and more)
Changes made to a detached element affect only that element, and will not impact other text on the page.
Available text types
Headline SEO tags
Some users want to make sure they have an SEO H tag on their page. You can make sure of this by using the headline types, as each size setting within the headline types corresponds with an H tag like so:
- Headline 1 = <h1>
- Headline 2 = <h2>
- Headline 3 = <h3>
- Headline 4 = <h4>
- Headline 5 = <h5>
- Headline 6 = <h6>
More on tracking and SEO here.
Body text
- Body Small
- Body Medium
- Body Large
Links
- Link 1
- Link 2
Available font types
Below are the fonts available in Page Studio.
| Anton | Archivo | Barlow | Bebas Neue |
| Bitter | Bricolage Grotesk | Caprasimo | DM Sans |
| DM Serif Text | EB Garamond | Exo 2 | Inter |
| Lato | Lexend | Libre Bas | Lora |
| Manrope | Merriweather | Montserrat | Noto Sans |
| Nunito Sans | Open Sans | Oswald | Outfit |
| PT Sans | Playfair Display | Poppins | Quicksand |
| Raleway | Roboto | Space Grotesk | Titillium Web |
| Ubuntu | Work Sans |
Creating text links
Text links allow you to turn text into a clickable action that directs visitors to another Page Studio landing page, section, or external URL.
- Click the text element on the canvas, and highlight the text you want to add a link to.
- In the Edit panel, navigate to Interaction.
- In the Event dropdown menu, choose one of the available actions:
• Link to a landing page
• Link to a page section
• Link to an external URL - From there, fill in the required fields to set up the link.
Add superscripts, symbols, and emojis
On a Mac
To add a trademark symbol, superscripts, or emojis to a text element on your page, place your cursor where you would like to insert it. Then navigate to your browser's top menu bar and click Edit, then Emoji and Symbols. A window will appear where you can search and select the character you're looking to insert. Once selected, the character will be inserted onto your page.
On a PC (Windows 10 Chrome)
To add a trademark symbol, superscripts, or emojis to a text element on your page, place your cursor where you would like to insert it. Right-click, then select Emoji. A window will appear where you can search and select the character you're looking to insert. Once selected, the character will be inserted onto your page.
Frequently asked questions
Can I upload my own text/font style?
At this time, no custom fonts uploaded to the account will appear within Page Studio pages.
What if I create my text in another document first and I don't want the text formatting to carry into Leadpages?
You can use keyboard shortcuts to paste without formatting.
- Mac: Option + Cmd + Shift + V
- Windows: Ctrl + Shift + V
Can I animate my text?
Yes! If you navigate to the Animation section in the text element's settings, you'll be able to apply an animation type.
How do I add a bulleted list?
You can manually create a bulleted list by:
- Pasting in a bullet point character (•) at the beginning of each line
- Adjust spacing, alignment, or indentation using the text style settings as needed.
Need more help?
You can always get in touch with our support team—just click Support in your Leadpages navigation menu, or submit a ticket ↗