The Page Studio countdown element creates a timer that helps create urgency and highlight key dates or deadlines on your page. Whether you're running a limited-time sale or a daily promotion, the countdown element encourages your visitors to take action.
The fine print
- This article goes over the Page Studio countdown element. To learn more about how to set up a countdown widget in the Classic Builder, visit this article.
- There are three countdown timer types to choose from: standard, daily, and evergreen.
- The countdown element displays time based on the visitor's local time.
Adding a countdown to your page
To get started, simply click and drag the countdown element to the location you wish to add a timer.
- Open the Elements panel.
- Drag and drop the countdown element onto your page.
Canvas quick actions
Each countdown includes a quick actions menu that lets you make fast changes. From this menu you can:
- Rename the countdown element.
- Copy the countdown to paste elsewhere on the page.
- Duplicate the countdown, which will appear under or to the right of the countdown (depending on the direction of the container the text sits it).
- Hide/Show the countdown.
- Lock/Unlock the countdown. Locking an element can help prevent accidental edits or movement.
- Delete the countdown element from the page.
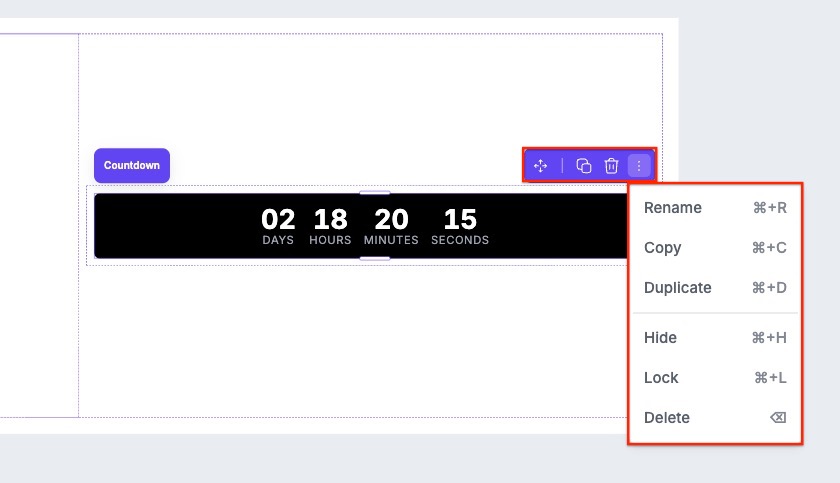
NOTE: When an element is locked, you will not see the Move icon in the quick actions bar.
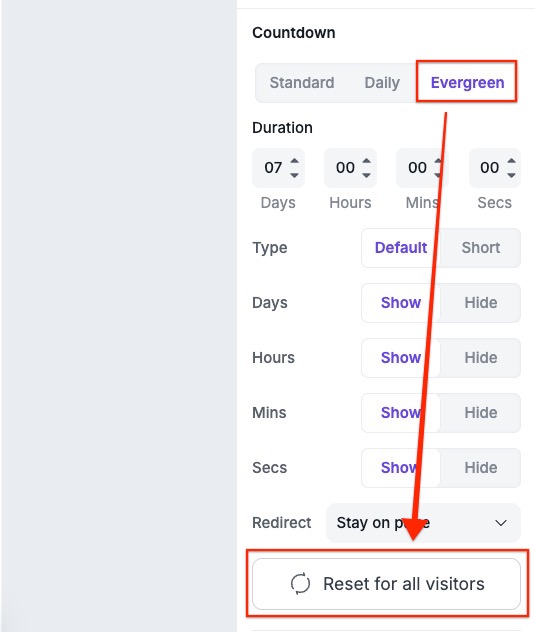
Countdown timer types
You can choose from three types of countdown timers: Standard, Daily, and Evergreen. Each type works slightly differently, so it's important to select the one that fits your campaign goals.
Standard
- The Standard timer counts down to a specific date and time you set.
- This is ideal for limited-time offers, event deadlines, or sales ending on a fixed date.
Daily
- The Daily timer resets every day at a specific time.
- This is great for daily deals, flash sales, or recurring events.
Evergreen
The Evergreen timer is unique to each visitor, and it starts based on when they first load the page in their browser.
- When a visitor lands on the page, the timer begins based on the duration you set (3 days, 28 hours, or 2 hours, etc.).
- The timer stores the visitor's start time in their browser (usually via cookies or local storage).
- If the visitor refreshes the page or comes back later on the same device/browser, the timer will continue from where it left off.
- This type of timer is great if you want to create a sense of urgency that is personalized for each visitor.
NOTE: If the visitor uses a different browser or device, or clears their browser cache, the timer will start fresh.
You'll be able to reset the timer for everyone who has visited your page by clicking on the Reset for all visitors button within the evergreen timer settings. Once clicked, you'll need to publish your page to apply the changes.
Choosing a timer type
- Click the countdown element on the canvas.
- In the Edit panel, scroll to the Countdown section.
- Select the timer type you want: Standard, Daily, or Evergreen.
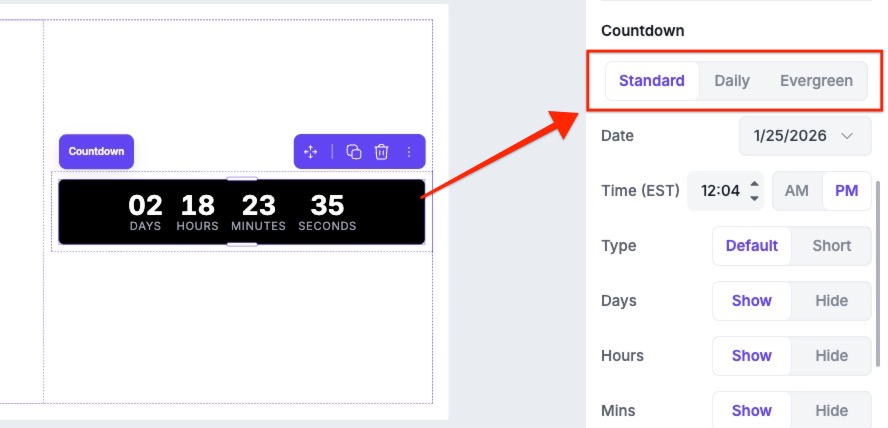
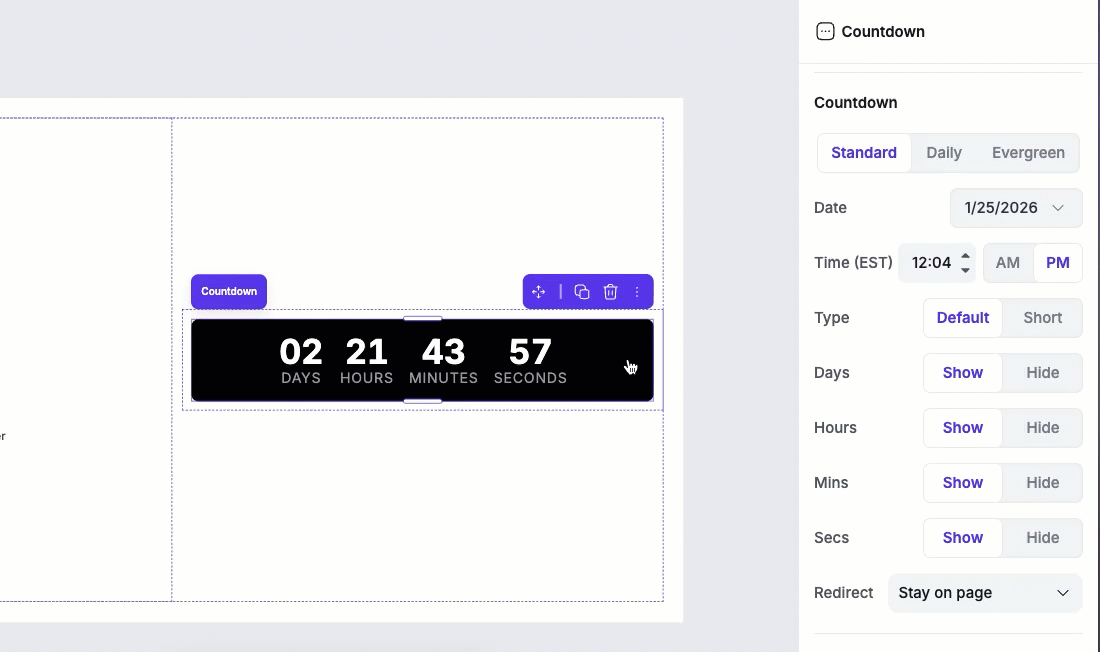
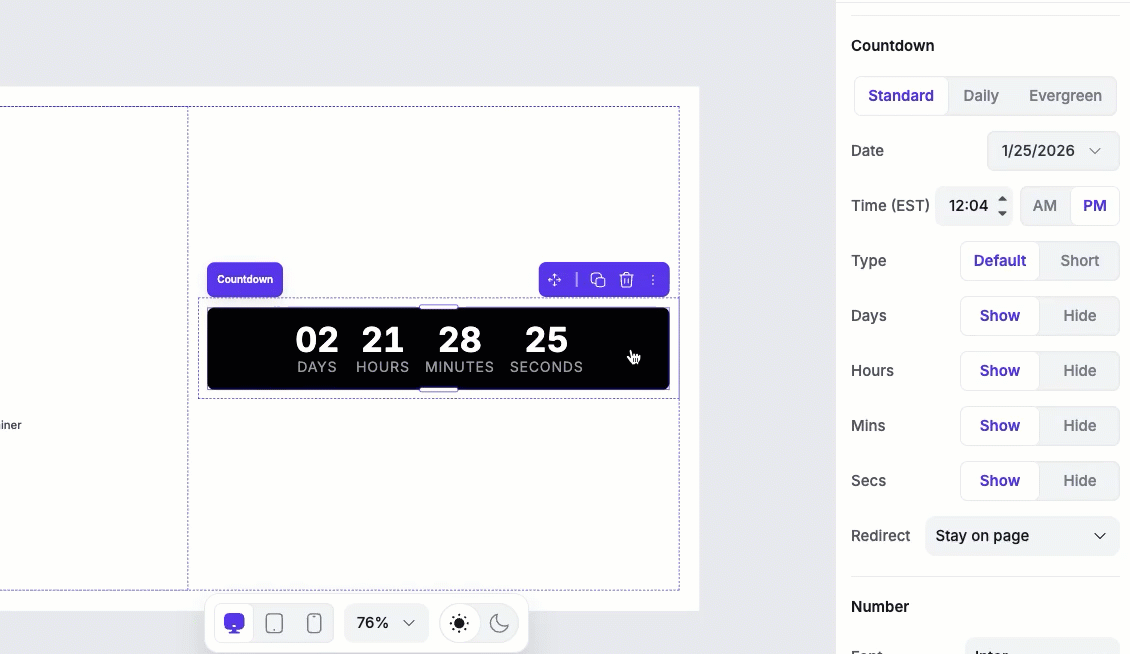
Setting the date and time
Click on your countdown element to access the settings of it in the Edit panel. In the Countdown section, you can set when your timer ends or resets. The date and time options appear under the timer types, and the fields you'll see depend on the type you select.
- Standard Timer: Lets you choose both a date and time for the timer to end.
- Daily Timer: Only includes a time setting, since it resets every day.
- Evergreen Timer: Lets you set a duration instead of a fixed date.
To change the time itself, click and type your time at the top of the panel—then you can toggle between AM and PM by clicking the respective label.
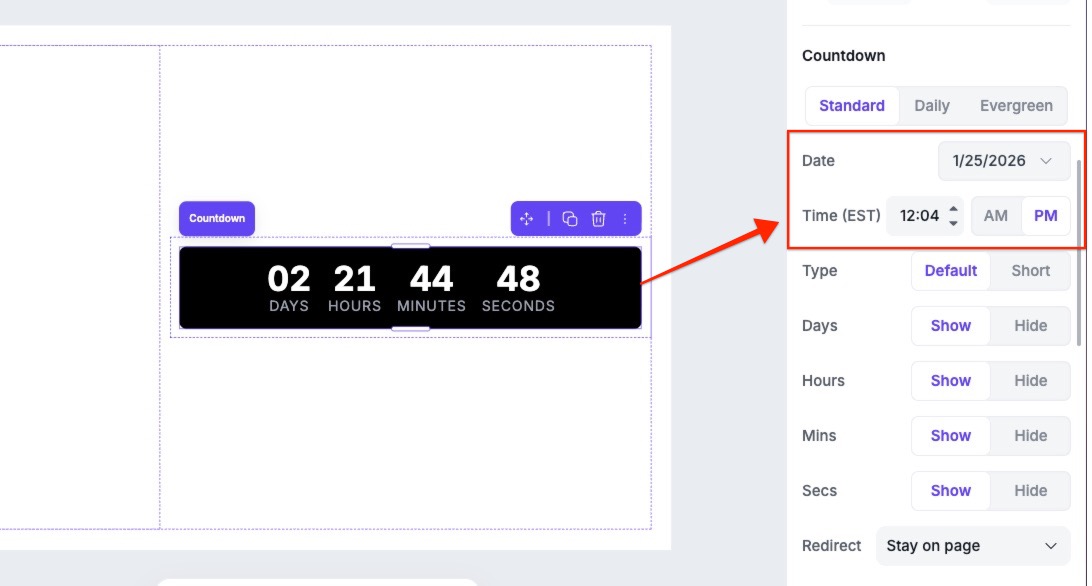
The date and time you configure here will match your computer’s time zone—so if someone in a different time zone views your page, the timer’s expiration will not be adjusted. You can only set a date in the future, not the past.
Customize the time unit labels
You can control which time unit appears in your countdown and how their labels are displayed. These settings give you flexibility to simplify or shorten the countdown's appearance.
Hide or show time units
Each time unit (Day, Hours, Minutes, etc.) will have a toggle next to it.
- Switch the toggle to Hide if you don't want that unit to appear, or Show to display it.
Shorten the time unit labels
Under the Type toggle, you can choose between Default and Short:
- Default: Displays the full label (e.g., "Days")
- Short: Uses only the first letter of each label (e.g., "D")
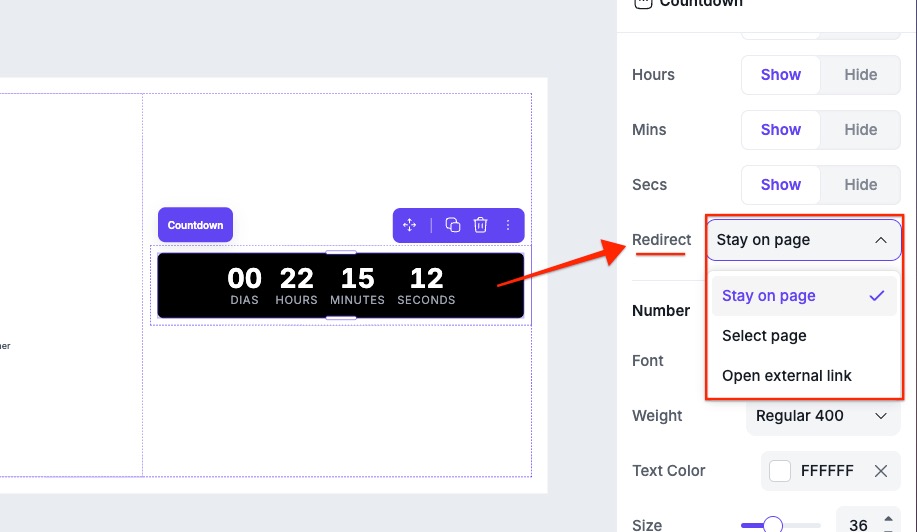
Countdown redirect options
In the countdown element's settings, you can set your timer to trigger different actions when it runs out with the Redirect dropdown. Here are the available options:
- Stay on page: The visitor will remain on the page once the countdown expires.
- Select page: The visitor will be redirected to another one of your Page Studio landing pages.
- Open external link: The visitor will be redirected to an external URL of your choosing.
Once you select a redirect option, fill in the fields that appear by choosing a landing page or entering a URL.
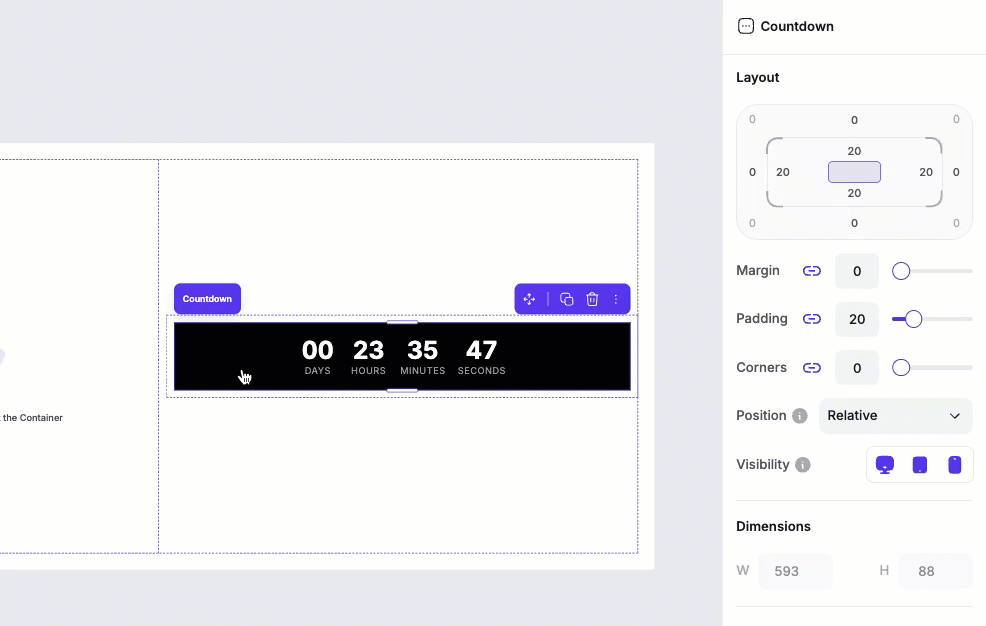
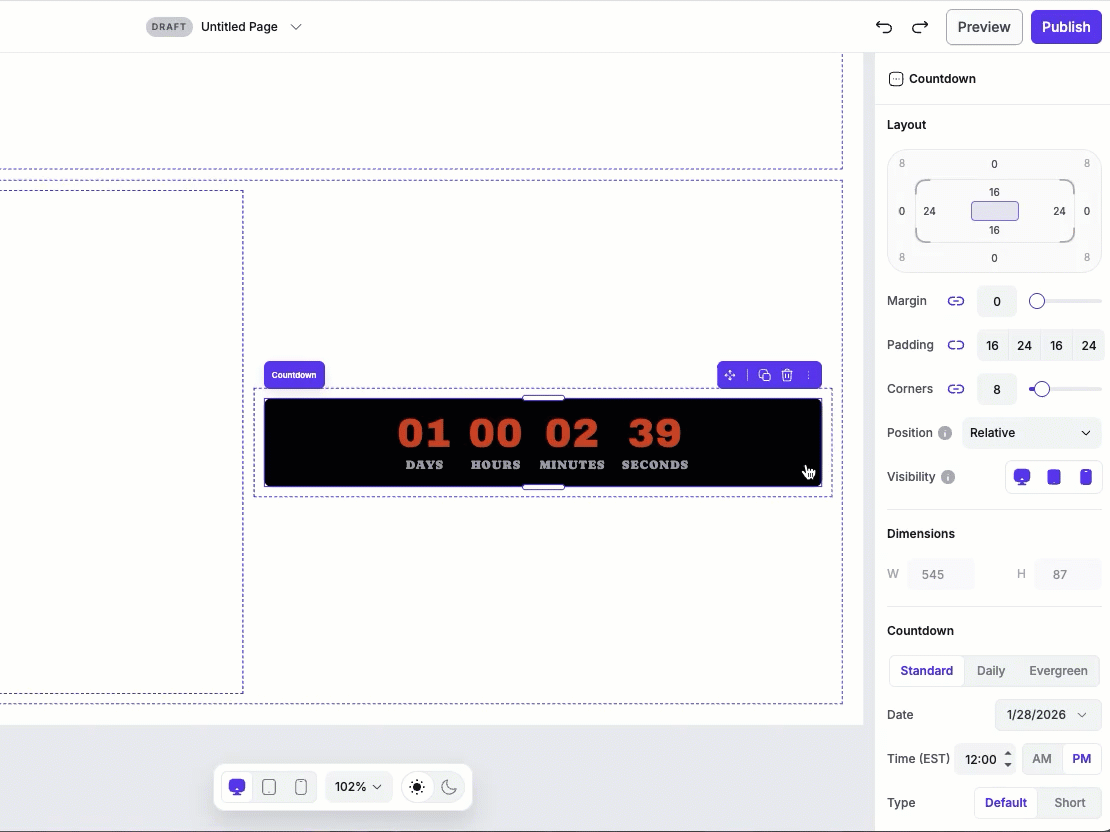
Countdown layout settings
Under Layout, you can adjust the padding, margin, and corners to control how the countdown element fits within its parent container. You’ll also be able to adjust its position and visibility. To learn more about the Layout settings, in general, you can visit this article.
Countdown styles
You can customize the look and feel of your countdown element by adjusting number styles, label styles, and overall appearance.
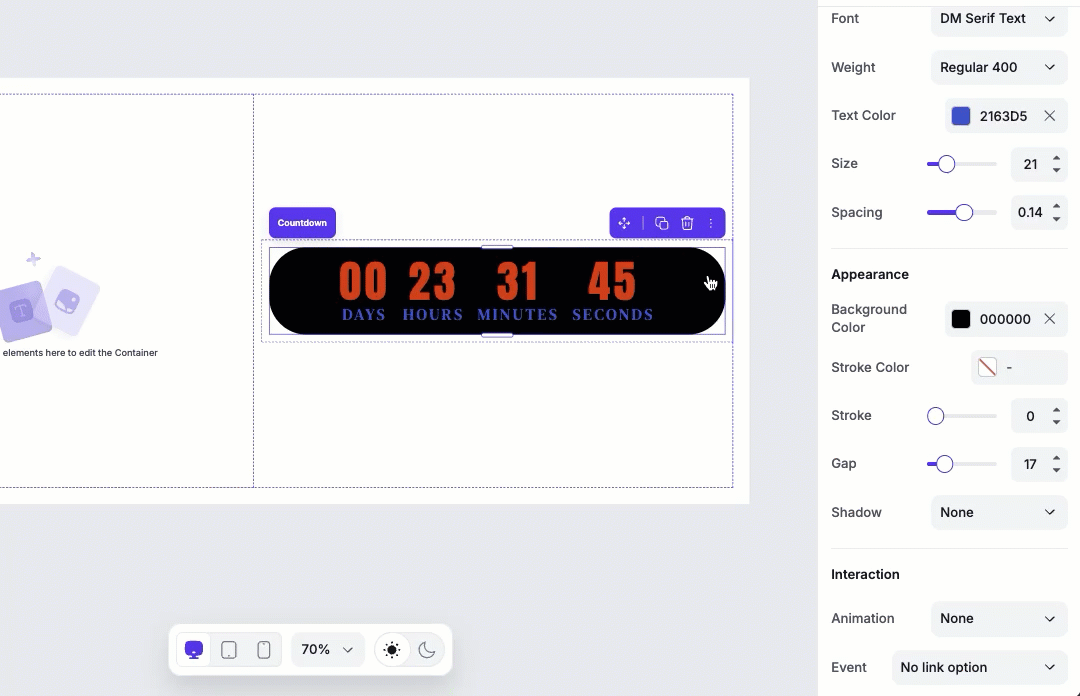
Number styles
Adjust the font, size, weight, color, and spacing of the number labels in the countdown. These settings only affect the numeric values, not the labels underneath.
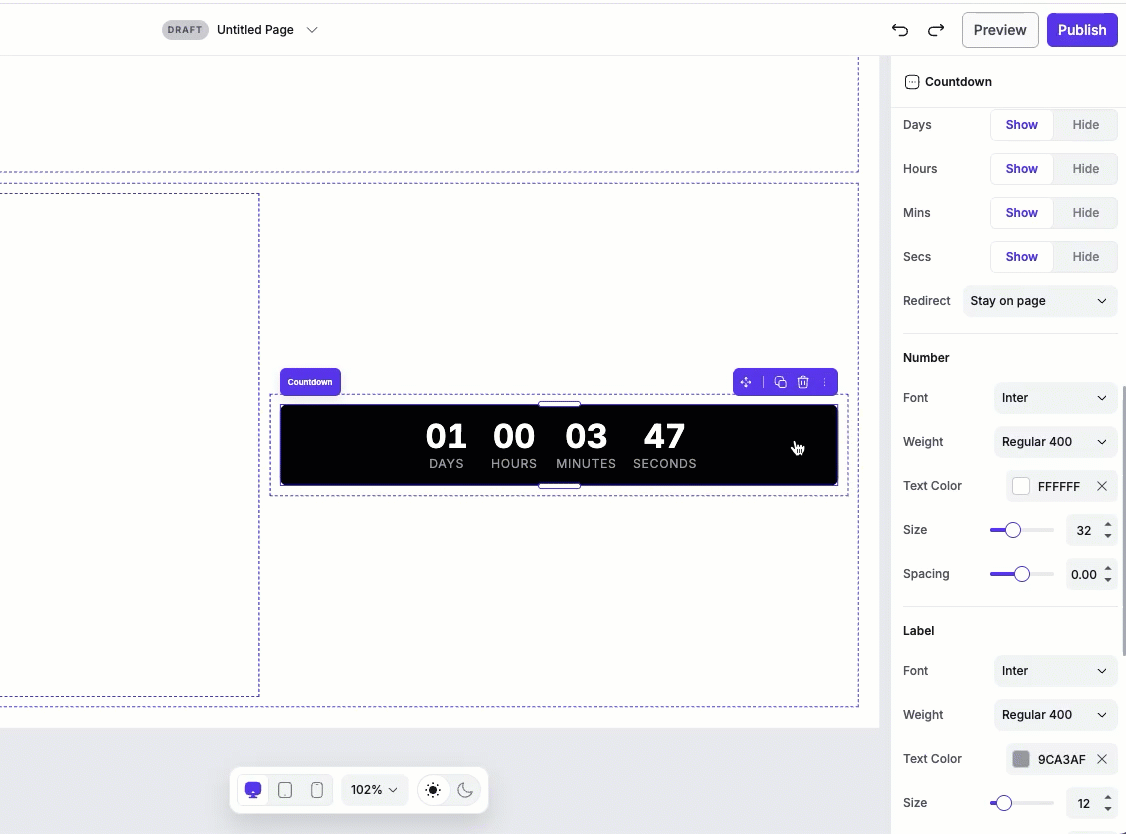
Label styles
Adjust the font, size, weight, color, and spacing of the time unit labels (Days, Hours, Minutes, Seconds).
Edit label text
To edit a unit label, double-click the unit on the canvas. You'll be able to type in the labels into a different language or use custom abbreviations.
Appearance
The Stroke settings let you add a border around the countdown:
- Background color: Change the element's background.
- Stroke color: Sets the border color.
- Stroke width: Controls the thickness of the border.
- Gap: Adjusts the spacing between the numbers and labels.
-
Shadow: Adds a drop-shadow behind the countdown for depth.
- When the shadow option is selected, click the Edit button that appears next to the field to customize the shadow settings (color, blur, offset, etc.)
Frequently asked questions
Can I change the language of my countdown timer?
You sure can! You can double-click the unit label on the canvas to replace the text and write in your preferred language.
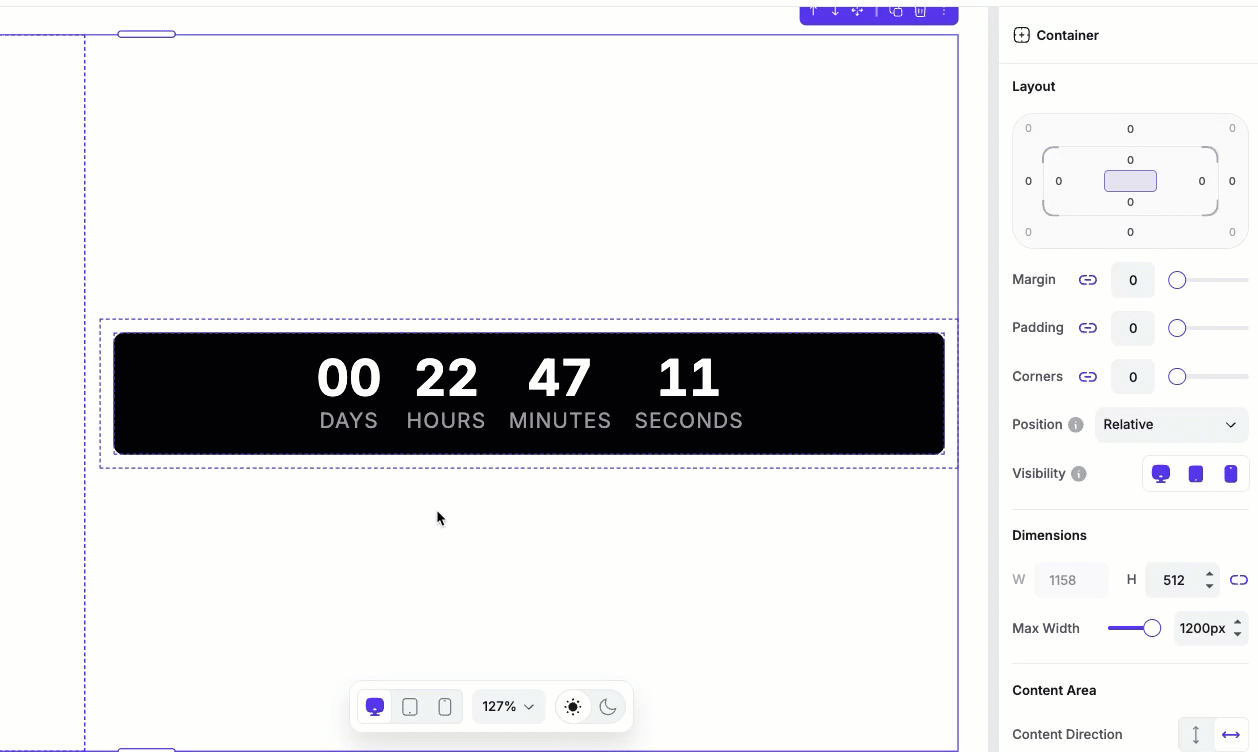
Can I rotate the countdown timer so it displays vertically instead of horizontally?
Absolutely! The countdown element can be forced into a vertical orientation by making the container it sits in too narrow to hold it horizontally. Here’s an example of a vertical countdown timer: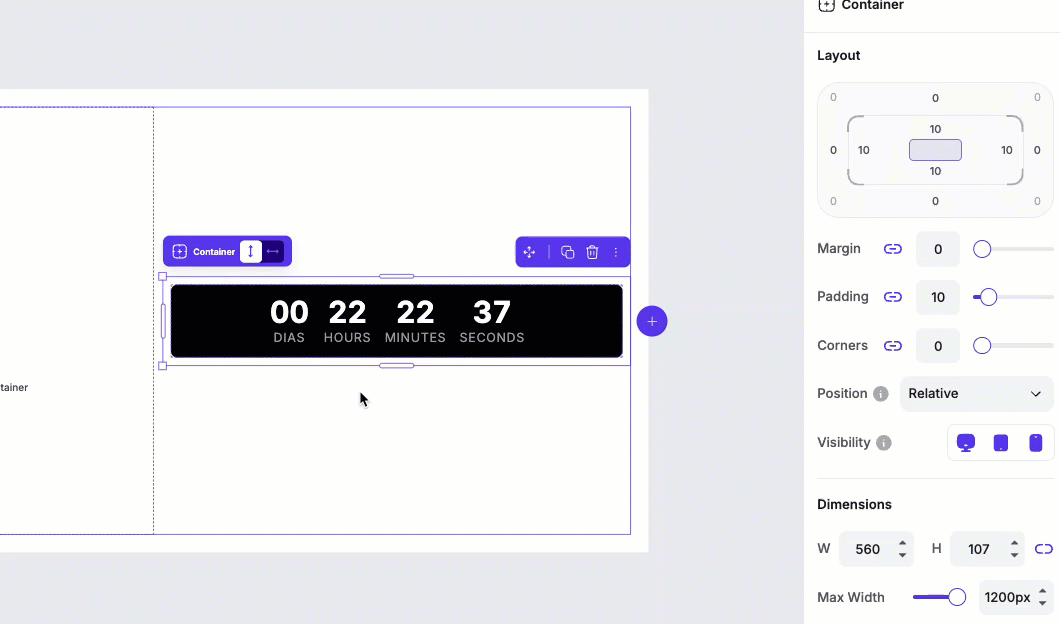 To return the countdown timer back to a horizontal orientation, simply widen the container that the element sits in.
Can I set up the countdown to hide certain sections on the page once the timer reaches zero?
At this time, the countdown will only be able to redirect visitors to another Page Studio landing page, an external URL, or remain on page.
Need more help?
You can always get in touch with our support team—just click Support in your Leadpages navigation menu, or submit a ticket ↗