Add photos, your logo, and other graphics to your Page Studio pages using the image element. You can even link images to a URL, landing pages, or another section on the page. Read on to learn more about using and customizing the image widget.
The fine print
- This article goes over the image element for the Page Studio builder. If you're using the Classic Builder, visit this article to learn more about how to work with the image widget.
- In Page Studio, you can upload images directly from your computer or use images in your account's Image Gallery.
- Large image files can increase page load time, make sure to keep your images under 1 MB.
Adding an image to your page
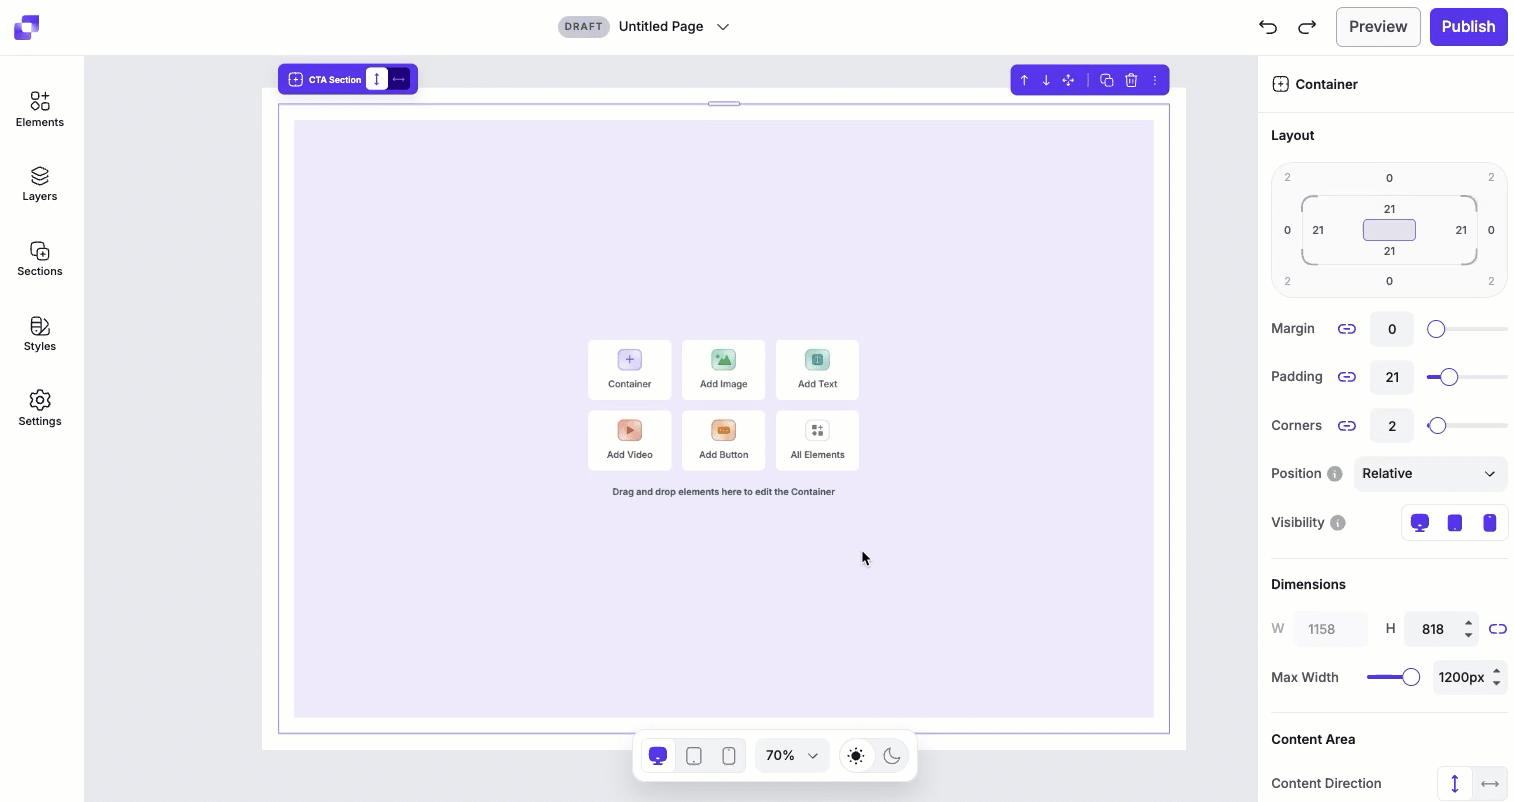
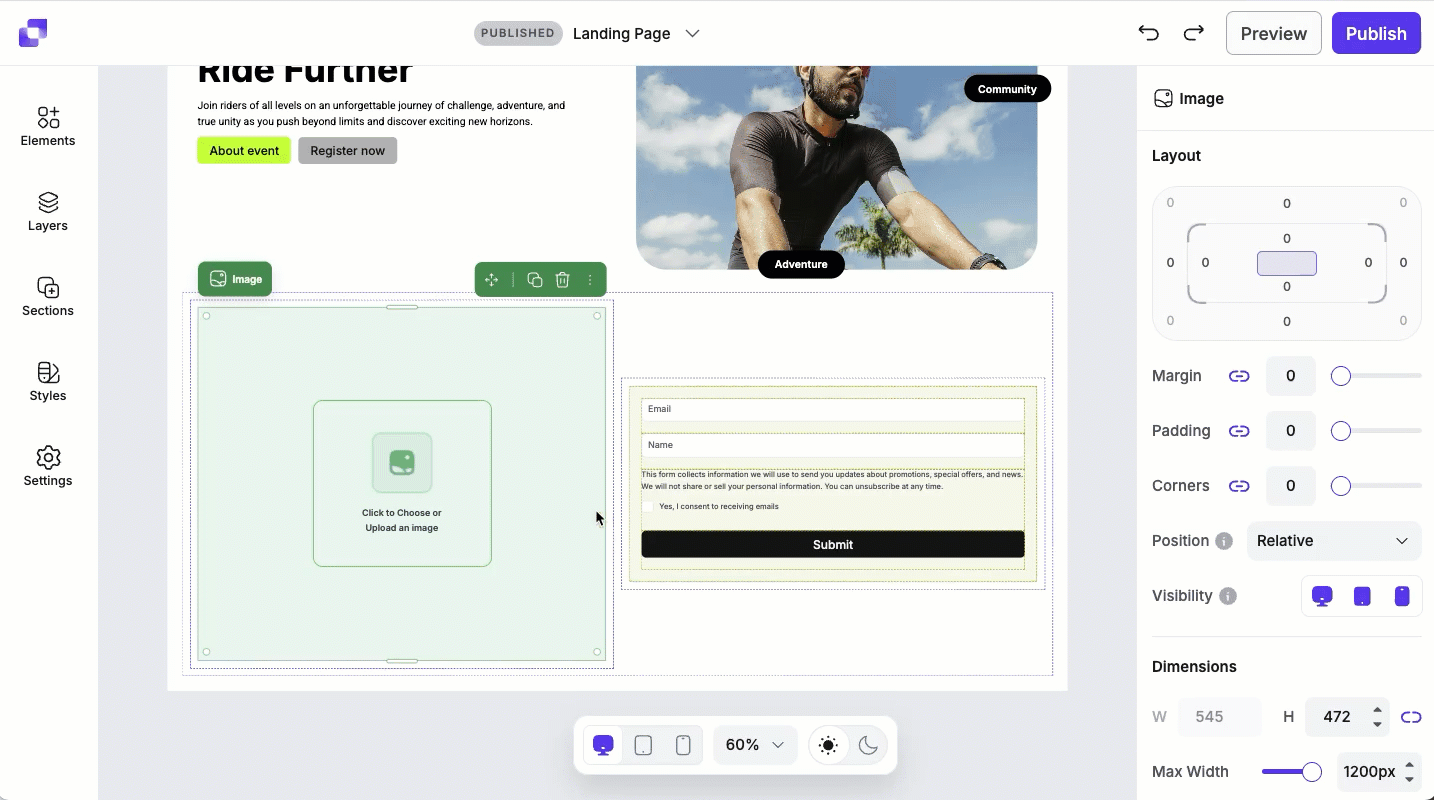
To get started, simply click and drag the image element to the location you wish to add an image, or click on an existing image element from one of our templates.
- Open the Elements panel.
- Drag and drop the image element onto your page.
- Alternatively, if you have an empty container, you can select Add Image to quickly add one.
- Once added, you can upload an image by:
• Clicking on the image element on the canvas to access its settings in the Edit panel. Then, hover over the image preview and click Upload Image.
• Selecting the Click to Upload prompt in the middle of the image element on the canvas to upload an image from your Image Gallery.
• Dragging an image file from your computer onto the image element on the canvas.
Supported image filetypes
We support the following image filetypes:
- JPG
- PNG
- ICO
- GIF
- SVG
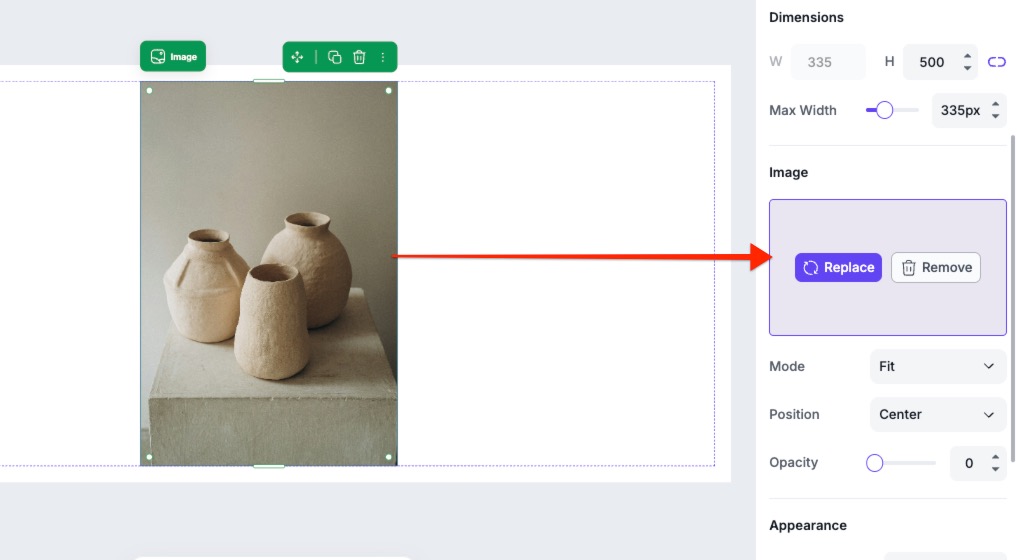
Removing or replacing an image
Need to change the image? You can replace or remove it in just a few clicks.
- Click the image element on the canvas.
- In the Edit panel, hover over the image preview.
- Click Replace to upload a new image, or Remove to delete the image from the element.
Canvas quick actions
Each image includes a quick actions menu that lets you make fast changes. From this menu you can:
- Rename the image element.
- Copy the image to paste elsewhere on the page.
- Duplicate the image, which will appear under or to the right of the image (depending on the direction of the container the text sits it).
- Hide/Show the image.
- Lock/Unlock the image. Locking an element can help prevent accidental edits or movement.
- Delete the image element from the page.
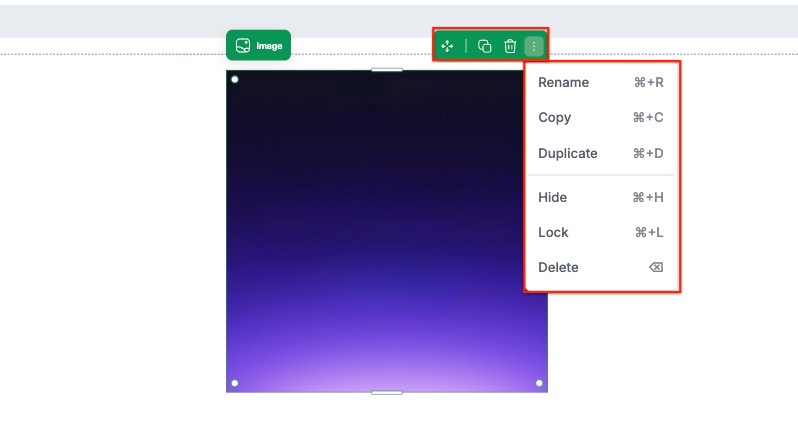
Image layout settings
Under Layout, you can adjust the padding, margin, and corners to control how the image element fits within its parent container. You’ll also be able to adjust its position and visibility. To learn more about the Layout settings, in general, you can visit this article.
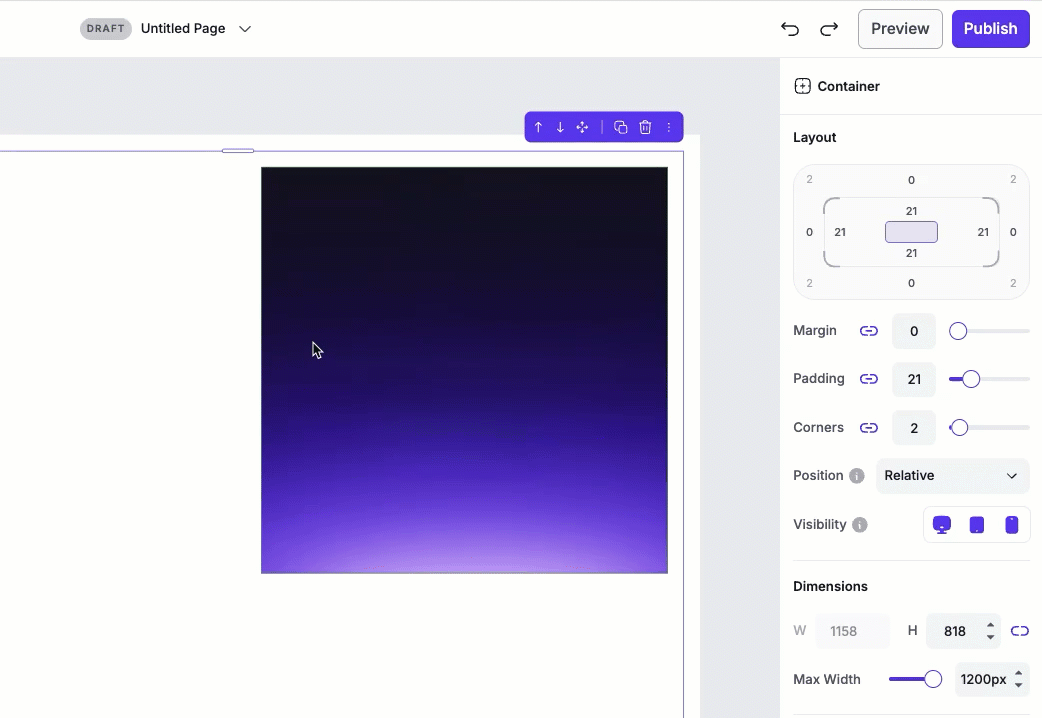
Image dimensions
Dimensions shows the current width and height of the image element. To adjust the width and height:
- Height: Use the H field to adjust the image element height by increasing or decreasing the value. You can also adjust the height by dragging the resize handles on the canvas.
- Width: Adjust the image element width using the Max Width slider.
Image styles
Image styles allow you to control how an image displays within its container, and help you fine-tune the image's alignment and appearance without needing to edit the image itself.
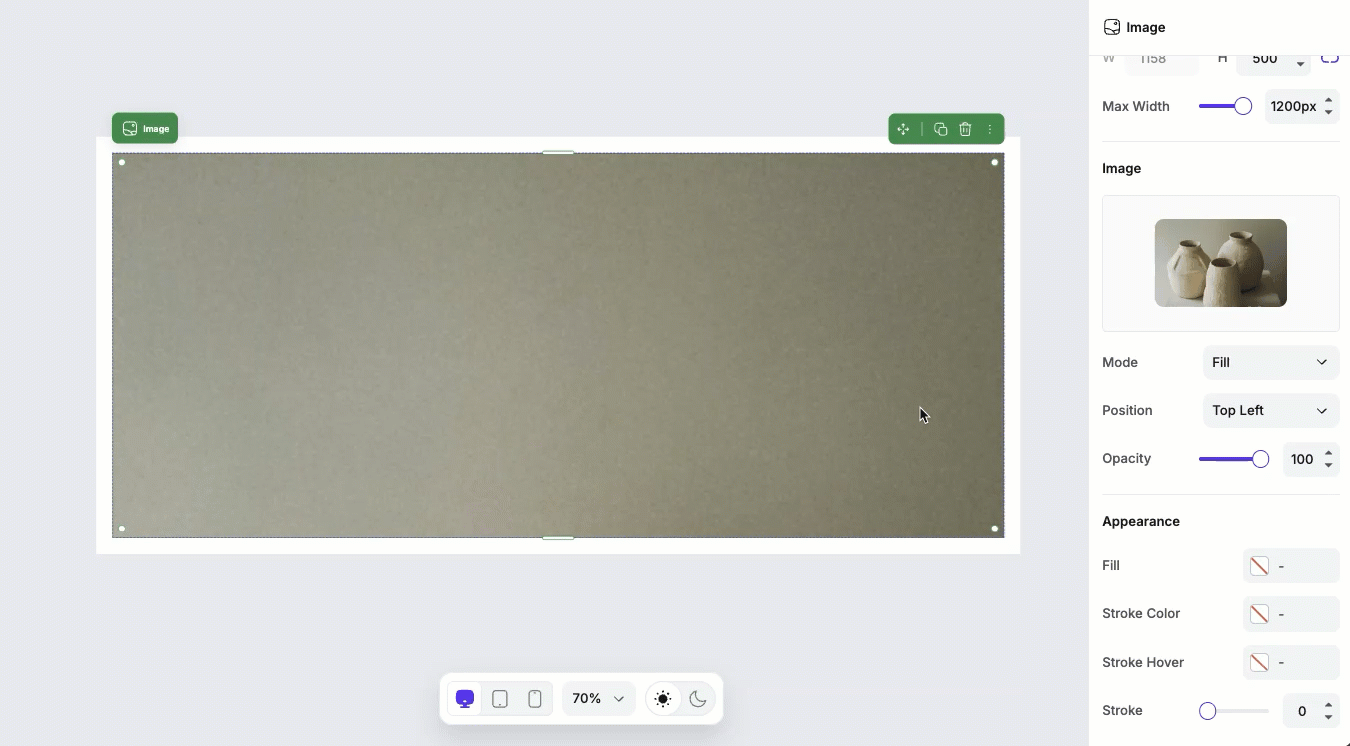
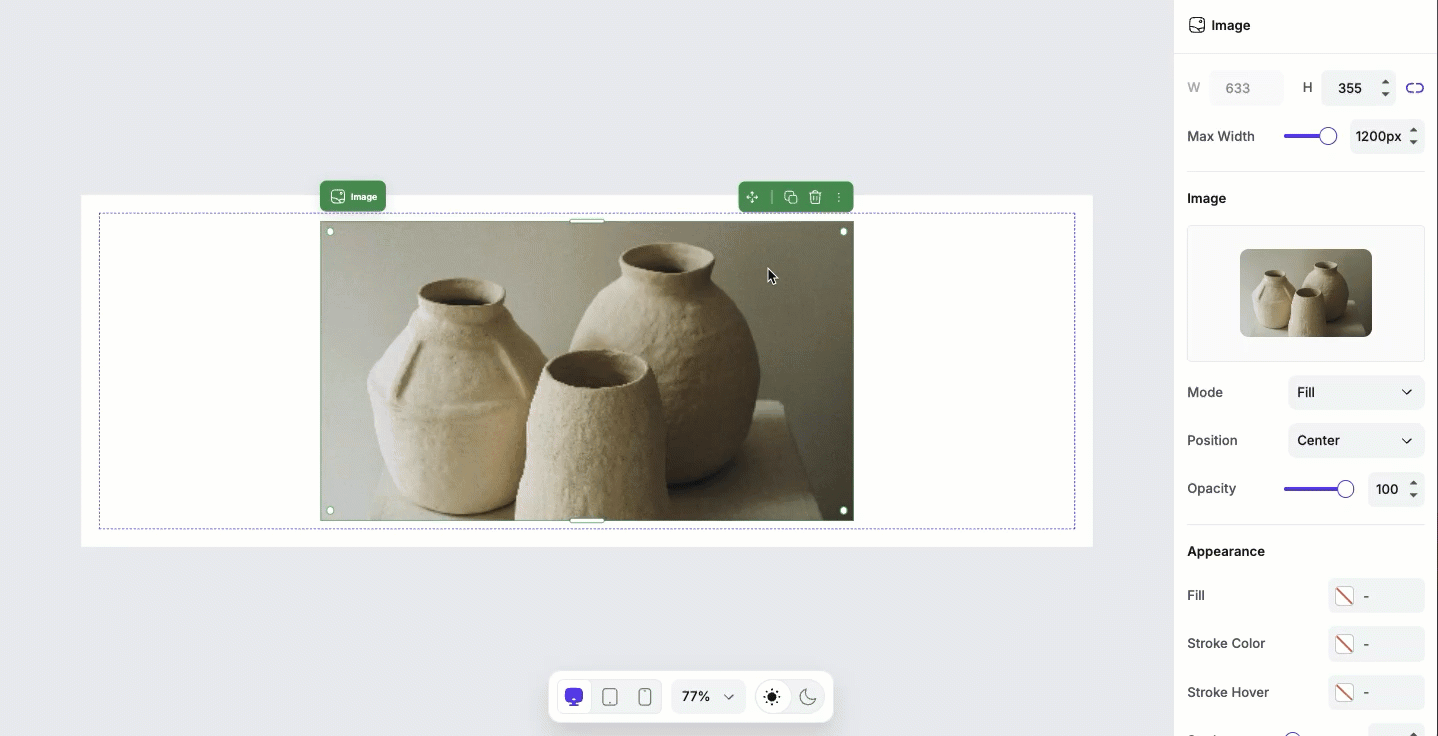
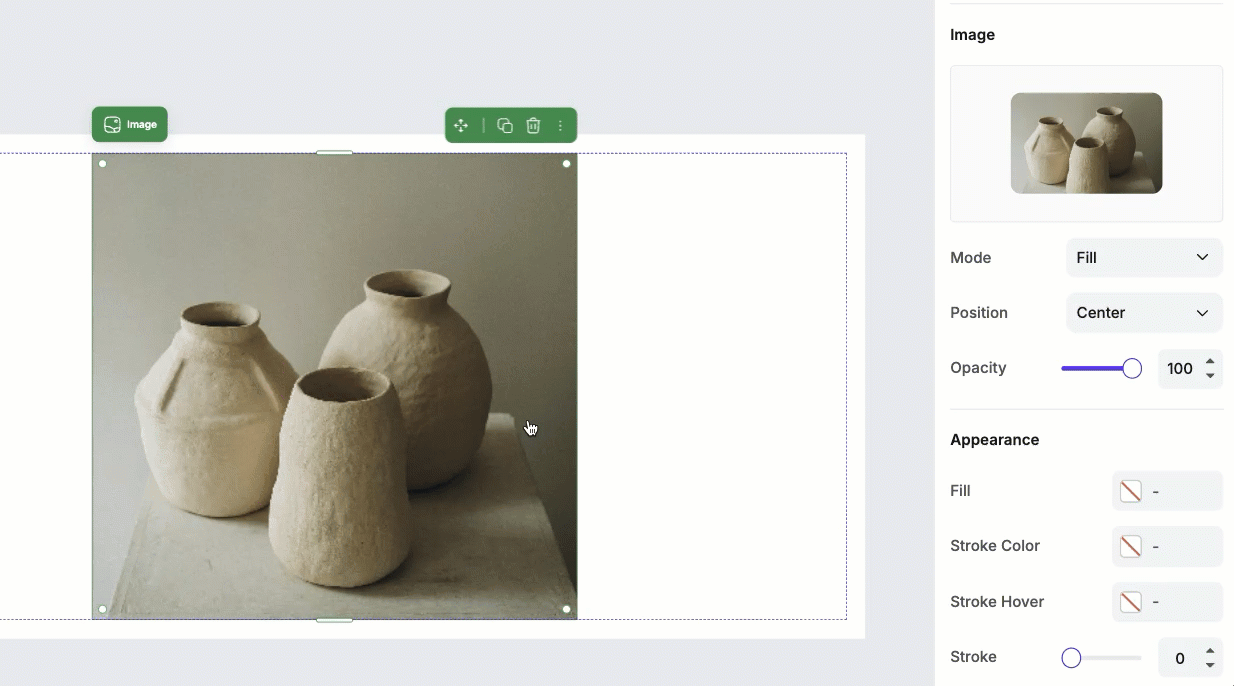
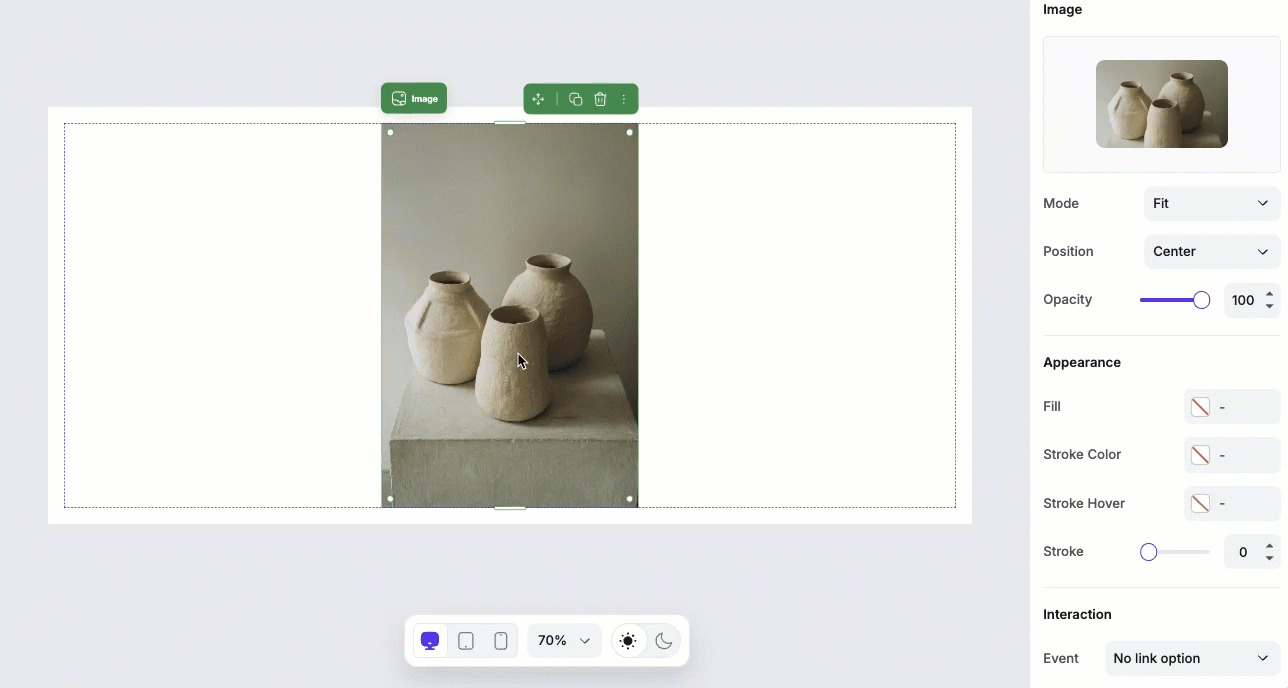
Mode
The Mode setting determines how the image fits inside its container. By default, the element will set the mode of the image to Fill.
- Fit: Displays the entire image without cropping. Empty space may appear if the image does not match the container's proportions
- Fill: Fills the entire container, cropping parts of the image if necessary.
- Tile: Repeats the image to fill the container.
- Stretch: Stretches the image to fill the container, which may distort the image's proportions.
Position
The Position setting controls how the image is aligned within its container. Options like top, centre, bottom, left, and right let you choose which part of the image remains visible when cropping occurs (such as when using Fill mode).
Opacity
Opacity adjusts how transparent the image appears on page. Lowering the opacity can soften the image or help it blend more naturally with the page background or image fill color.
Fill
The Fill settings adds a background color behind the image container.
Stroke
The Stroke settings let you add a border around the image:
- Stroke color: Sets the border color.
- Hover color: Changes the border color when the image is hovered over.
- Stroke width: Controls the thickness of the border.
Strokes can be useful to separate an image from surrounding content or to add emphasis.

Creating image links
Image links allow you to turn an image into a clickable action that directs visitors to another Page Studio landing page, section, or external URL.
- Click the image element on the canvas.
- In the Edit panel, navigate to Interaction.
- In the Event dropdown menu, choose one of the available actions:
• Link to a landing page
• Link to a page section
• Link to an external URL - From there, fill in the required fields to set up the link.
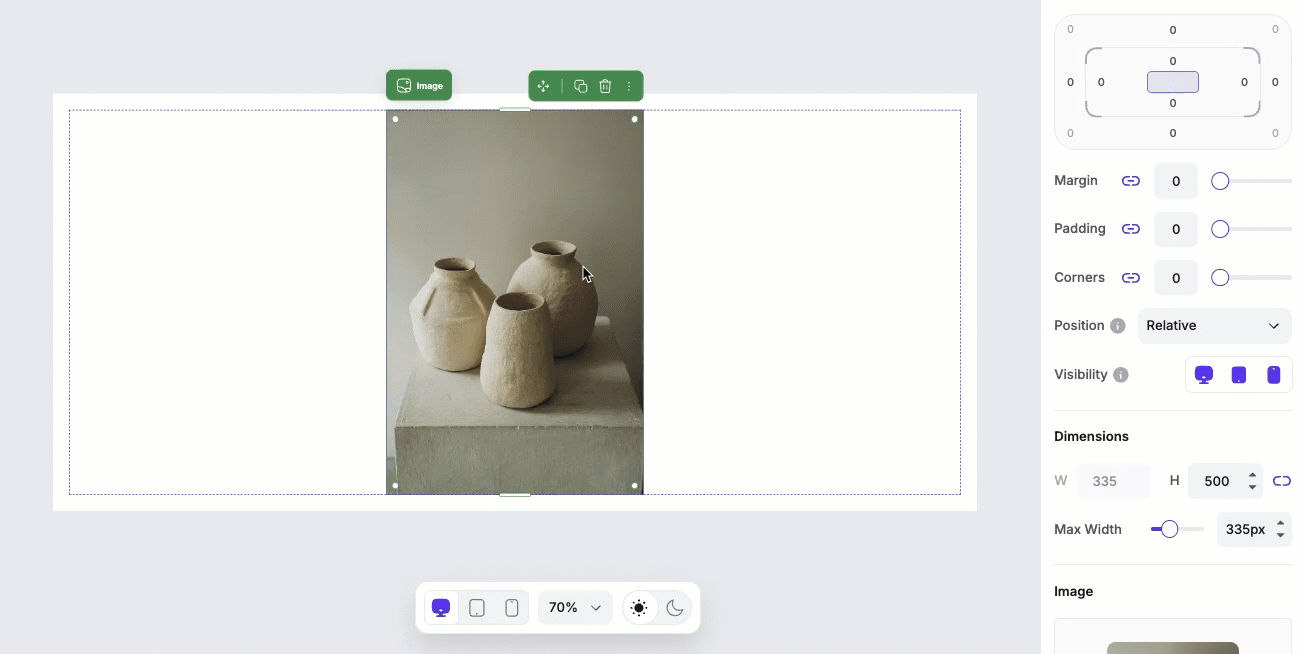
Image optimization
We automatically optimize your images in order to serve your pages as quickly as possible. This means that images will be loaded as visitors scroll down your page.
Tips and frequently asked questions
Can I set up alt text for images that I upload into the page?
Yes! Any images that you upload to your Image Gallery can have alt text added. In the Page Studio builder, click an image element to upload a photo. A modal will open where you can choose an image from your gallery. After selecting an image, you'll have the option to name it and add alt text before inserting it into your page.
Tip: Best practices for non-photo image files
For elements like your company logo, we recommend using the PNG format with a transparent background. You can use a variety of photo-editing programs to remove the background from an image and export it as a PNG file. That way you can adjust your background colors without interfering with your image.
How do I adjust the image into a circular shape?
You can turn an image into a circular shape by increasing the Corners slider under Layout. For a perfect circle, its best to use a square image and then increase the Corners slider until the corners are fully rounded.
How do I adjust the alignment of the image on my page?
To change the alignment of an image, click the container that the image is nested in. From there, select the desired horizontal (H) and vertical (V) alignment options. Keep in mind that this will affect all elements inside that container.
You can also adjust the positioning by setting a different position type under Layout. You can read more about the different position types here.
Need more help?
You can always get in touch with our support team—just click Support in your Leadpages navigation menu, or submit a ticket ↗