Templates make designing faster and easier, and Glorify gives you the tools to save, filter, and customize them to fit your workflow. By organizing your favorite templates, quickly finding the right design, and editing template to match your brand, you can save time, stay consistent, and create designs that truly stand out.
Filtering templates
- On the dashboard, click Templates.
- Narrow down your search by using filters for Category, Niche, and Theme, or by entering keywords into the search bar.
Creating filter tags
You can create custom filter tags to help organize your designs.
- On the Projects dashboard, click the Filter icon.
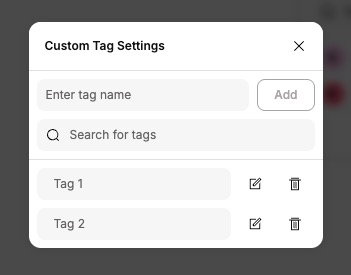
- Beside Custom Tags, click the Settings icon.
- Enter a tag name, then click Add.
Once the custom tag is created, you can apply them to designs for easy filtering. Learn more about how to apply tags here.
Viewing template bundles
You can browse and view complete template bundles from your dashboard or directly within the editor.
From the dashboard
- On the dashboard, click Templates.
- To view the full design set for a template, click on the template design and then select Open Bundle.
- You will see all designs associated with that template bundle.
- To use a specific design from the bundle, click the ⋮ (More) icon on that design and select Open.
From the editor
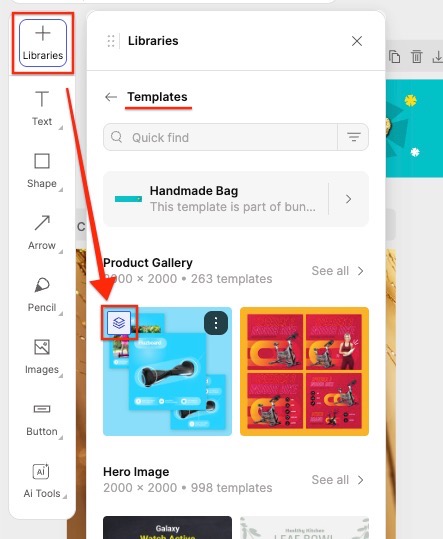
- Click the Libraries (+) icon in the left panel.
- Select Templates at the top of the list.
- To view the entire design set for a template, hover over the template and click the Show Design Set icon.
- Click a specific design to add it to the canvas, or select Add Pages to add all designs from the bundle.
Saving template to Favorites
You can save your favorite templates for quick access in the editor:
From your dashboard
- On your dashboard, click Templates.
- Click on a template to open its details, then click Add to Favorites.
From within the editor
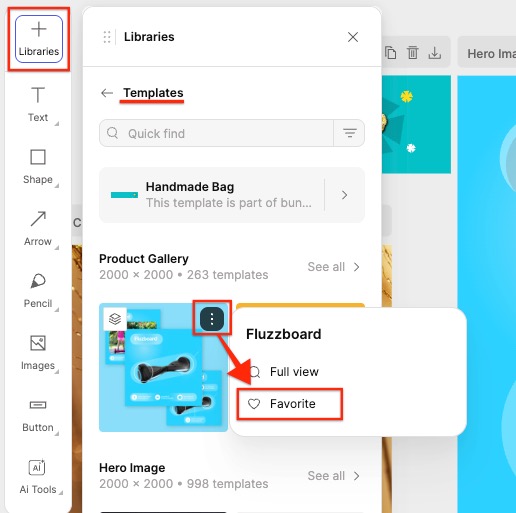
- Click the Libraries (+) icon.
- Select Templates.
- Click the ⋮ (More) icon beside a design, then select Favorite.
Accessing your favorited templates in the editor
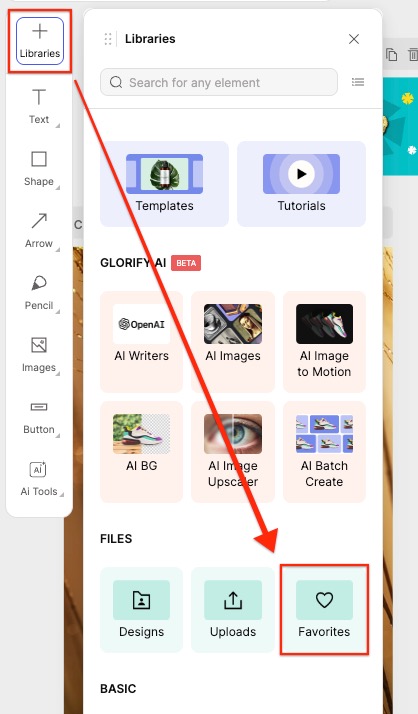
- Click the Libraries (+) icon.
- Under Files, click Favorites.
- Under Templates, click a specific favorited template to add it to your design.
Editing a text template
Text templates let you quickly add styled text elements to your design, and you can customize them to fit your project.
To edit a text template
- In the editor, click the Libraries (+) icon.
- Navigate to Text under the Libraries section.
- Add a text template to your design by clicking on it.
- To edit the individual elements, right-click on the text template and select Ungroup.
- After upgrouping, you can modify each component of the template separately, including fonts, colors, sizes.
Frequently asked questions
Do you have designs for every industry or niche?
Glorify has an ever-growing library of templates giving you tonnes of variety from different niches, themes, colors, and layouts!
Early Adopters and Lifetime Deal users get 'Feedback Priority'—they can suggest a template theme or layout that they need and our team of designers will get right on it to make it available on the next update.
If you're on our recurring plan, you can suggest the templates that you want on our public road map and we will add them to our collection of templates.
Can I make one of my own designs a template so that it appears under Favorites>Templates?
No, it isn't possible to save your own design as a template that appears under Templates or Files>Favorites>Templates. Those sections only include the base templates created by Glorify.
If you want to reuse a design, you can find it under Files>Designs> your Project Folder/Personal files. Clicking on that design will add it to your current design file as a new page.
← Explore more Glorify articles
Need more help?
You can always get in touch with our support team—just click Support in your Leadpages navigation menu, or submit a ticket ↗