Keeping your designs organized is key to working faster and staying on top of your projects. With Glorify, you can easily delete, duplicate, rename, move, or tag your designs. These tools can help you keep everything tidy, make updates without starting from scratch, and quickly find what you need when you need it.
Duplicate a design
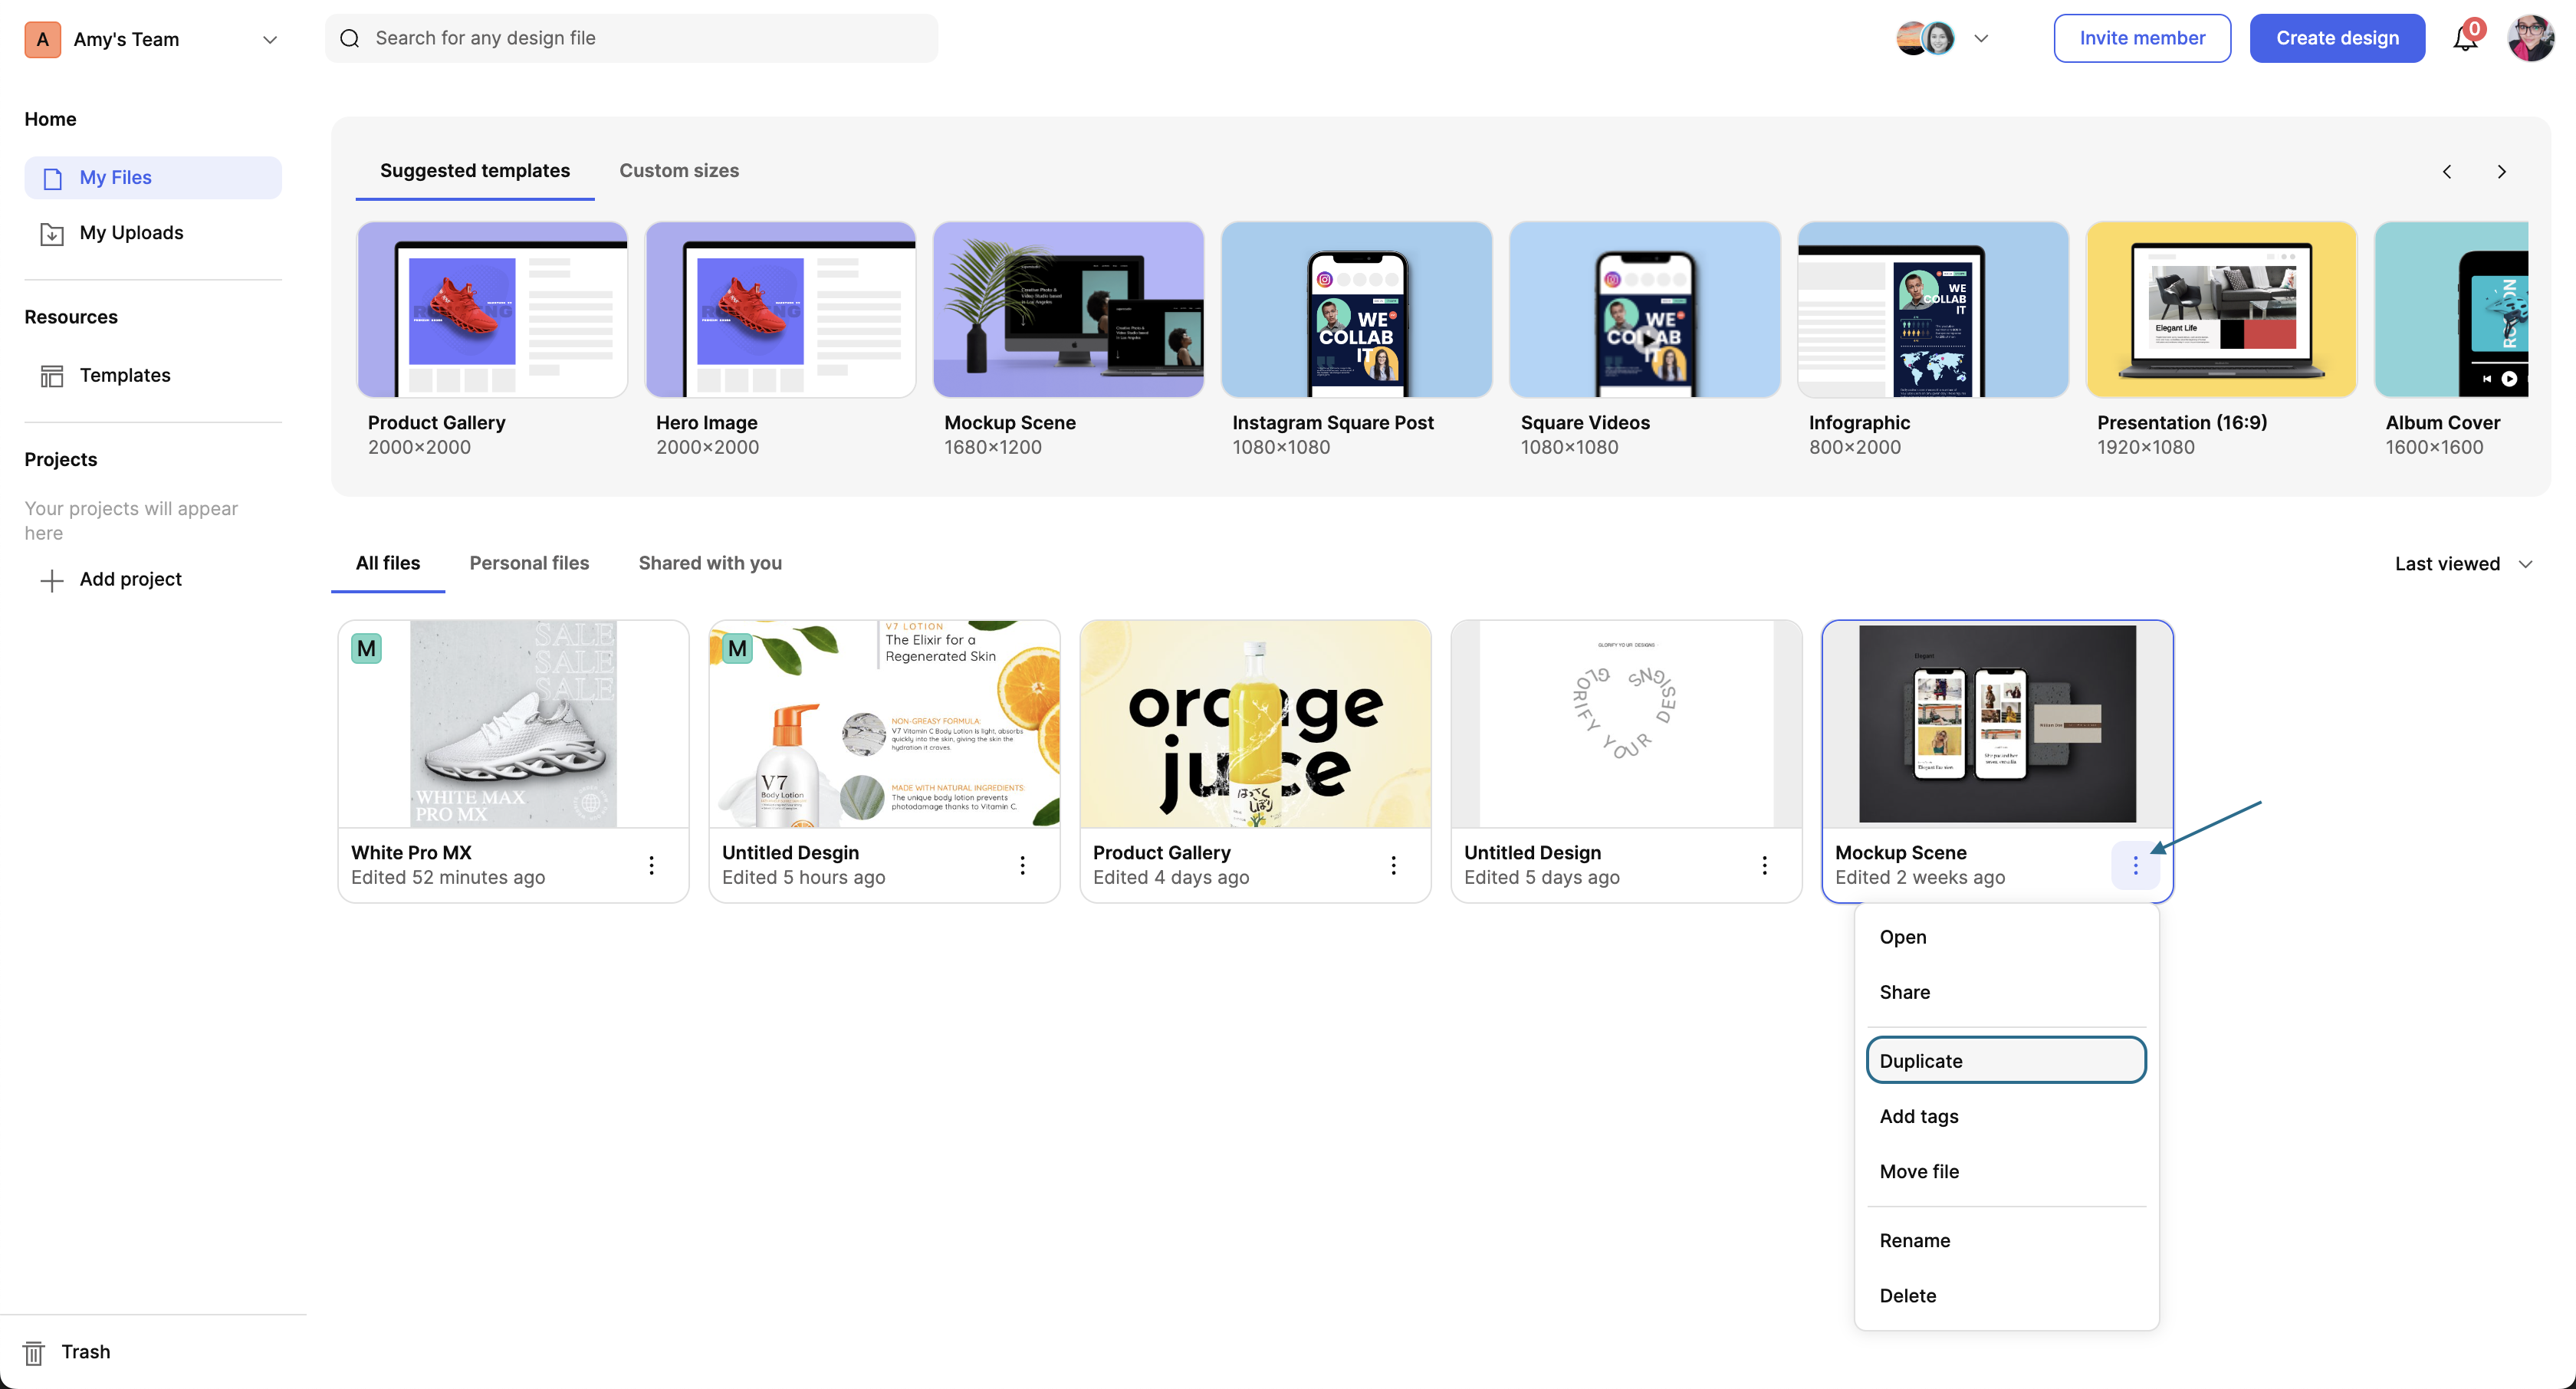
You can duplicate any design in your account so that you can edit it and use it again.
- From your dashboard, go to My Files or open the Project where the design you want to duplicate is located.
- Click the ⋮ (More) icon on that design.
- Select Duplicate from the menu.
NOTE: Duplicated designs under Projects will also appear in My Files.
Delete a design or upload
If you need to remove a design or image from your account, follow these steps:
- From your dashboard, navigate to the location where the design/image is located (My Files, My Uploads, or under Projects).
- Click the ⋮ (More) icon on that design/image.
- Select Delete from the menu.
NOTE: Deleted designs/images will be permanently removed and cannot be restored, so make sure you no longer need the file before deleting it.
Move design
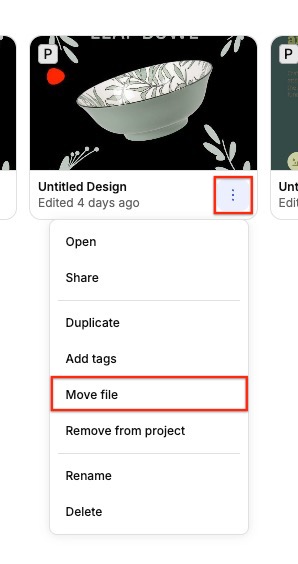
You can move any design into a project from your dashboard.
- From the dashboard, go to My Files.
- Find the design you want to move and click the ⋮ (More) icon.
- Select Move File.
- Choose the project you want to move the design to, and select the folder where it should live.
- Click Move.
TIP: Check the Duplicate box if you want to move a copy of the design into the project, while keeping the original in its current location.
Renaming a design
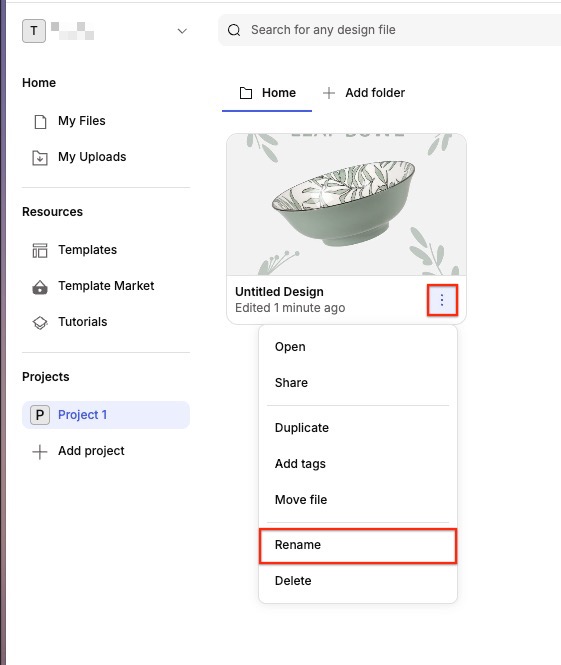
- On your dashboard, go to the area where your design is located (My Files or within a specific project).
- Click the ⋮ (More) icon on the design, then select Rename.
- Enter the new name for your design.
- Click Rename to save the changes.
Add tags to a design
Adding tags to designs is an easy way to help organize and filter your designs.
- Navigate to the design you want to tag.
- Click the ⋮ (More) icon, then select Add Tags.
- From the custom tag list, select the tag(s) you want to apply.
- Click Apply.
← Explore more Glorify articles
Need more help?
You can always get in touch with our support team—just click Support in your Leadpages navigation menu, or submit a ticket ↗