Setting up a project in Glorify helps you keep your designs organized and your team aligned. This article shows you how to create a project, add your team, set up your brand kit, and upload image and fonts so that you can work more efficiently and stay on-brand.
Projects
Projects are a great way to streamline and organize your workflow, especially when working with multiple brands. If you’re a designer or agency handling several clients, you can create a separate project for each one, share designs with your team, organize them in folders, and set up brand colors and fonts to use across all designs.
Each project includes:
- A brand kit
- Team members
- A folder system
Creating a project
- On the dashboard, click Add Project under the Projects section.
- Enter a name for your project and choose an icon.
- Click Add Project to save your changes.
- Once the project is made, you can start creating designs, adding your team, setting up your brand kit, and adding folders to help organize your designs.
Adding and managing team members or guests
- In the right-side panel of your project, click in the Add Member field and type the email address of the team member you want to add
• To add a guest, switch to the Guest tab and enter their email address - To manage permissions for a team member, click the arrow beside their email address to open the file permission settings.
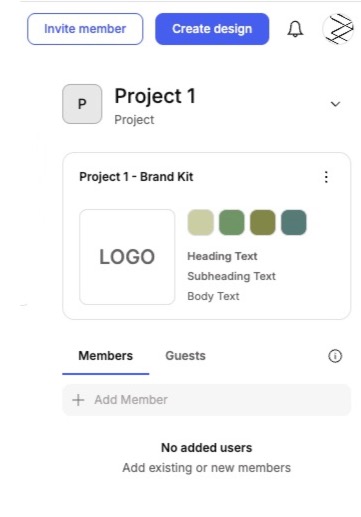
Setting up the brand kit
- On the right-hand side, click Add Brand Kit.
- On the Brand Kit page, you can:
• Add a Logotype
• Add your brand colors under Color Palette
• Select or upload a font through Brand Fonts
• Adjust Text Styles - Once you set up your brand kit, you can easily apply these styles to your designs in the editor.
Adding a folder
By default, each project starts with a Home folder. To add more folders:
- Click Add Folder.
- Enter a folder name, then click Add Folder to confirm.
- Once created, you can click between the folder tabs to switch between folders.
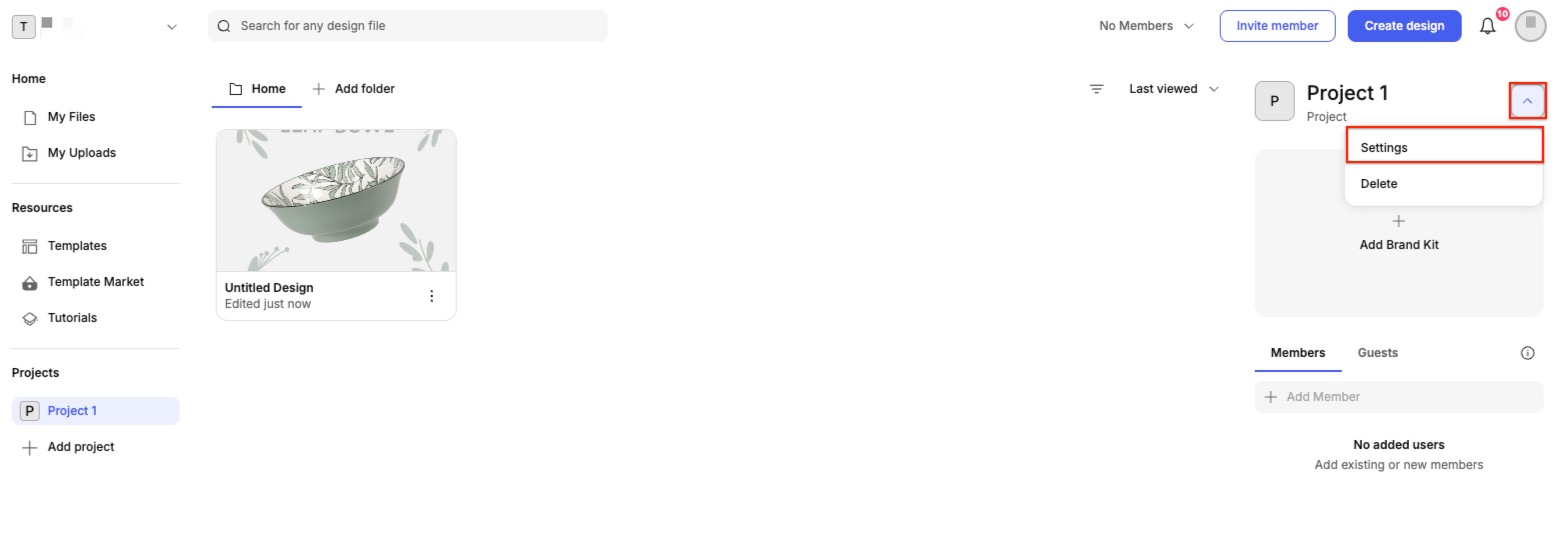
Renaming a project
- On your dashboard, navigate to the project you want to rename.
- On the right-hand side, click the arrow next to the project name, then select Settings.
- In the text field, update the project name.
- Click Save Changes.
Uploads & Fonts
Uploading images
You can upload images from your dashboard or directly within the editor.
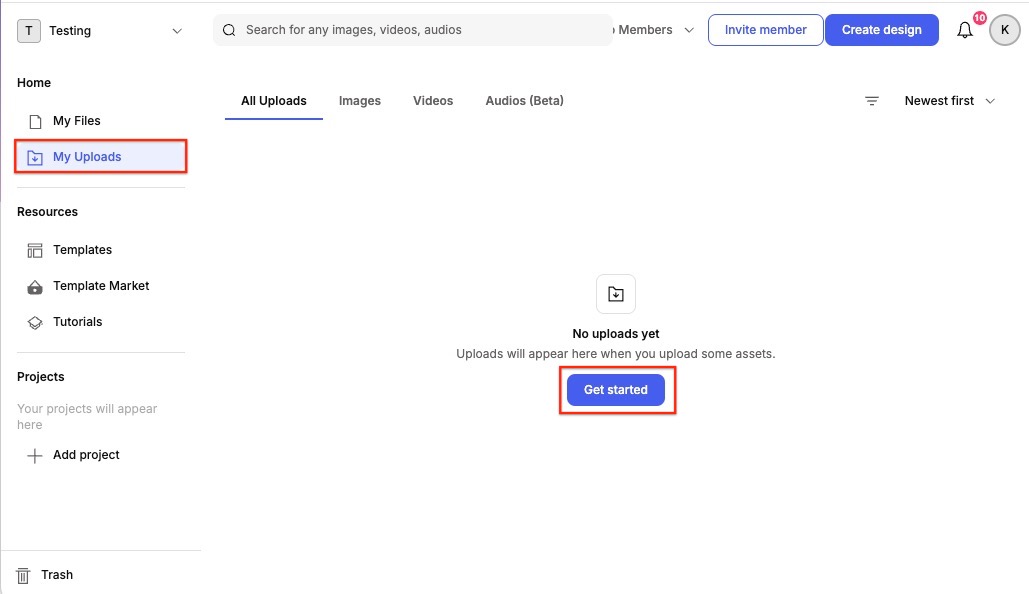
From the dashboard
- Navigate to My Uploads.
- Click the + icon to upload an image.
- Either click Choose File to upload from your computer or drag and drop a file into the highlighted area.
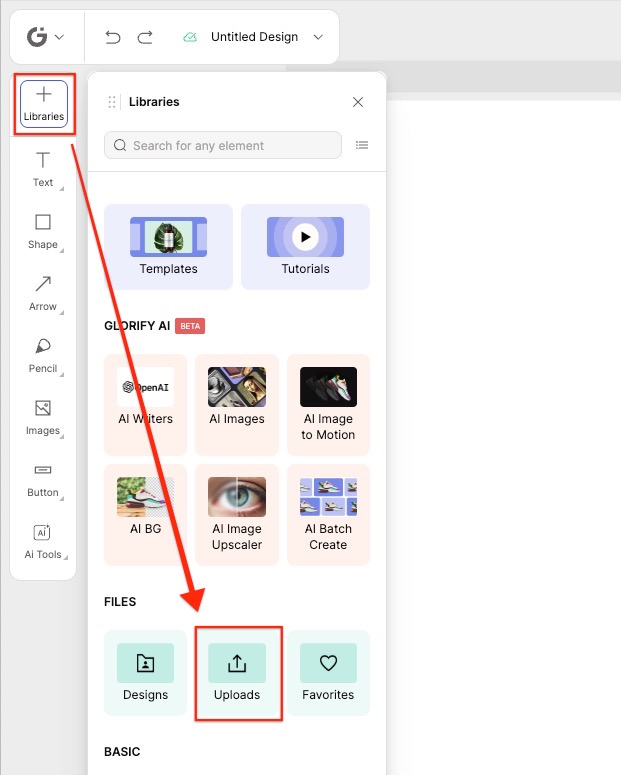
From the editor
- In the editor, click the Libraries icon (+) in the left panel.
- Under Files, select Uploads.
- Click Upload a New Asset to select an image from your computer, or drag and drop the file into the upload area.
Once uploaded, your images will be available for use across all of your projects and designs.
Uploading custom fonts
You can upload custom fonts in Glorify either from your dashboard or directly within the editor.
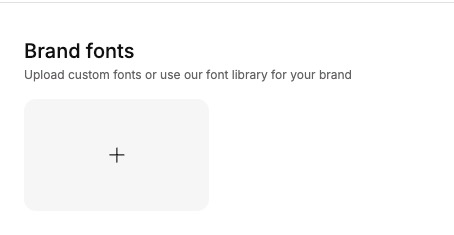
From the dashboard
- Navigate to one of your projects, then click Brand Kit.
- Click the + icon under Brand Fonts.
- Select Upload font and choose the font file you want to upload. You can rename the font if needed.
- Click Add to save your font.
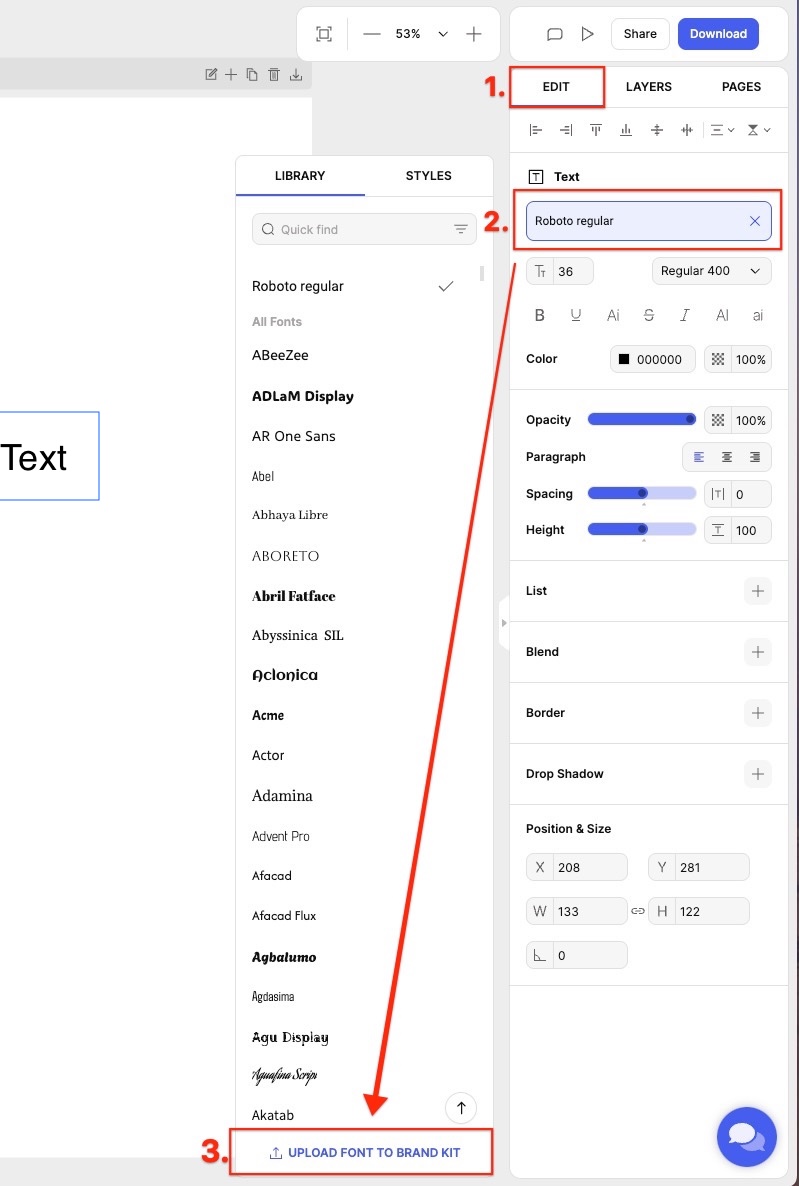
From the editor
- Add text to the canvas.
- Select the text on the canvas to open the text settings panel on the right.
- Click Edit.
- Open the font dropdown to view available fonts, then select Upload Font at the bottom of the list.
- In the pop-up modal, click Upload Font and choose your font file.
- Click Add to save your font.
← Explore more Glorify articles
Need more help?
You can always get in touch with our support team—just click Support in your Leadpages navigation menu, or submit a ticket ↗