
This article walks through how to publish a page, push new edits live, take a page offline, and keep track of all your pages from the Pages list.
Publishing a page
You publish a page from the top-right corner of the editor. A page that has never been published shows a purple Publish button.
- Open your page in the editor.
- Click Publish. A panel opens where you can check where the page will go live:
- Domain: choose your Leadpages domain or a custom domain you've connected.
- Slug: the end of your page's URL. Click the pencil icon to change it.
- Published at: the full URL your page will live at.
- Shortcuts to Edit Code, SEO & Social, and Scripts & Pixels if you want to adjust anything before going live.
- When you're happy, press and hold the Hold to publish button until it completes. Holding (instead of a single click) helps prevent publishing by accident.
- The button turns green and reads Live with a checkmark. Your page is now public at its URL.
Tip: Use Preview (next to the publish button) to check your page before it goes live.
Updating a live page
Edits you make to a live page don't show to visitors until you publish them. As soon as you change something, the green Live button switches to a purple Update button.
- To push your changes live, click Update, then press and hold Hold to publish. The button goes back to Live.
- To throw away your edits and go back to the version visitors see, click the more menu (...) in the top toolbar and choose Discard unpublished changes.
While you have unpublished edits, the page shows an amber Draft changes badge next to Live in your Pages list.
Unpublishing a page
Unpublishing takes a page offline without deleting it. Visitors who go to the old URL will see a 404 page, but all your content is saved so you can keep editing and publish again later.
From the editor
- Click the more menu (...) in the top toolbar.
- Select Unpublish this page.
From the Pages list
- Go to Pages in the left menu.
- On the page's card, click the more menu (...) in the bottom-right corner.
- Select Unpublish.
To bring the page back, open it in the editor and publish it again.
Managing pages from the Pages list
Click Pages in the left menu to see every page in your account. The header shows your plan, how many pages you have, your total views, and a Create Page button.
The more menu (...)
| Action | What it does |
|---|---|
| Duplicate | Makes a copy of the page. |
| Preview draft | Opens a preview of your latest edits, including ones that aren't live yet. |
| Unpublish | Takes the page offline without deleting it. |
| Share | Options for sharing the page link. |
| Analytics | Opens the page's traffic and conversion stats. |
| Submissions | Shows form entries collected on this page. |
| Tags | Add or remove tags. |
| Add to site | Adds the page to an existing multi-page site. |
| New site from this page | Starts a new site using this page. |
| Settings | Page settings like slug, SEO, and favicon. |
| Set Password | Requires a password to view the page. |
| Disable Form Collection | Stops the page's forms from collecting new submissions. |
| Delete | Permanently removes the page. This can't be undone. |
Page statuses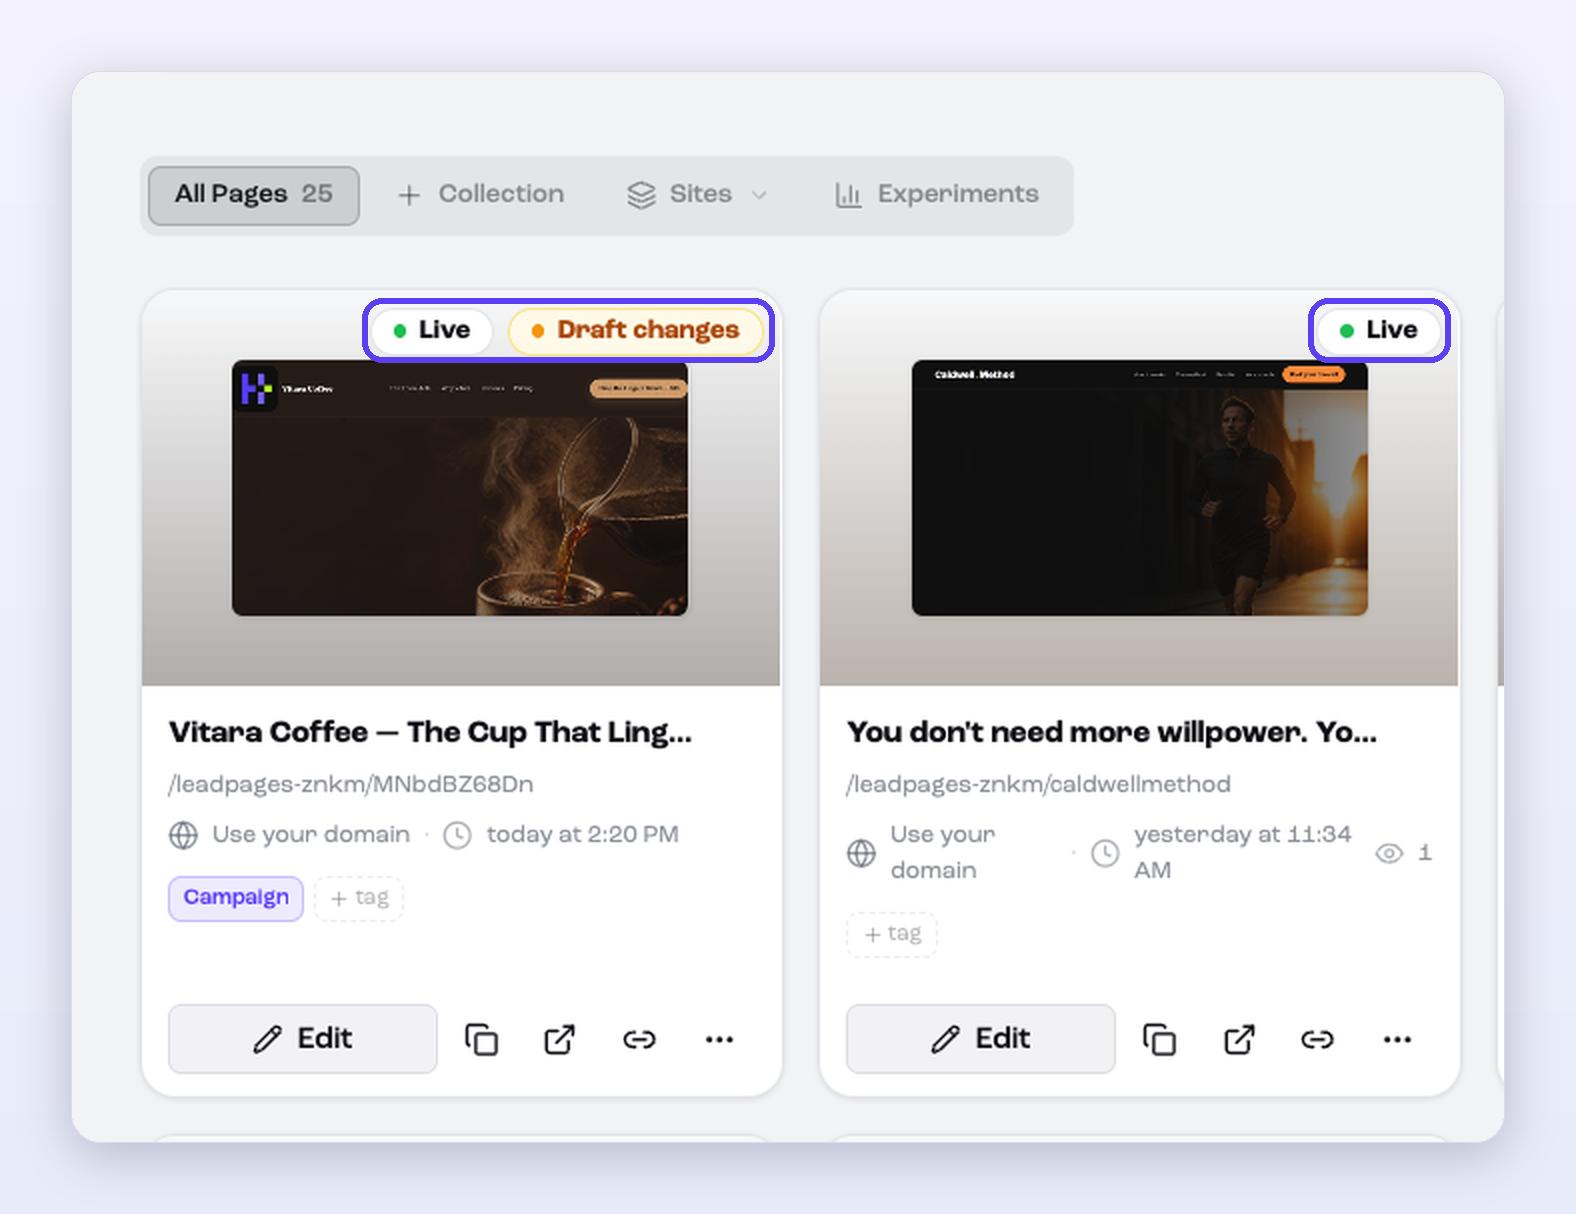
| Badge | What it means |
|---|---|
| Live | The page is published and anyone with the link can see it. |
| Draft changes | Shown next to Live. The page is published, but you've made edits that aren't live yet. Publish again to push them live. |
| Draft | The page has never been published, or it was unpublished. |
| Frozen | [Confirm with product: when a page becomes frozen and what the user should do.] |
| Expired | The page was published with an expiry date that has passed. |
| Under review | [Confirm with product: what triggers a review and what the user should do.] |
Finding pages
- Search by page title at the top of the list.
- Filter with Tags or Status, or use Filter for more options.
- Sort with the Most recent menu.
- Use the tabs above your pages to switch between All Pages, a Collection, Sites, and Experiments (A/B tests).
- Switch between grid and list view with the icons on the right.
Page limits
The number of pages you can create depends on your plan. You can see your plan and current page count in the top-right of the Pages list.
| Plan | Pages |
|---|---|
| Grow | Up to 500 |
| Optimize | Up to 500 |
| Scale | Unlimited |
Need more help?
You can always get in touch with our support team—just click Support in your Leadpages navigation menu, or submit a ticket ↗