Manage your Glorify account and streamline teamwork. In this article, you’ll learn how to update your account details, add or remove team members, assign roles, and manage workspace permissions.
Account settings
Change your account name
- From the dashboard, click your account avatar in the top-right corner and select Account Settings.
- In the Name section, click Edit.
- Enter in the new account name, then click Save Changes.
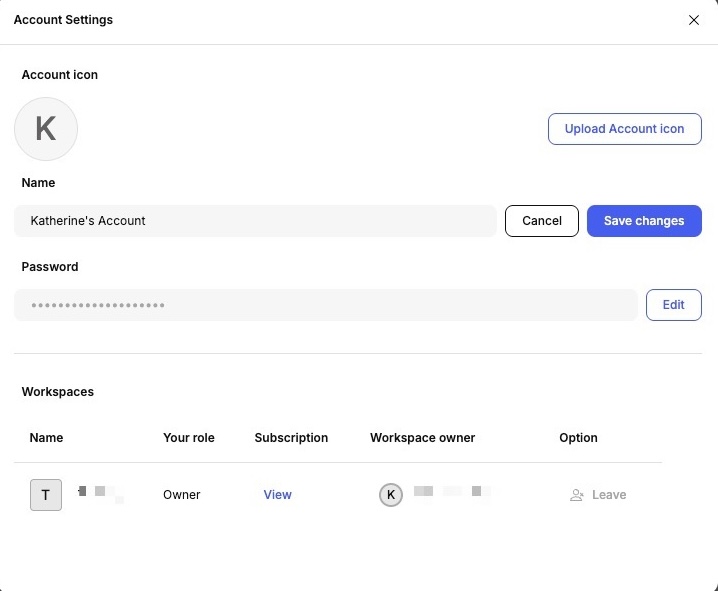
Change your account password
- From the dashboard, click your account avatar in the top-right corner and select Account Settings.
- In the Password section, click Edit.
- Enter in your new password and confirm it.
- Click Save changes to update your password.
Update account icon
- From the dashboard, click your account avatar in the top-right corner and select Account Settings.
- Select the Update Account Icon button.
- Upload an image from your computer and save your changes.
Teams & Permissions
Roles and permissions
Glorify offers different user roles to ensure the right level of access for each person in your workspace. All roles listed below (Team Owner, Admin, Editor) are considered Users.
| Team Owner |
The account owner
|
| Admin |
Team member with near full access
|
| Editor |
Collaborator with creative access
|
Guest Access: Guests are non-users who can be given access to designs without joining your team. They do not count toward your user limit and cannot access billing or workspace settings.
Adding a team member
To add a new team member to your account:
- From your dashboard, click Invite Member.
- Enter the team member’s email address.
- Select the role and project you want to assign to them to.
- Click Invite.
Once you add a user, they will receive an invitation by email.
The number of team members you can add depends on your Glorify plan level. If you’ve reached your plan’s limit, you’ll need to remove an existing member or upgrade your before to invite more.
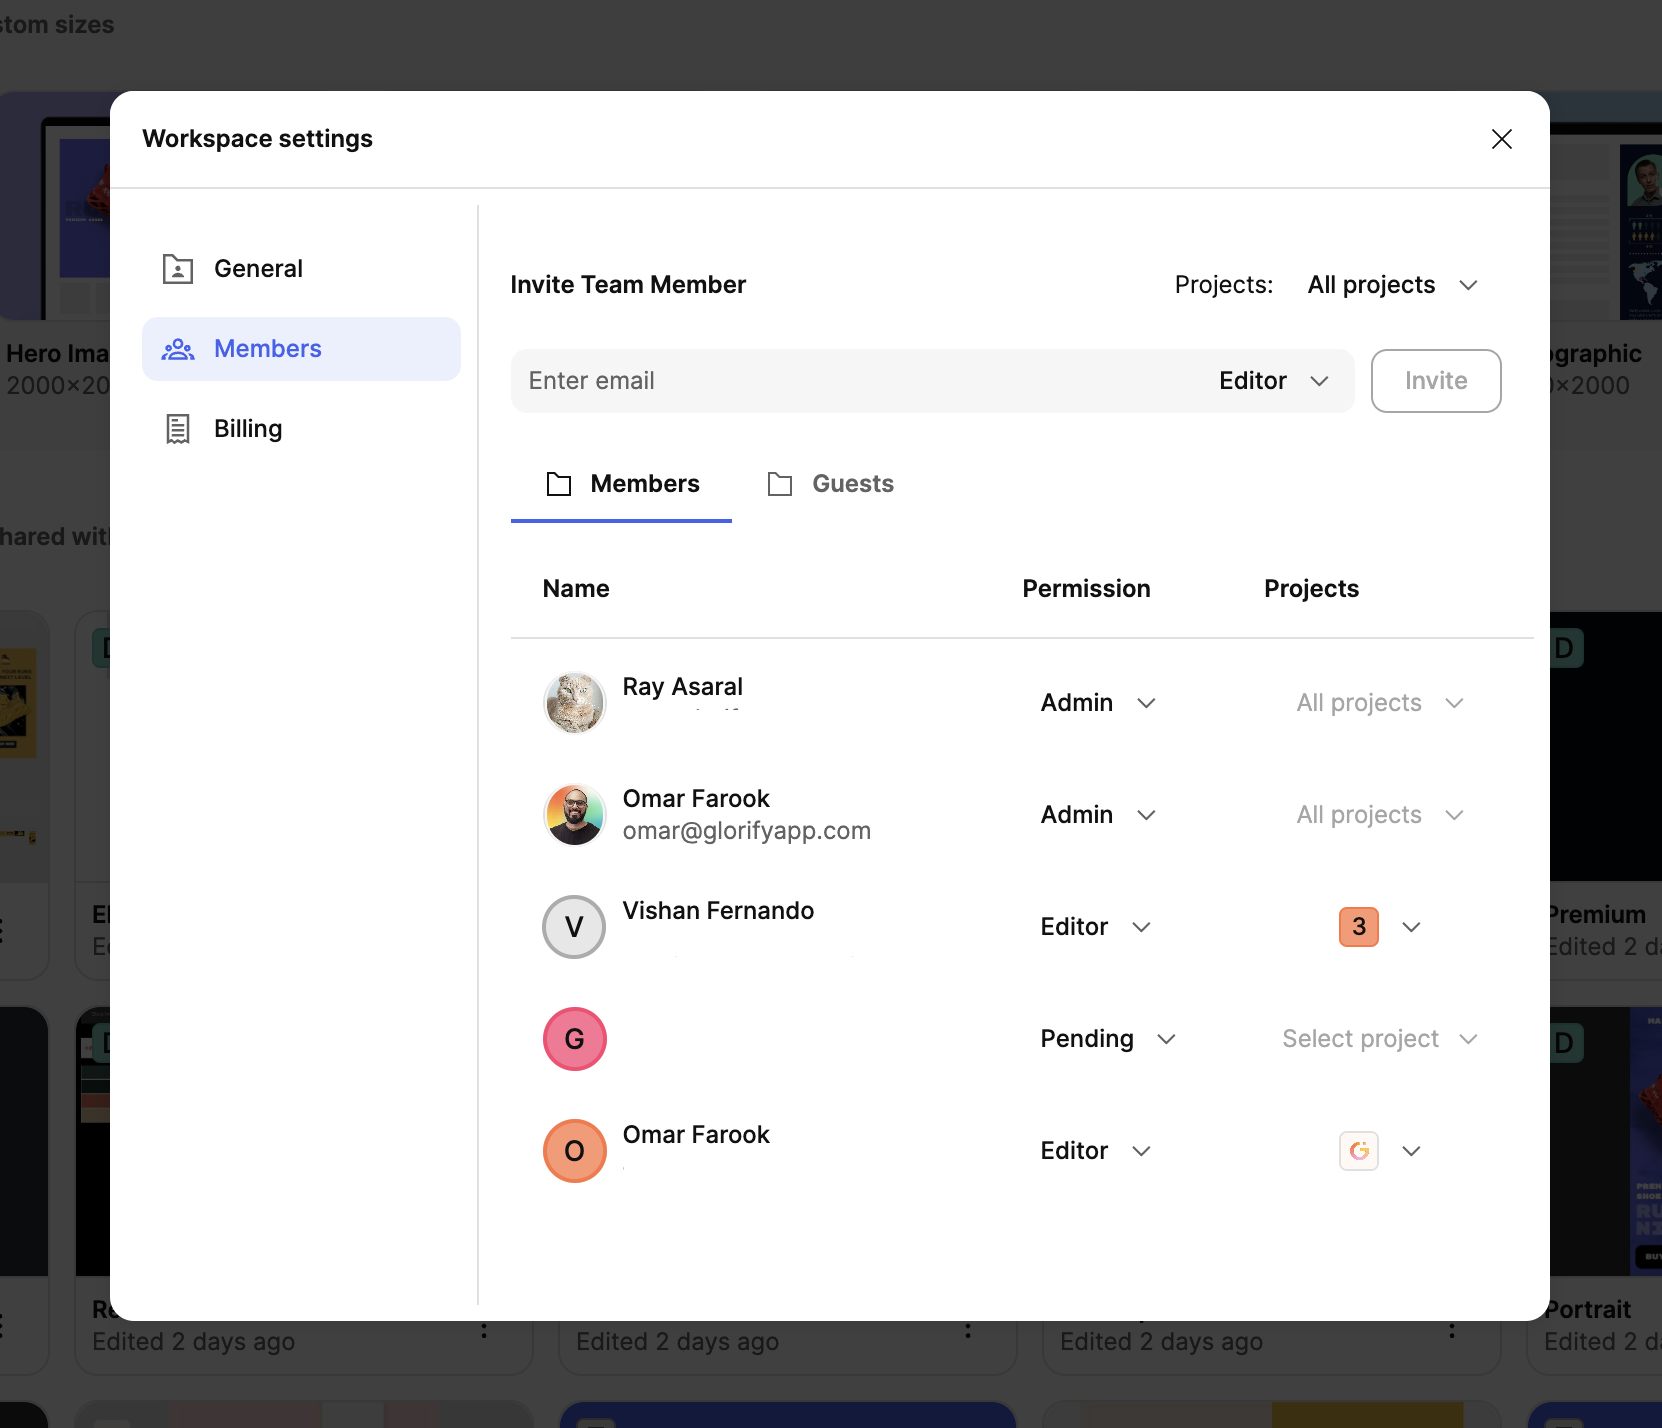
Managing team members
Need to add, remove, update the roles of your team members, or invite guests to a project? You can manage everything from your dashboard:
- Click the team member icons in the top-right corner of your dashboard, then select Manage Members.
- In the Workspace Settings, click Members.
- You can invite or update the roles of your team members in this area.
Adding guests
You can invite guests to collaborate or view a design directly from the editor.
- In the editor, click the Share button.
- Enter the email address of the guest you want to invite.
- Choose their permission level: Edit, View & Copy, or View Only.
- Click Invite.
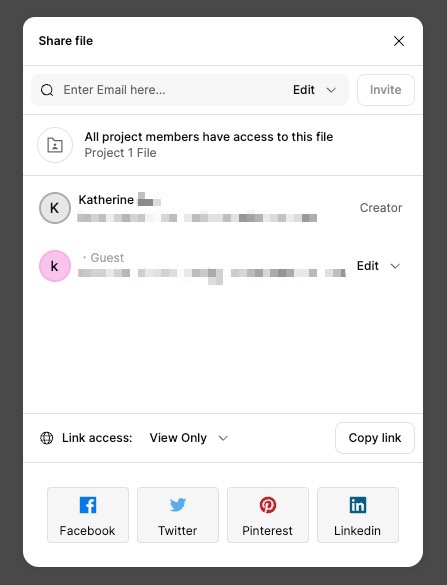
Once invited, the guest will receive a URL of the design by email and they will appear in the list of members who have access to the design. You can also view and manage them under Workspace Settings>Members>Guests.
Alternatively, you can copy the shareable link of the design and distribute it to your guests directly.
Switching Workspaces
On the Glorify dashboard, you can manage and switch between the workspace you own or have been invited to.
Understanding workspaces
- Owned Workspace: This is the workspace you created in your Glorify account.
- Invited Workspace: These are workspaces owned by other users that you have been invited to, either as an Editor, Admin, or Guest.
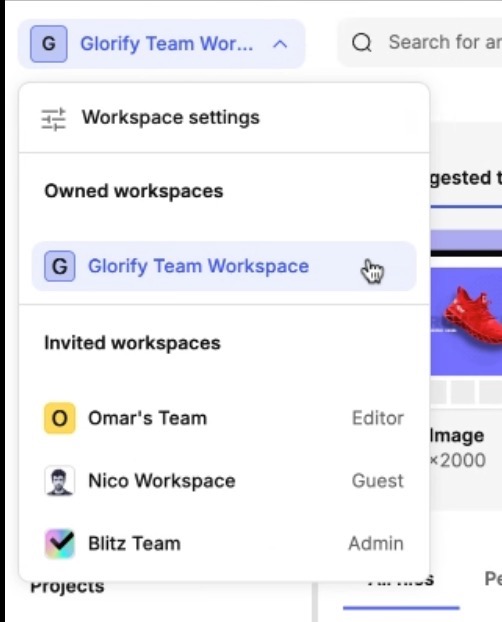
How to switch workspaces
- On the dashboard, click the Workspace dropdown menu in the top-left corner.
- You’ll see a list of the workspaces you own and have been invited to.
- Click the workspace you want to switch to.
- Once switched, your access and available actions will depend on your permissions in that workspace.
← Explore more Glorify articles
Need more help?
You can always get in touch with our support team—just click Support in your Leadpages navigation menu, or submit a ticket ↗