Besides using the image widget within the Leadpages builder to add and remove images from pages and pop-ups, there's an Images library in the navigation menu of your account.
NOTE: Maximum file size upload is 15MB. Leadpages supports the following image filetypes: JPG, PNG and GIF
Upload images
- Click Images in your navigation menu.
- Then select Upload Images.
- Click Select File and choose the image file(s) you would like to upload from your computer or simply drag and drop them into the upload area.
Editing images
You can crop, adjust an image's visual settings (e.g. brightness, contrast), and add filters, frames, or text to it within the image editor. Learn more here →
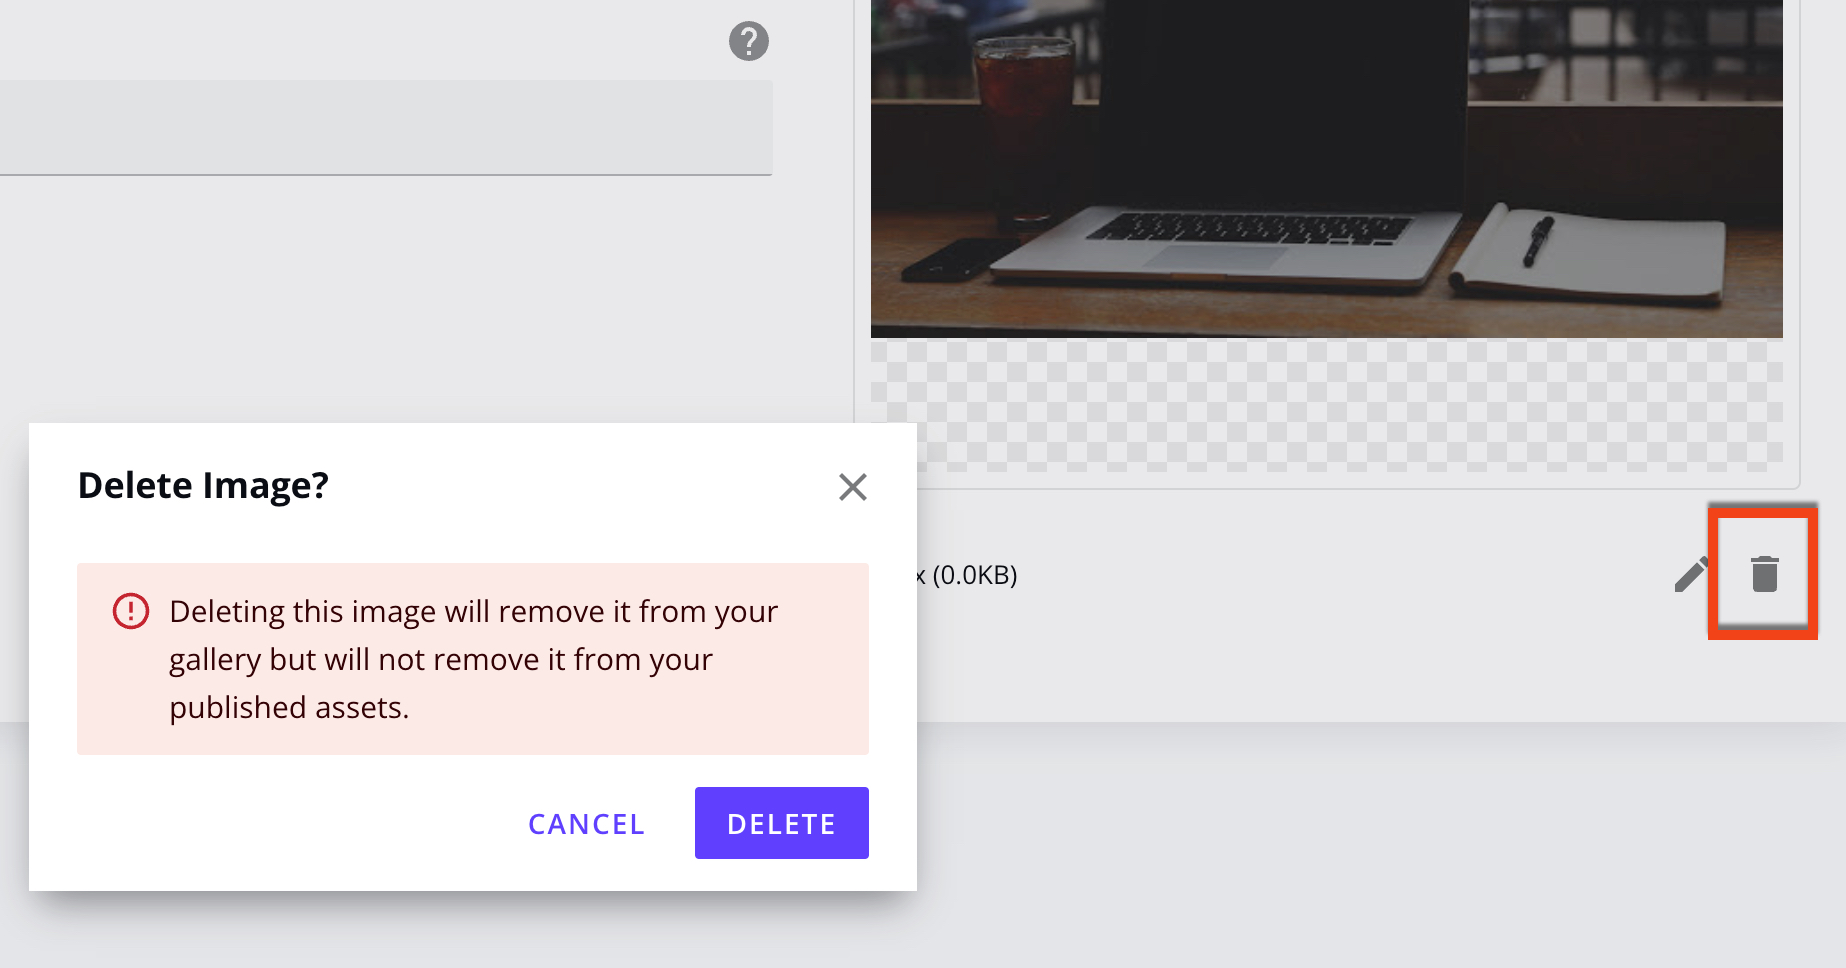
Remove images
Click on the image you'd like to delete and click the trash can icon, then Delete.
NOTE: Premium images are not able to be removed.
Need more help?
You can always get in touch with our support team—just click Support in your Leadpages navigation menu, or submit a ticket ↗