You can find all the landing pages you’ve created in your navigation menu under the Landing Pages. Here’s an overview of what you can do to manage and edit pages in your account.
View your landing pages
Your saved pages will appear in a list, sorted by when they were last updated. While it isn’t possible to manually rearrange pages, you can sort them by a few different properties.
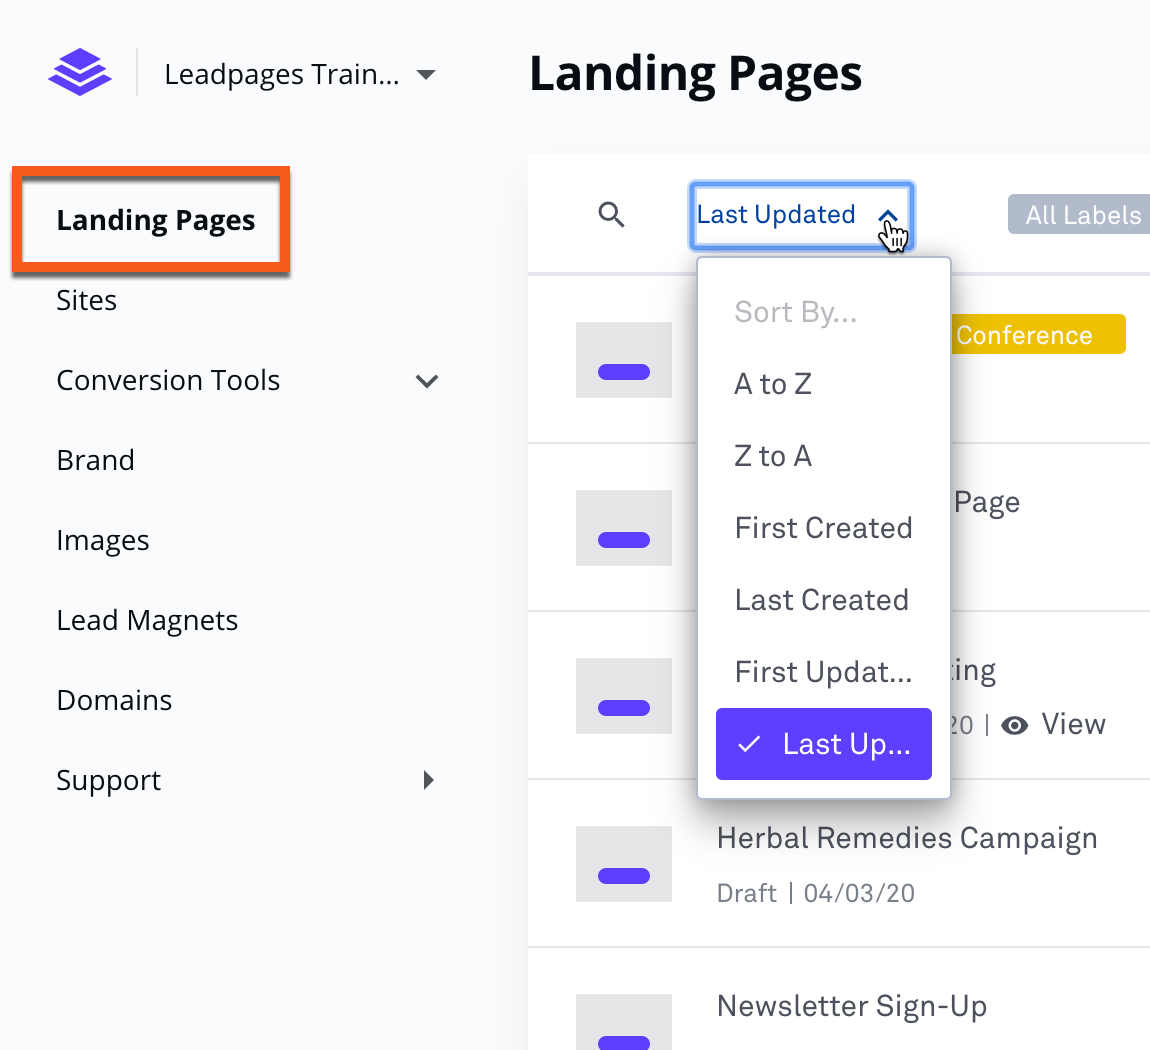
Click Last Updated to sort your pages to suit your needs (such as by name or by creation date). You can also search for any page by clicking search at the top of the list.
Edit a saved landing page
To edit any page, click its name. Or, click edit to the right of your page’s name.
You can also change your page’s name and access publishing options from the actions menu more to the right of your page.

Manage your pages
As your list of pages grows, there are a few things you can do to keep things manageable.
Split tests
Split tests appear alongside regular landing pages in your account. To identify a split test, look for the split test icon (shown below). Each split test will also have a label to indicate its status (draft, running, or ended).

Keep in mind, not all page options are available for split tests.
Naming tips
First, we recommend giving each page a descriptive name, so you can easily remember what each one is called and search for them later. You may even consider appending a suffix to the end of each page in a given campaign (although you can also use labels for this purpose).
It’s possible to rename a page at any point. To do so, click the action menu more for the page you’d like to edit, then select Rename.
Keep in mind, you can change the SEO title of any page manually so that visitors won’t see the name you’ve chosen.
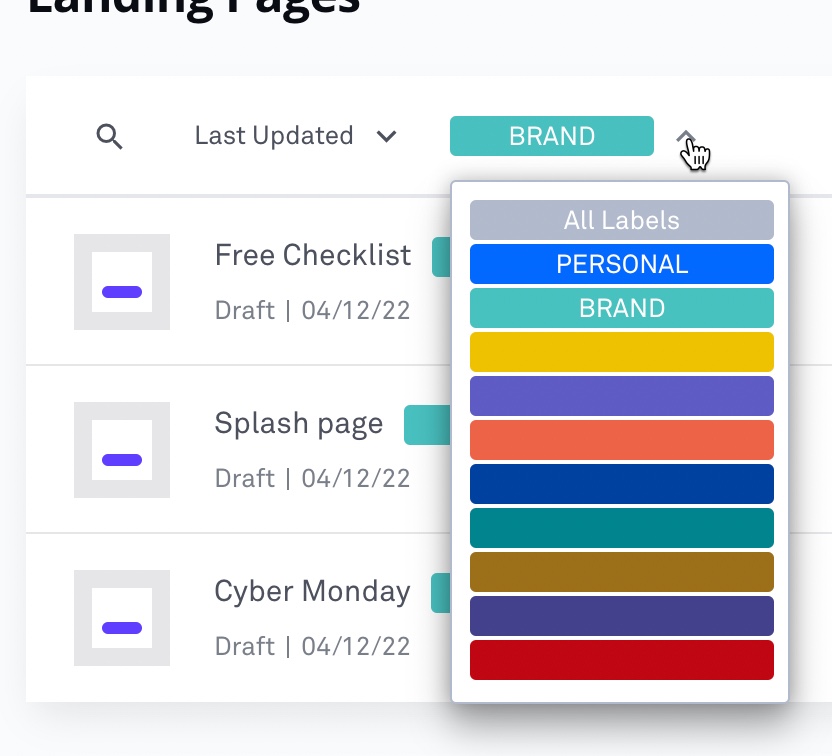
Use labels
Each page can have one color-coded label. To add a label, hover over a page and click + Label.
Choose a color to assign the label to your page—you can name labels by clicking edit next to any color. Click All Labels at the top of your page list to choose any of your labels. When you select one, you’ll only see pages with that label.
Identify page information
Besides your pages’ names and labels, you can get extra information just by scanning your list.
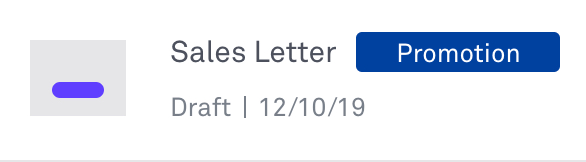
Under each page name, you’ll also find its publish date (or an indicator that the page is still in draft mode).
To the right, you’ll get a quick overview of your page’s analytics, including: your total unique visitors, total opt-ins, conversion rate, and earnings. You can get to any page’s full analytics by clicking the chart icon analytics next to the edit button.
Need more help?
You can always get in touch with our support team—just click Support in your Leadpages navigation menu, or submit a ticket ↗